When you’ve been searching and searching for the perfect toddler bedding and you just can’t find what you’re looking for, you make your own! Well, maybe not most people, but that’s what us crazy “makers” do. At the time it sounded like a good idea. That was until I had feathers coming out of, yeah, and the next thing you know my sewing machine is in the shop for repair because all the feathers clogged my threading ports. True story.
So I had an old feather duvet for a twin bed that I decided I could trim to a crib size mattress (toddler bed) with my serger sewing machine. It cuts and sews at the same time, so I figured there would be minimal leakage of the feathers. I was wrong. Very wrong.
Without some challenges, I did finish the feather duvet and my sewing machine was repaired. I LOVE feather beds. Absolutely love them, BUT I really really really do not like the fact that the duvet gets mixed up inside the cover and falls down, etc. I figured with my little girl moving around in her bed, this would especially be problematic so I came up with a way to secure all four corners. I sewed small loops at each corner of the duvet cover and sewed two pieces of ribbon at each corner on the duvet. I added snaps to to the one broken loop so it could be snapped to the closed loop. This can can added to any duvet, you can even hand sew the ribbon on if you don’t have a sewing machine. Buttons or velcro would also work. I like snaps because they hold very well and also wash well. Here are some photos.
Now lets get real for a minute. Duvet for a toddler? I know what you’re thinking…This is why I made a small quilt. Most nights a blanket isn’t even used, never mind a duvet. I now use the duvet folded lengthwise on the floor beside her bed, just incase there is a rollover. I wanted the quilt to be lightweight, but super cozy, so I backed it with this very soft pink fabric (not even sure what that is called!). And of course, I did it the proper way and blinded it like a quilt (only after my mother convinced me too).


I made the matching pillow cases too. The “Dream Big Little One” was embroidered by Danger! Pirates! Designs! and the personalized bunny was made by Precious Packages. I used scrap fabric to decorate the letter E on the night table. Click here to read the tutorial on how to make your own decorated letters. The night table was also one of my DIY projects and there is a dresser to match. I will blog about it one day!

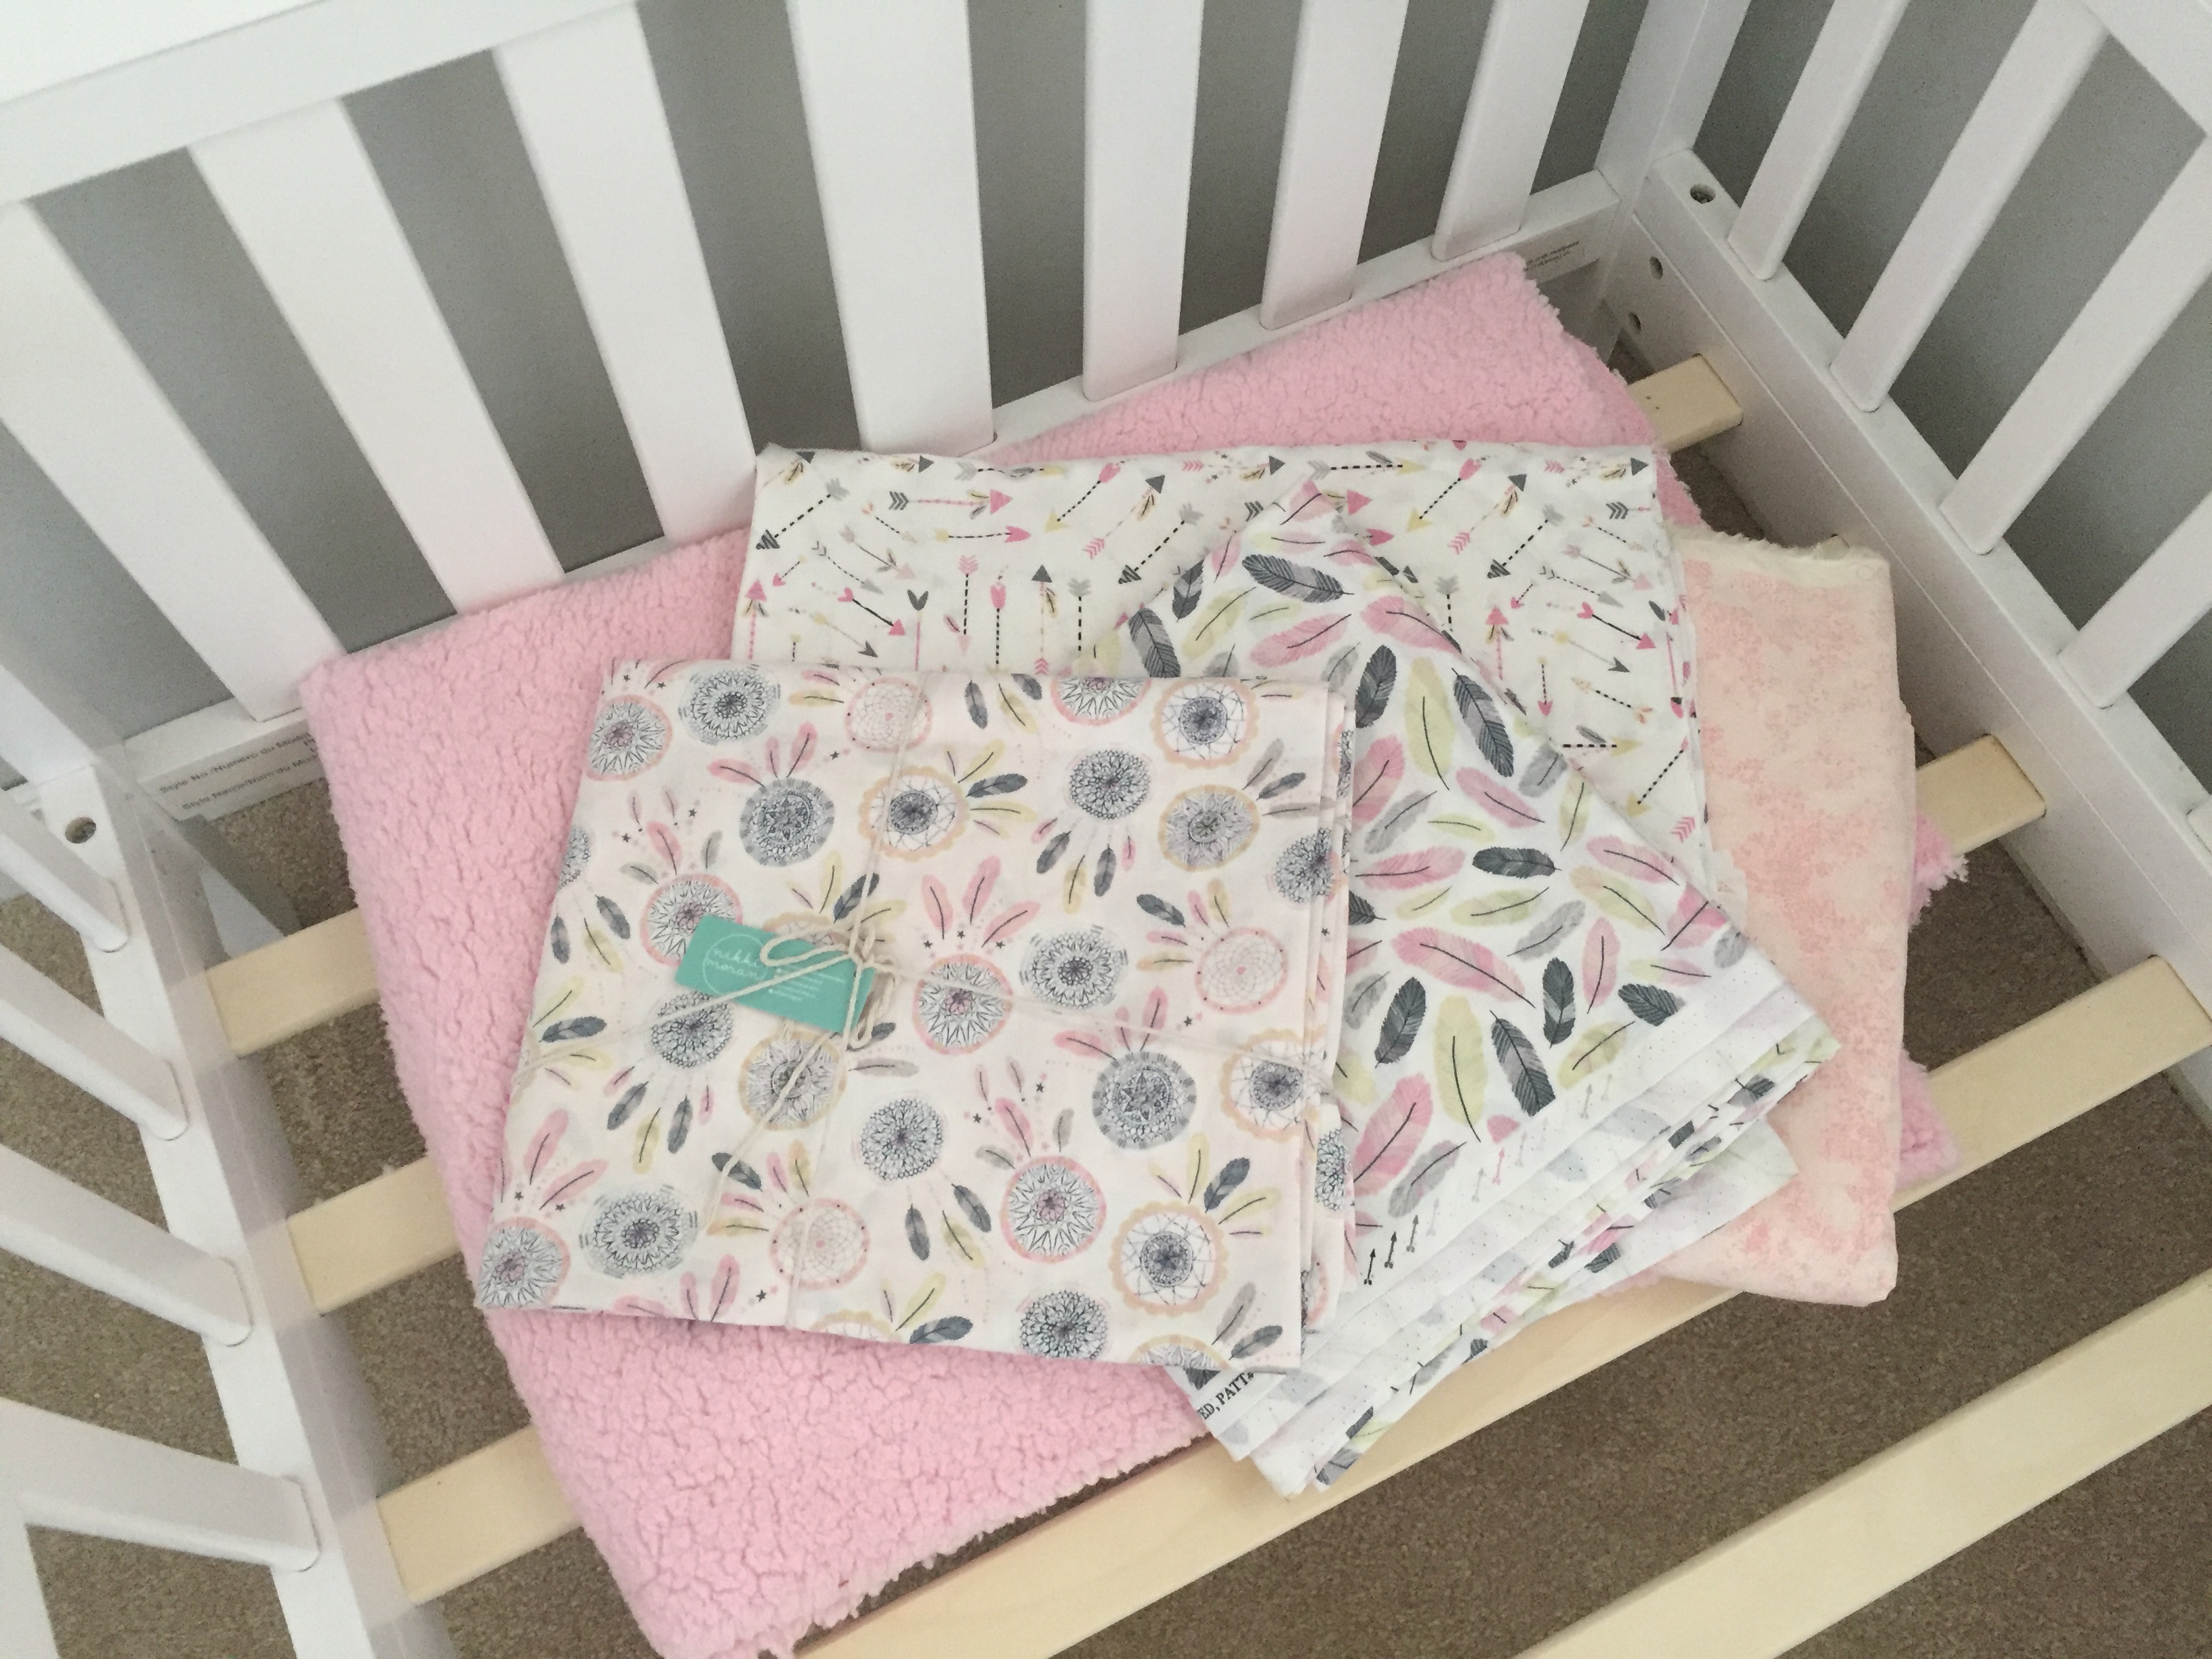
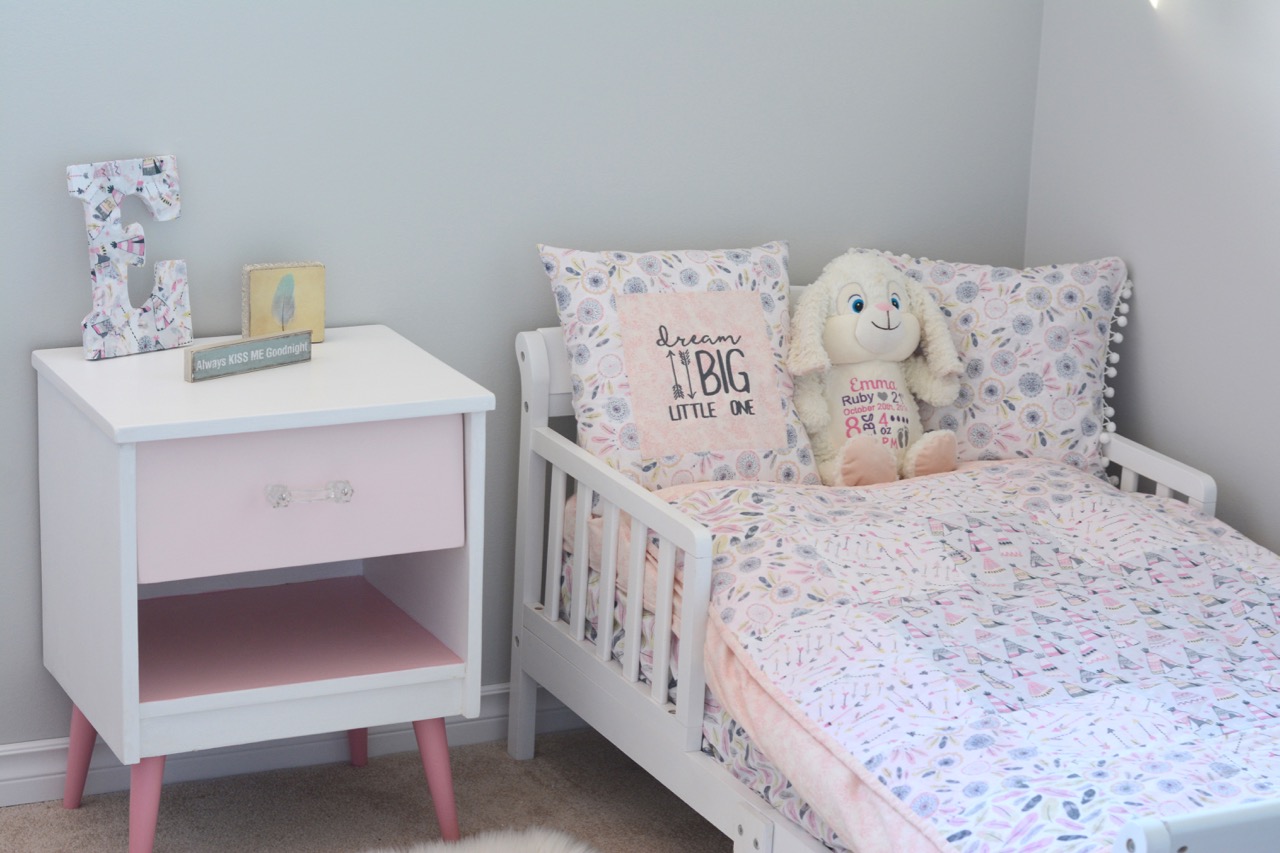
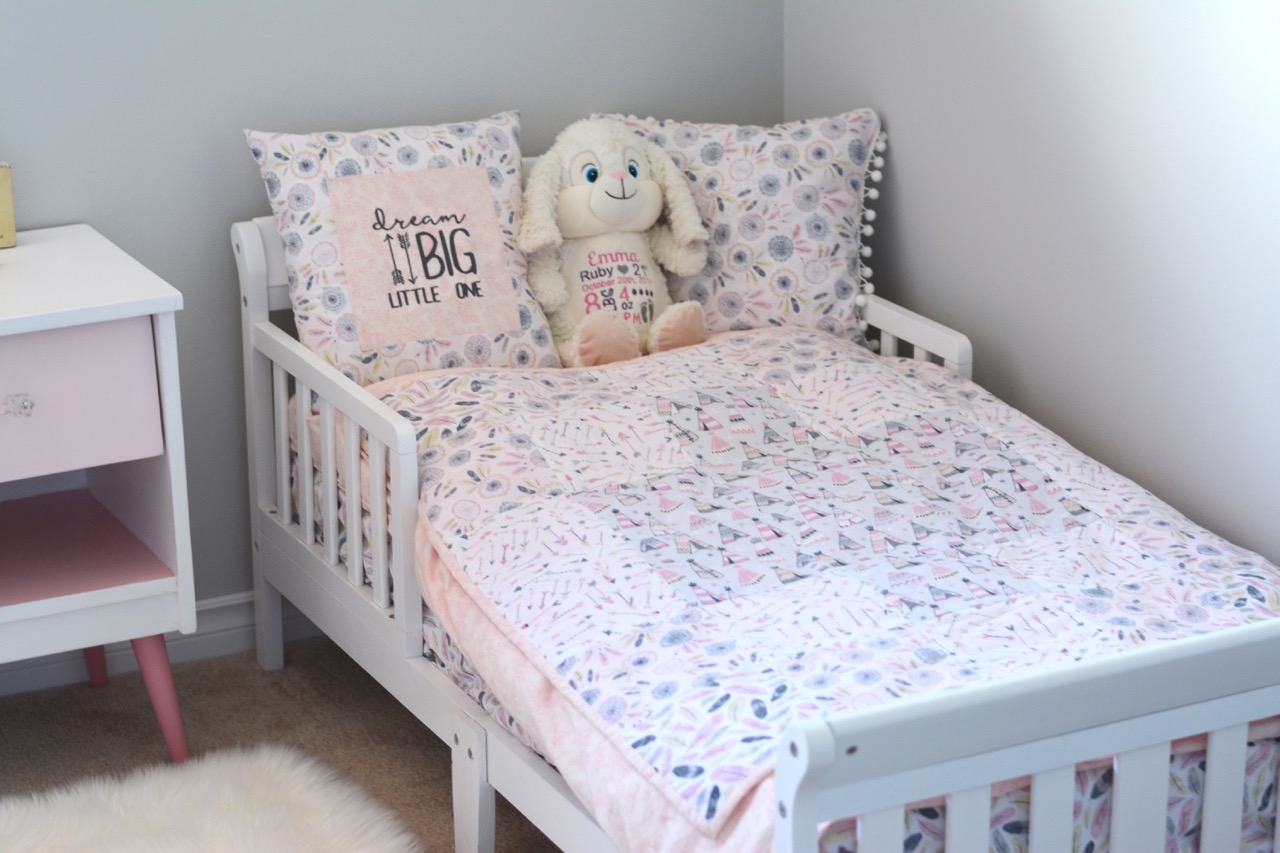
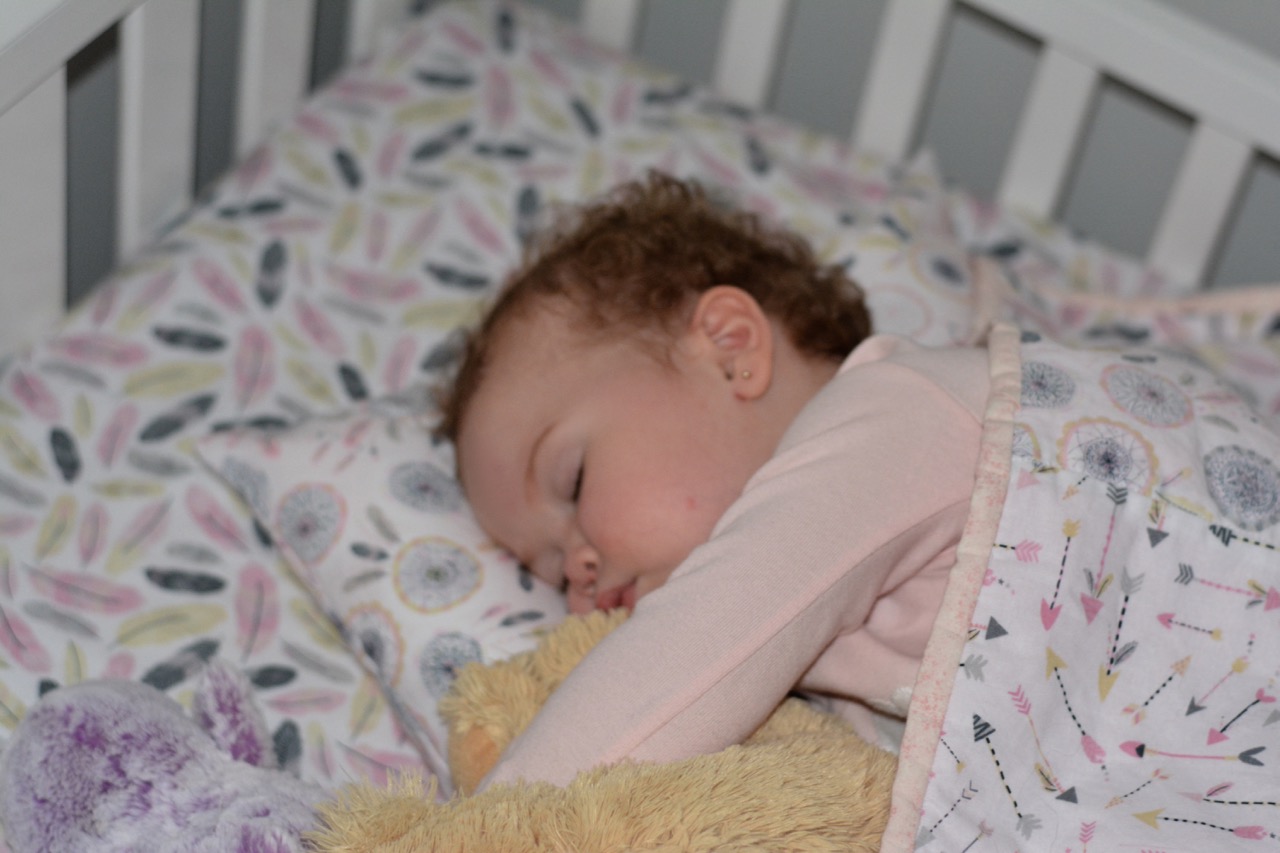
Once the bedding was complete I stewed for several weeks over the whole transition from crib to toddler bed. I didn’t think my daughter was ready, but I knew we had to do it because she could get out of her crib and that was no longer safe. So I thought about it, read about it on Pinterest, asked other moms how they made the transition and thought about it some more. In the end I was the one who was not ready. I needed to accept the change and not stew over it and just do it. And that’s what we did. One night we just went with it. Her room was mainly empty, with a few books, but no toys, which I think helped. I had to go back in a few times the first night and it was a later night, but after playing with her books she did go to sleep on her own. Second day and first nap she played with her books for over an hour…no nap at all! She was very content in her room “reading” to herself, so I left her there to at least have quiet time. By bedtime that night she was tired and went to bed without a problem. And the rest is history! I know I often underestimate my toddler’s capabilities and from time to time think that she may not be ready for a change, ready to ditch the bottle, etc., but most of the time it is me that is not ready. Our little people are stronger than we think!

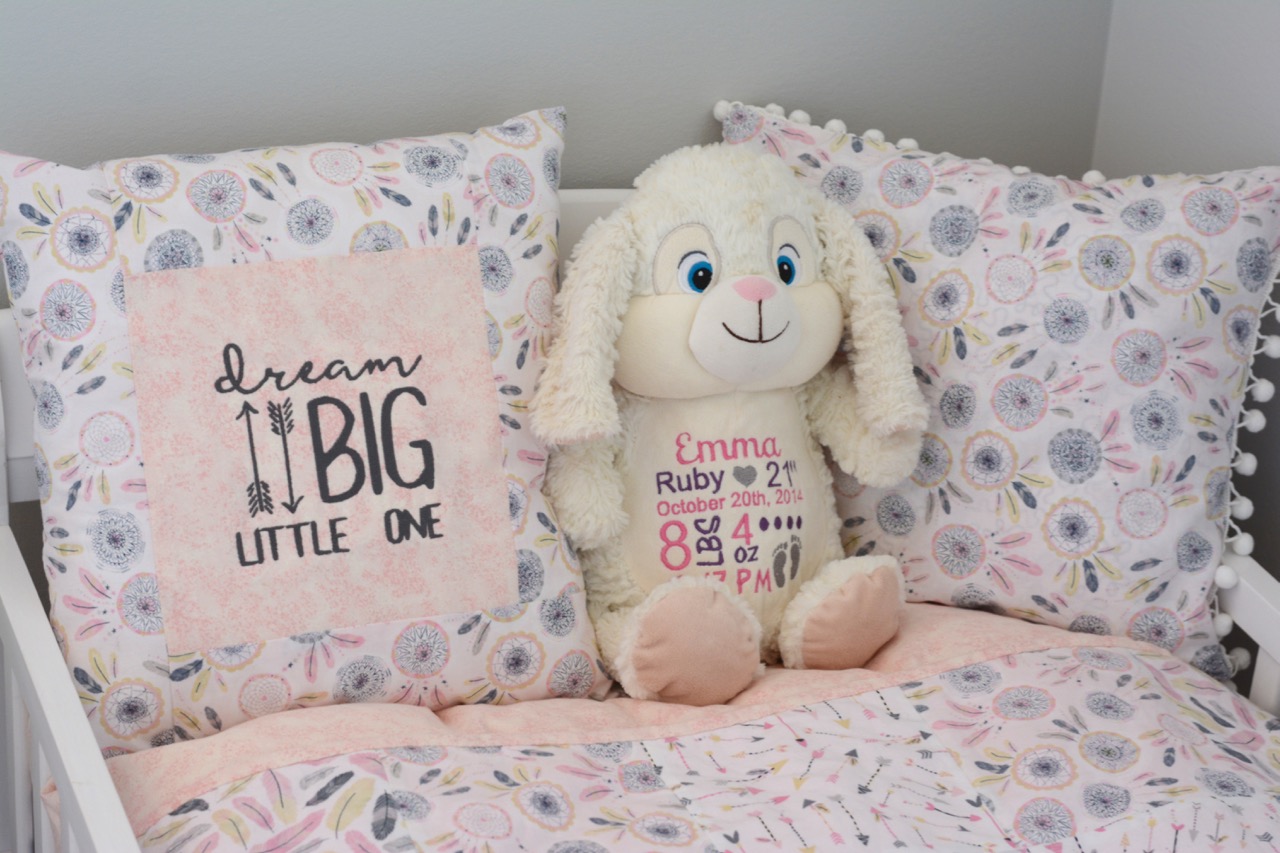
And my favourite part of the new bed…every night before I go to sleep I go in there, make sure she is tucked in and get one more kiss in. I rarely did this when she was in her crib because she’d wake up and we’d be starting over, but it doesn’t wake her now <3


Let's connect! Sign up to get your FREE productivity guide & weekly emails full of creative ideas.

* indicates required