
This post is not sponsored however some links may be affiliate, which means I may earn a small commission if you shop using the links. There is NO extra cost to you. The opinions and photos are of Sew Bright Creation’s.
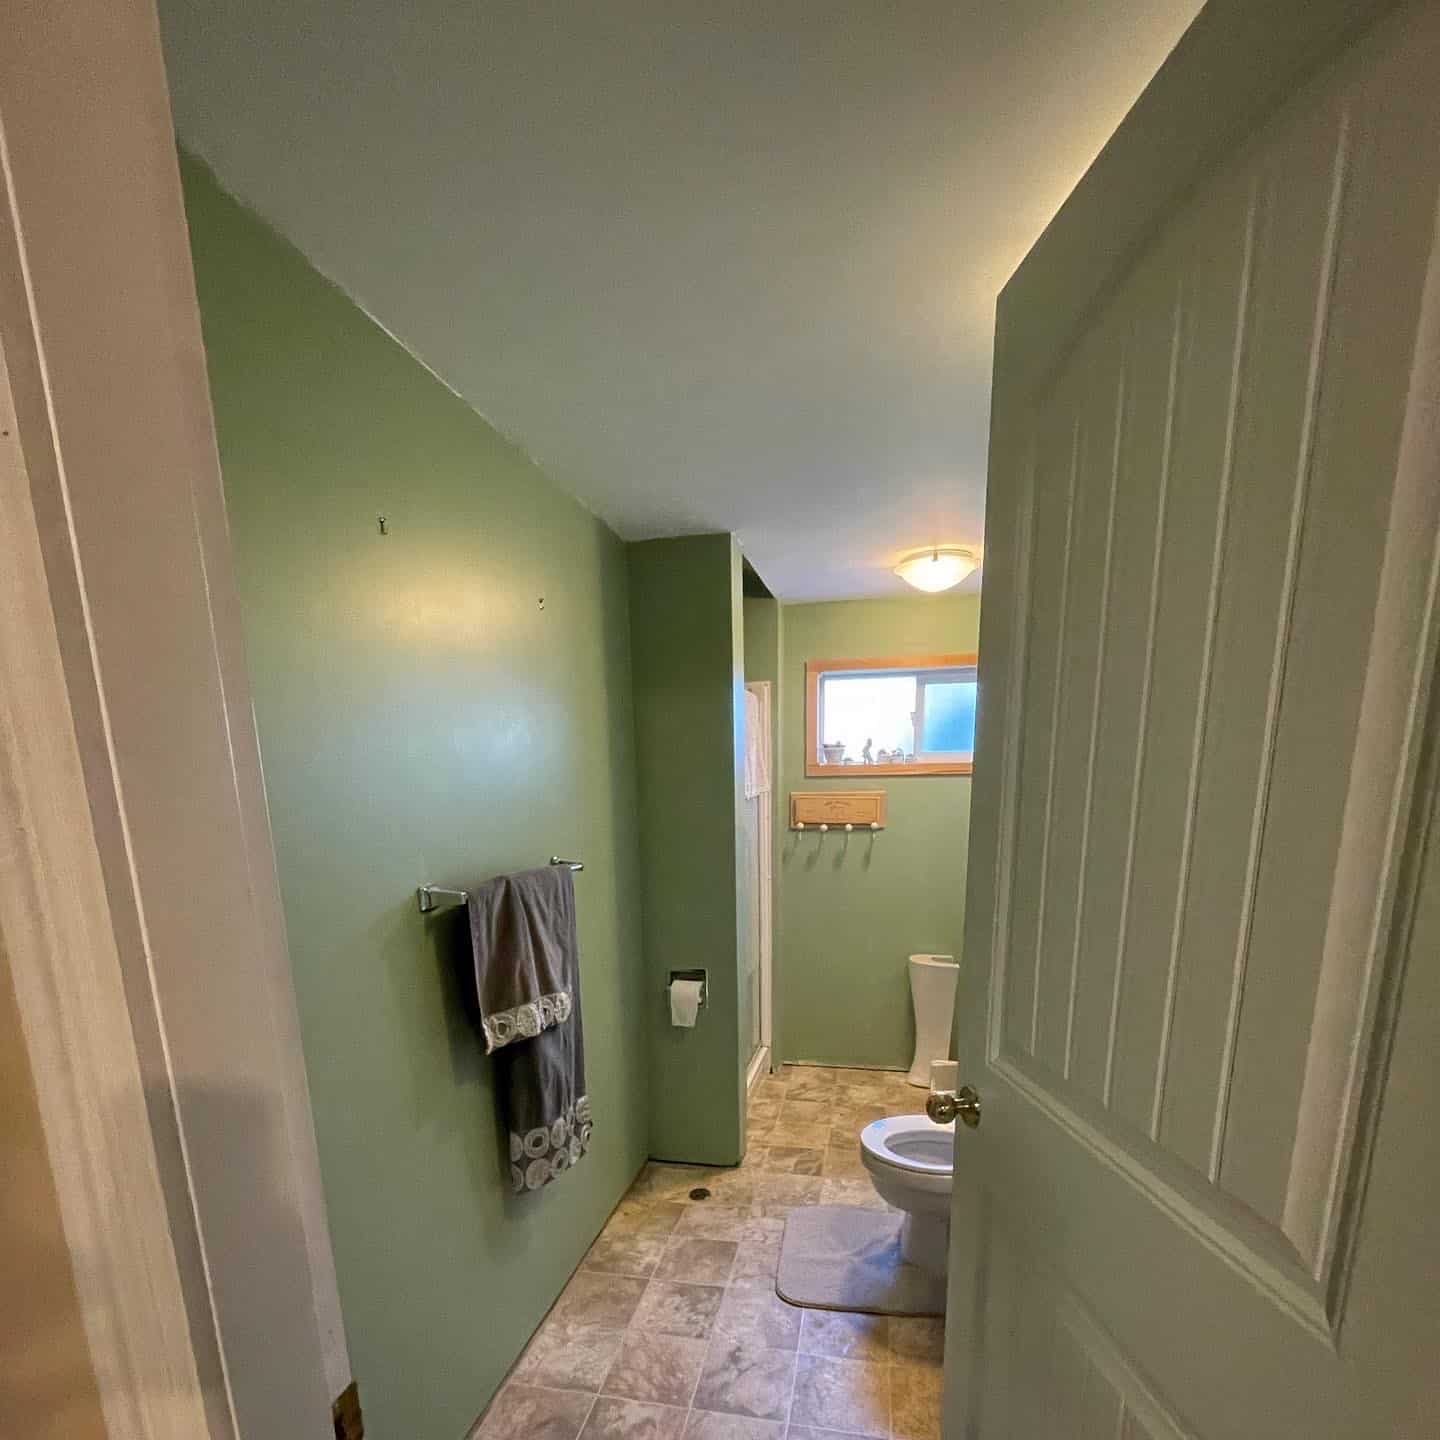
When we started planning our guest bathroom renovation I knew something had to be done with the ceiling, but I just didn’t know what. If I simply pained it white I didn’t think it would look much better because the drywall was poorly done. The seams were showing and it just looked crappy!
I thought about shiplap, we did that in our guest bedroom, but it is spendy and labour intensive. Neither of which I really wanted for this specific room.
I thought about adding texture of some sort, but that sounded like a lot of work. I couldn’t think of the perfect solution, so I left it as is and started renovating the rest of the room. And yes, this is why I sometimes do things backwards! THEN.. I saw Lauren from The Farmhouseish put beadboard on their nursery ceiling and I KNEW this was the solution I had been waiting for! So thank you Lauren for this inspiration!
I shared some of the process on Instagram, but wanted to share a few more tips and tricks here too!
As with any project, planning is such an important step. One I am not the best at, but working hard to get better at it! Winging it is more my style, but some things just need to be planned, trust me!
Watch the video below to learn more about my planning process.
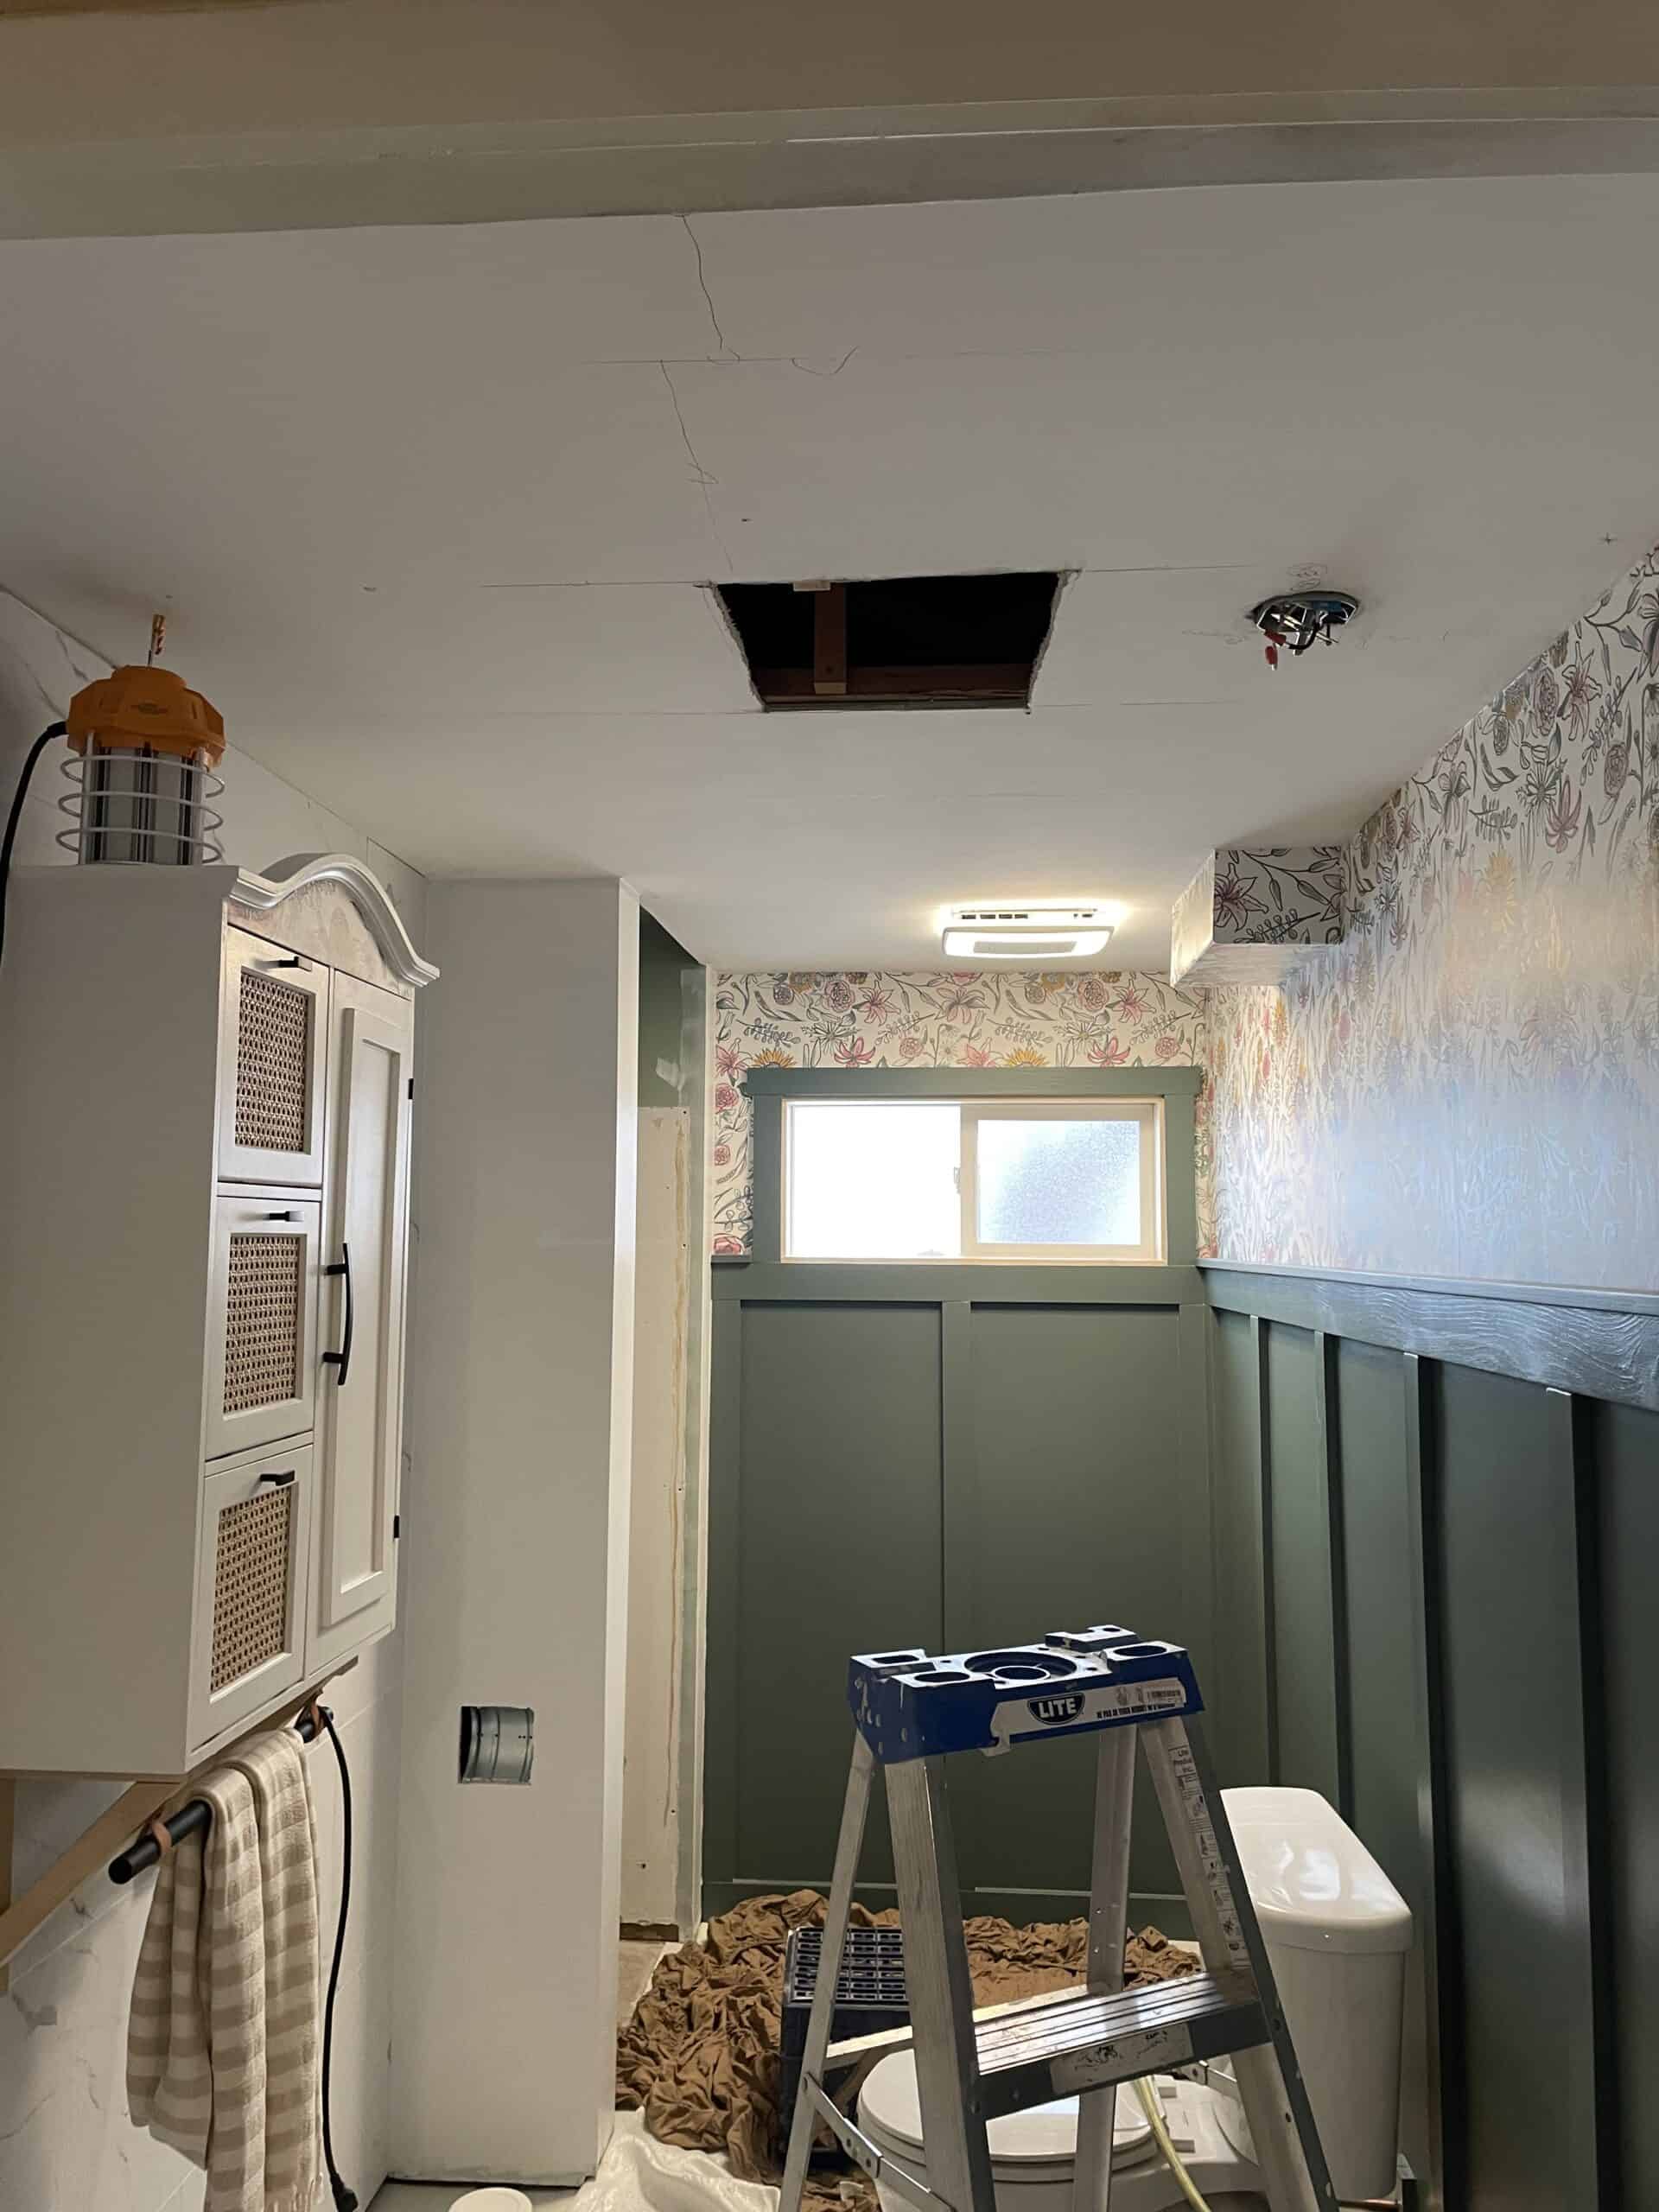
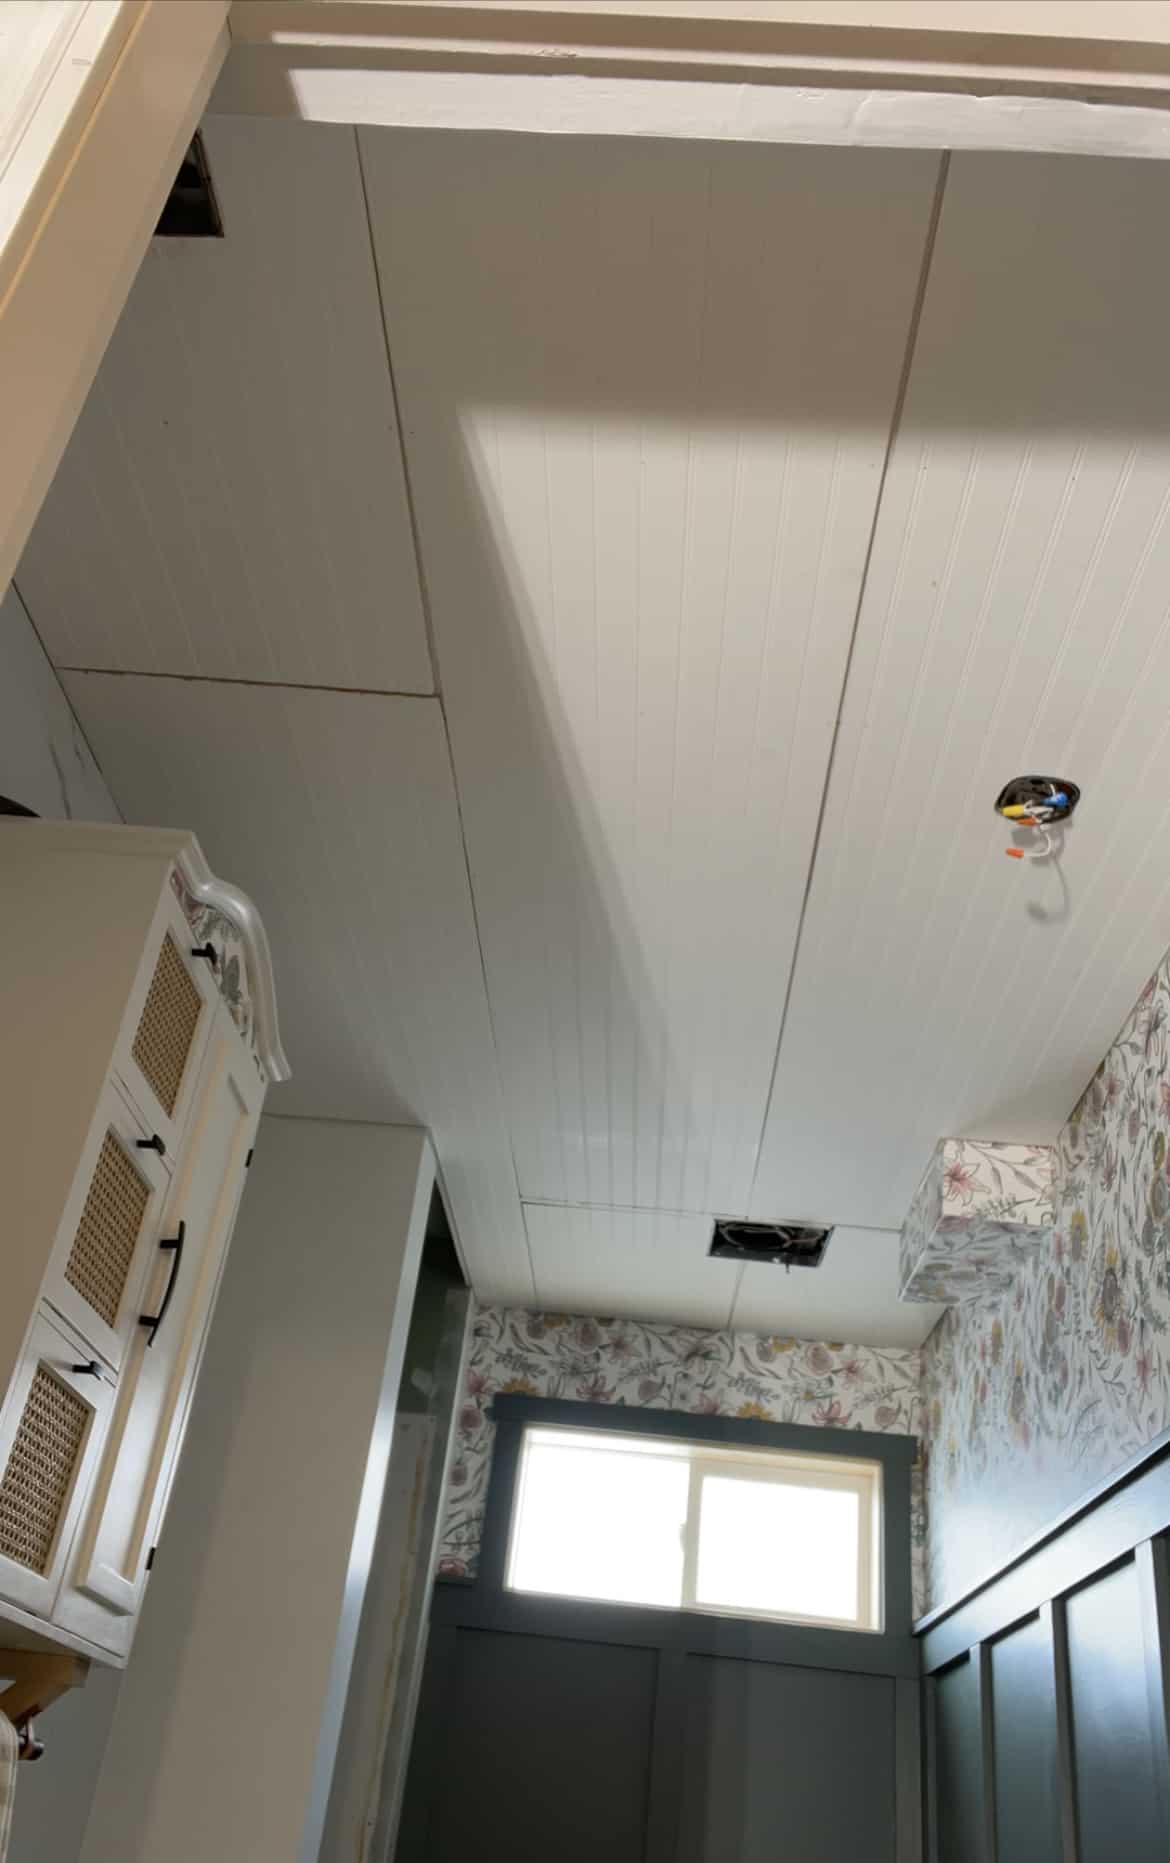
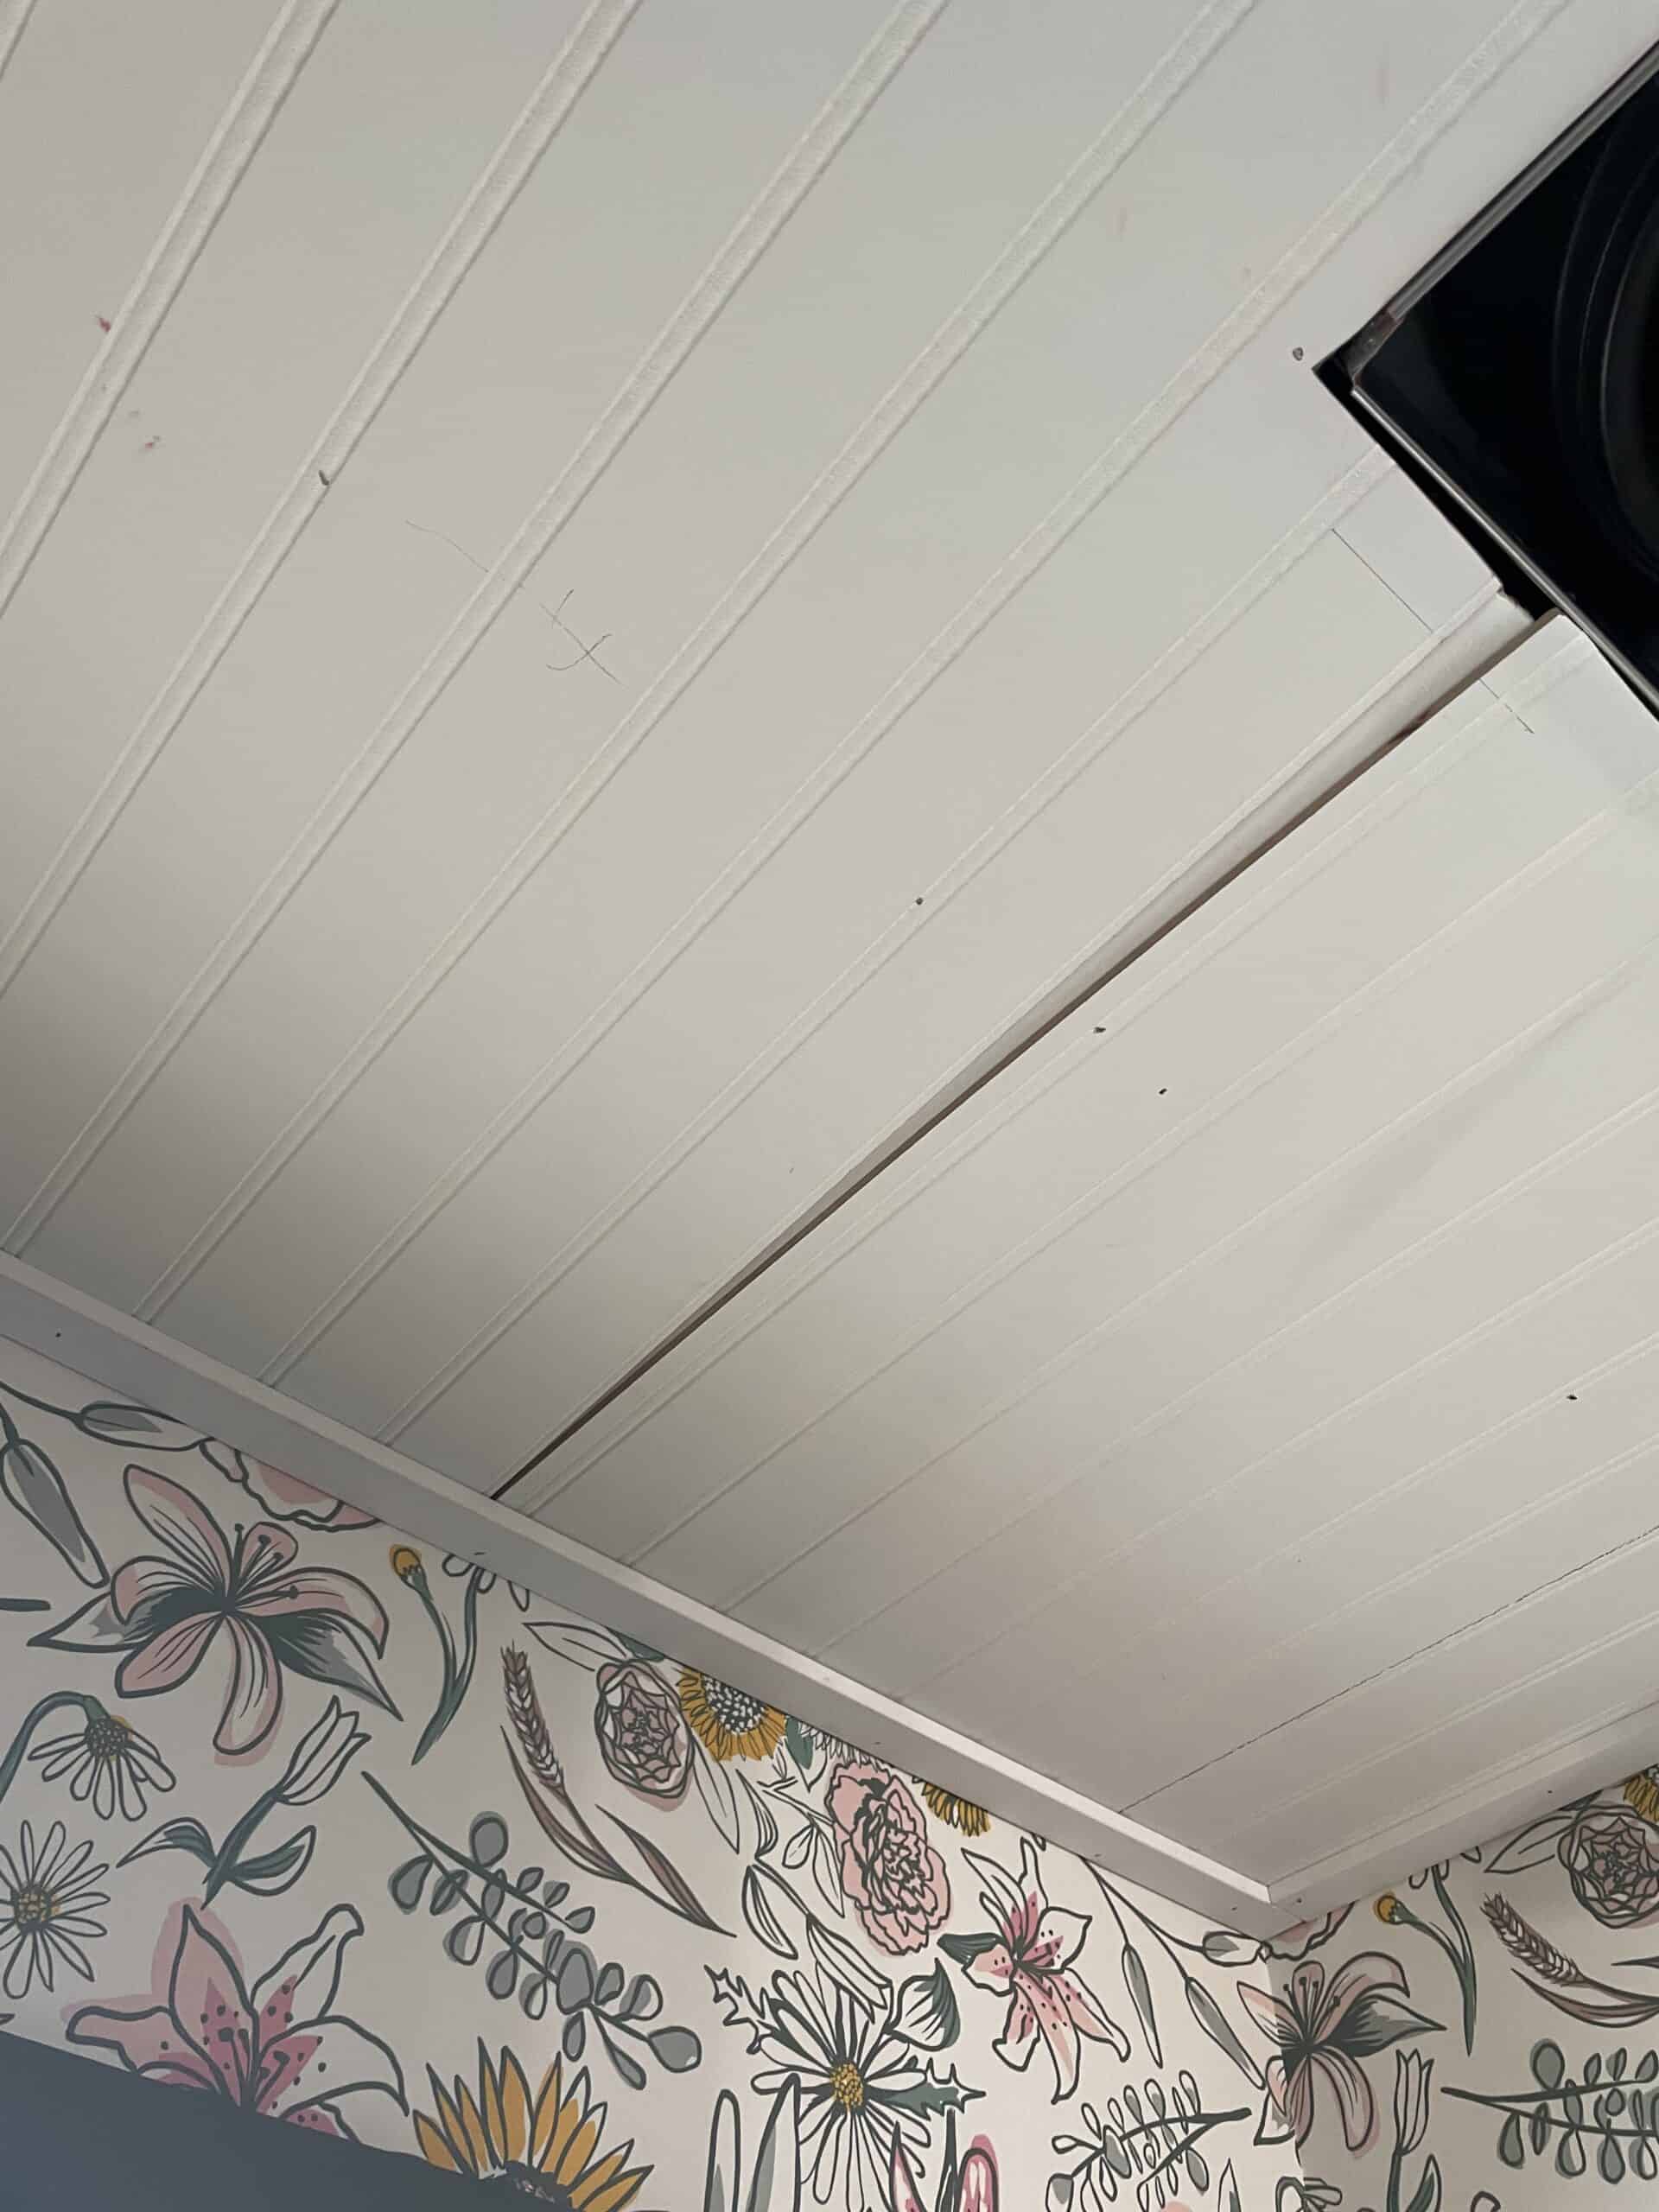
If you look closely in the photo below you’ll see lines drawn on the ceiling. These are all the studs. This is a dropped ceiling so nothing was 16″ on centre , which is another reason you really want to map out your ceiling and plan before you start cutting. And yes (Dad), we did fill the drywall hole in the ceiling before adding the beadboard 🙂
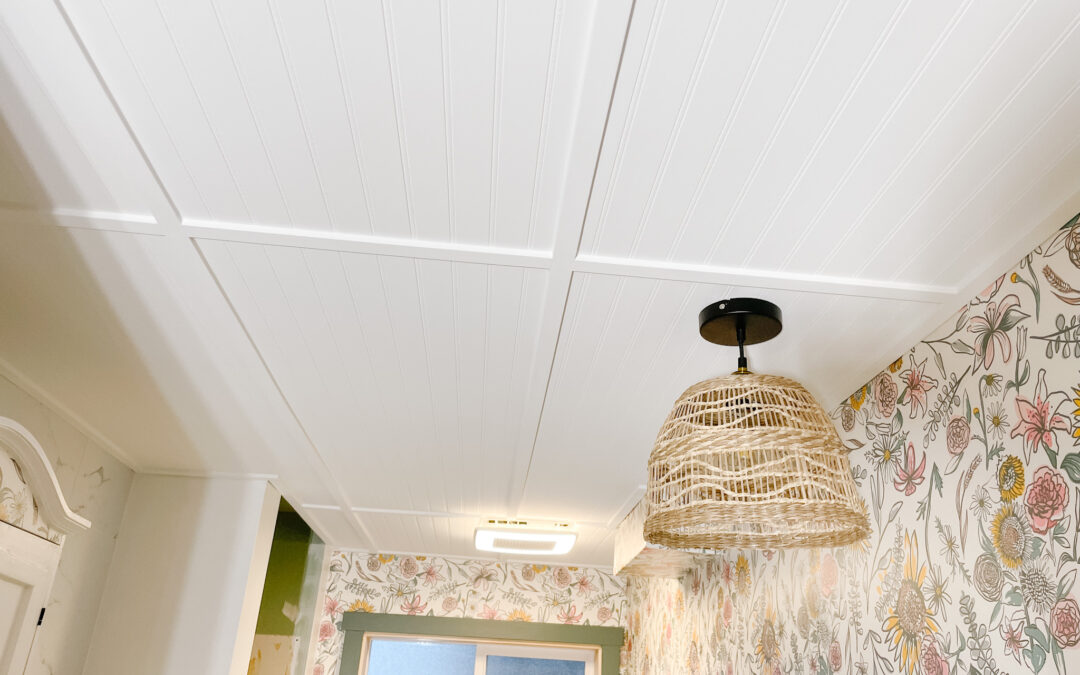
The nice thing about adding trim is the sheets of beadboard don’t have to be perfect! This was especially important for our room because the walls and ceiling don’t seem to be square… welcome to the world of renovating an older house. As you can see in the photos below, there are some gaps, but you would never know by looking at it finished!
I’d love to know if you think this is something you’d try? Let me know!

Any questions! Let me know in the comments!
We would love to see your renovations so please share with us by tagging us on Instagram @sewbrightcreations or email them to [email protected].
Shop this post …
Here are some of the tools and supplies I used for the board and batten <<some links are affiliate links where I may earn a small commission at no extra cost to you, if you shop by clicking on my links. Your support is always greatly appreciated!>>
Beadboard – Linking some from Home Depot for reference. I also shows a better price than what I paid. I used 2 sheets.


Click HERE for more of my Amazon Favourites!


