
This post is not sponsored however some links may be affiliate, which means I may earn a small commission if you shop using the links. There is NO extra cost to you. The opinions and photos are of Sew Bright Creation’s.
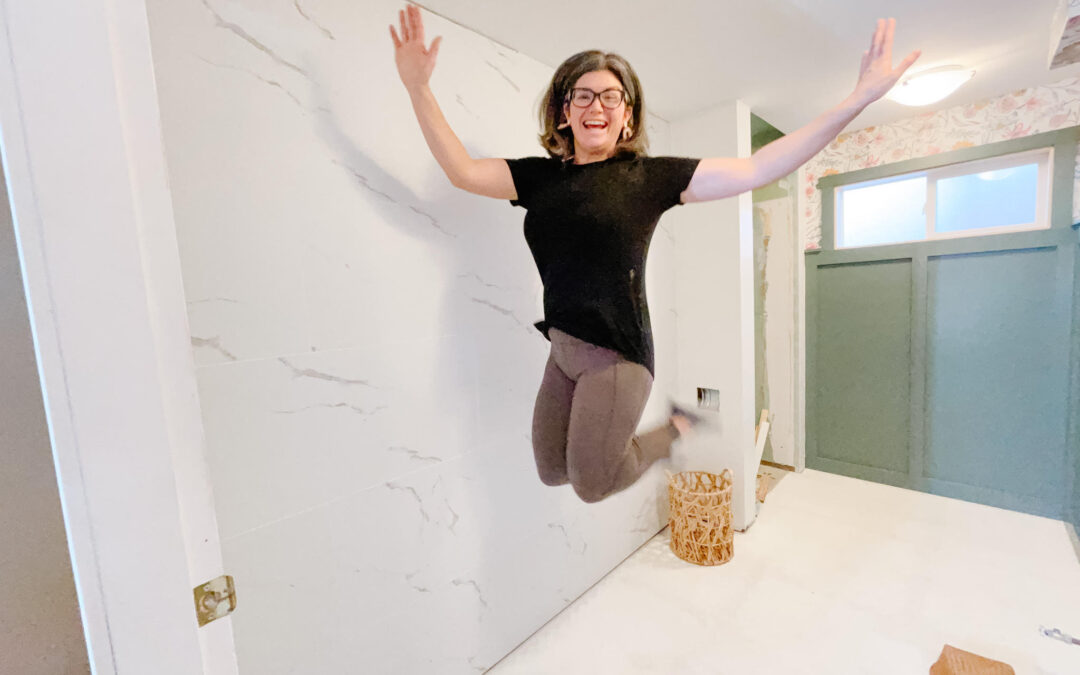
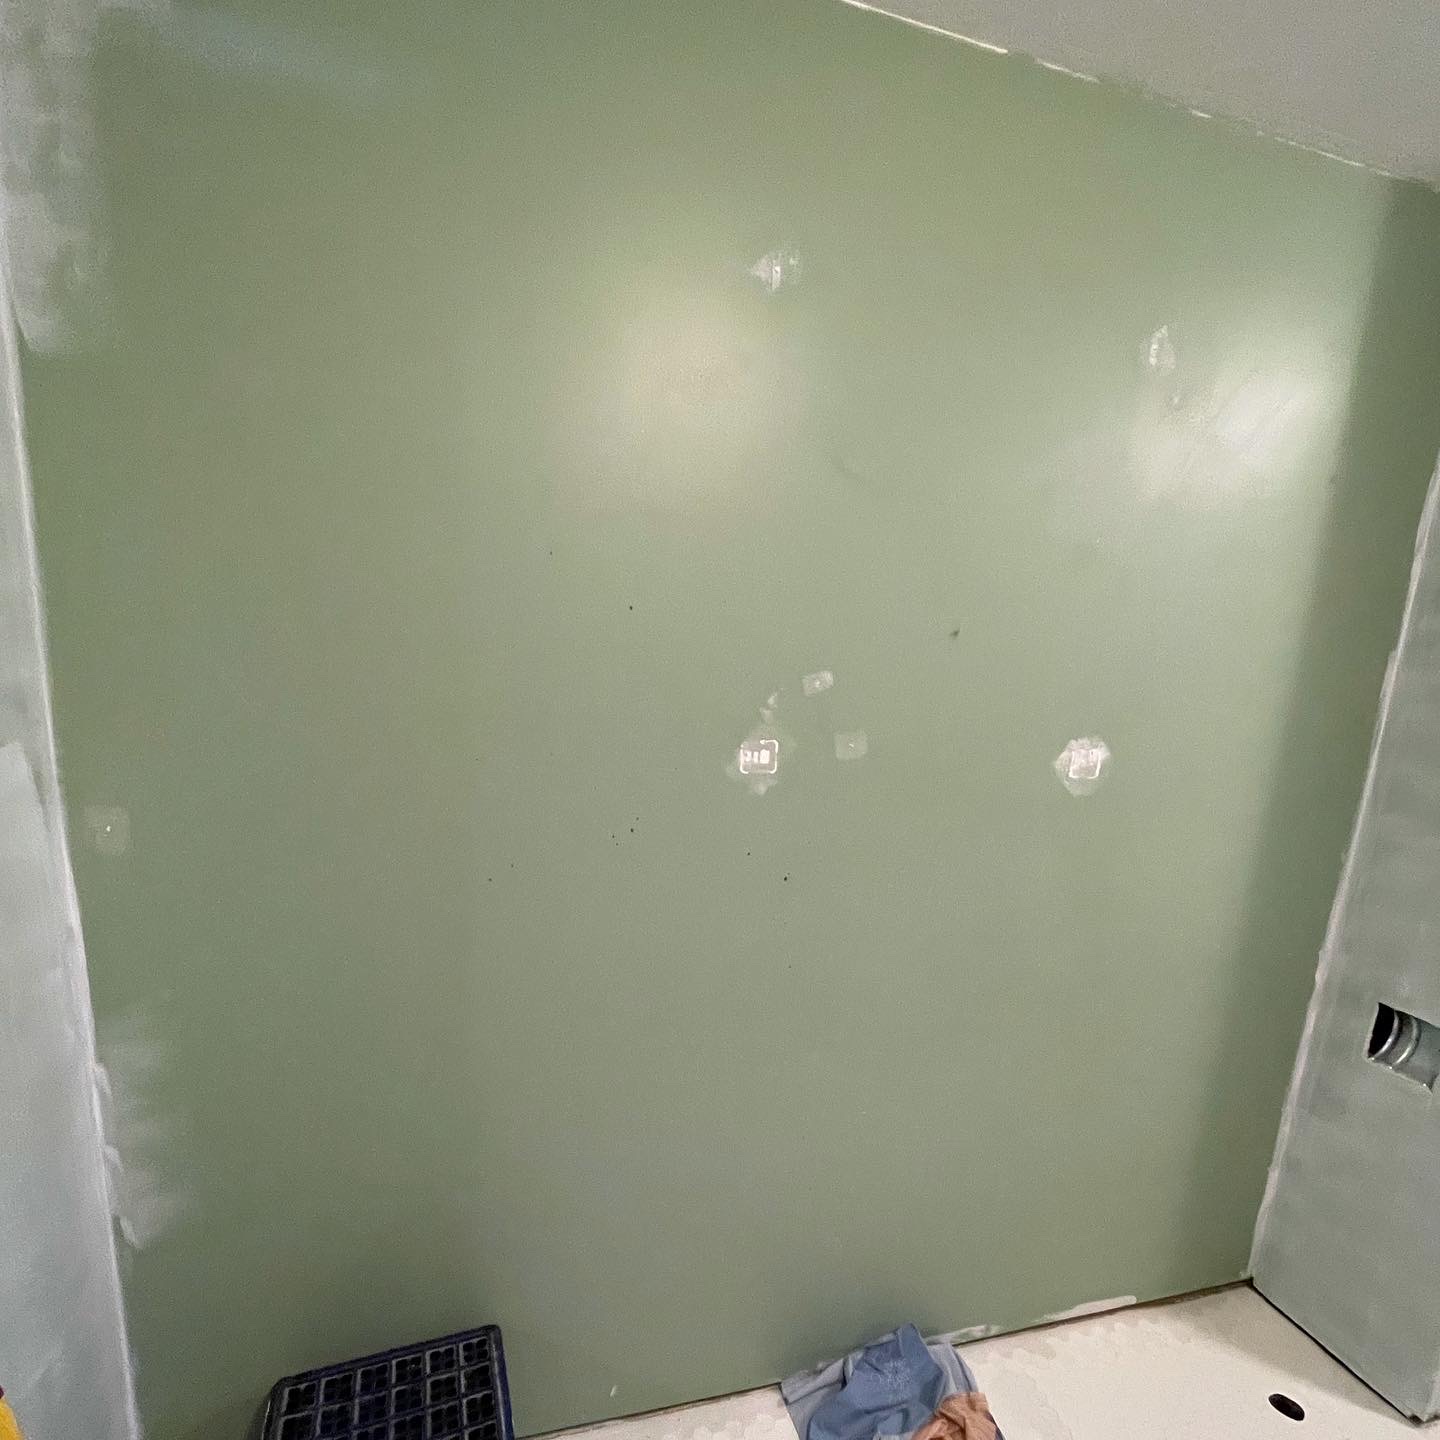
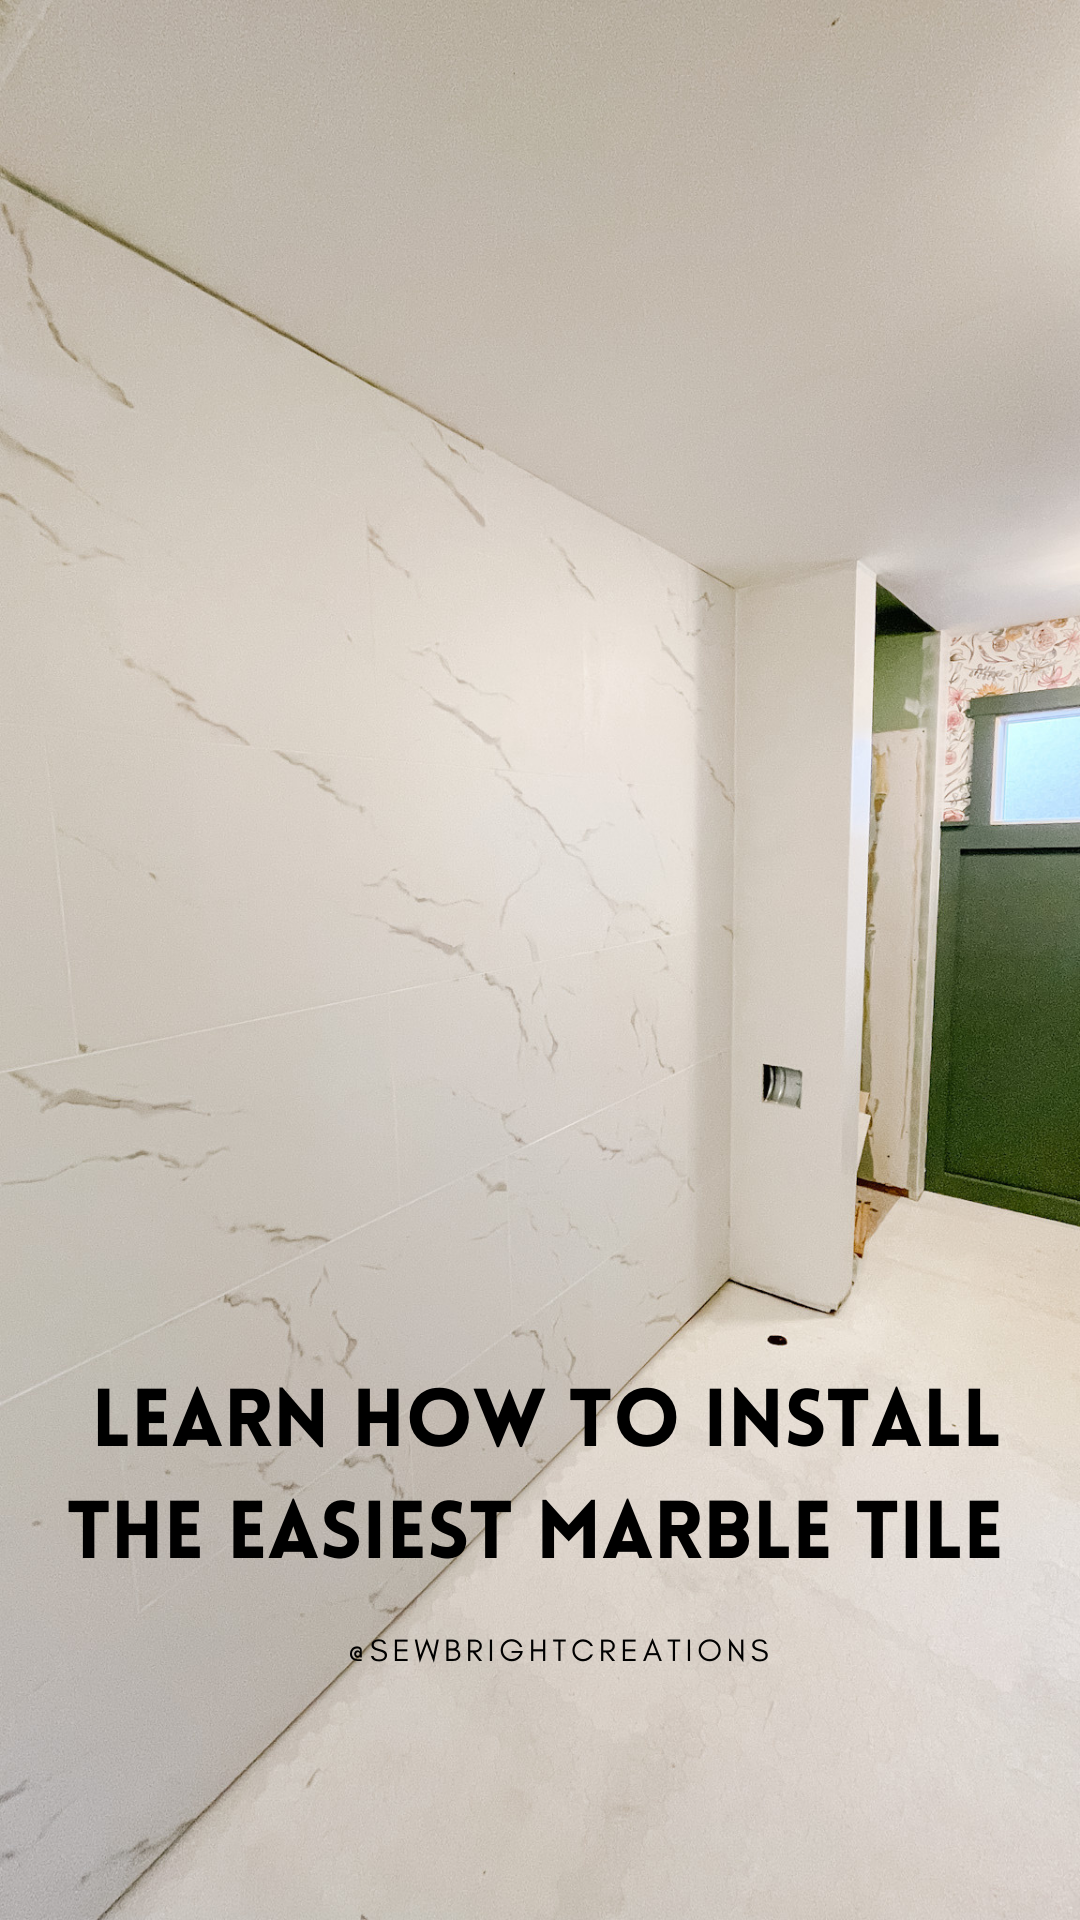
Are you ready to turn your boring plan wall with less then perfect drywall into a feature wall? I converted a wall in my bathroom to a beautiful faux marble wall with Surface Design Decor’s Self-Adhesive Marble Tile (#gifted) and it turned out SO good! When I first opened the package I was immediately impressed with the quality. These are not your typical self-adhesive tiles. They are thick, similar to a regular tile, super durable and I also really love the matte/realistic finish. None of that high gloss!
I shared the whole process on Instagram, but wanted to share a few more tips and tricks here too!
1. Plan your Pattern
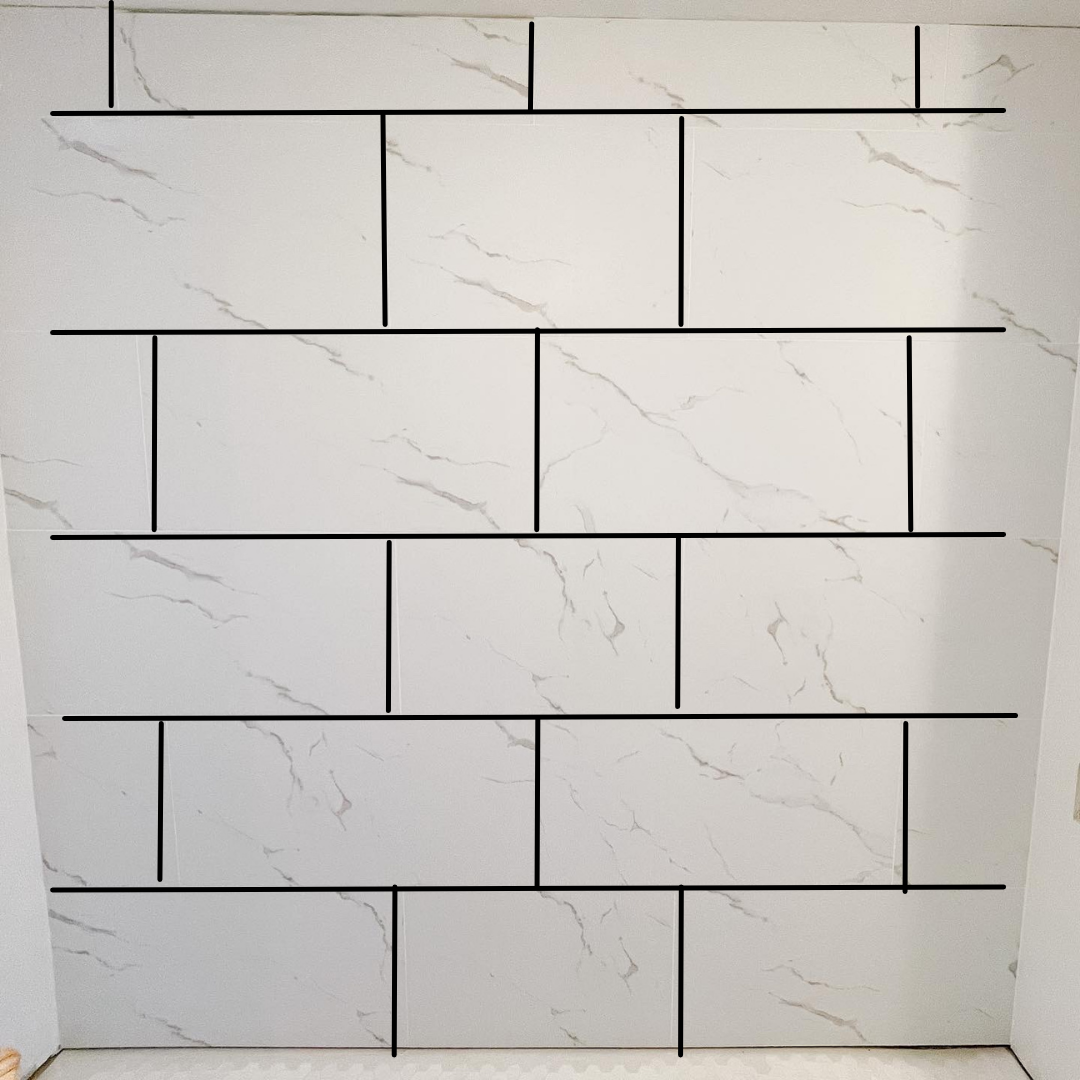
You can choose to lay your tiles any way you want, I wanted to stager it. I used 3 boxes for my 7.5 x 7.5 foot wall and had 2 tiles left over. I’m hoping to use them for something fun! If you are using multiple boxes I would recommend opening all the boxes first and alternate which box you pull from as there can be slight variation between boxes.
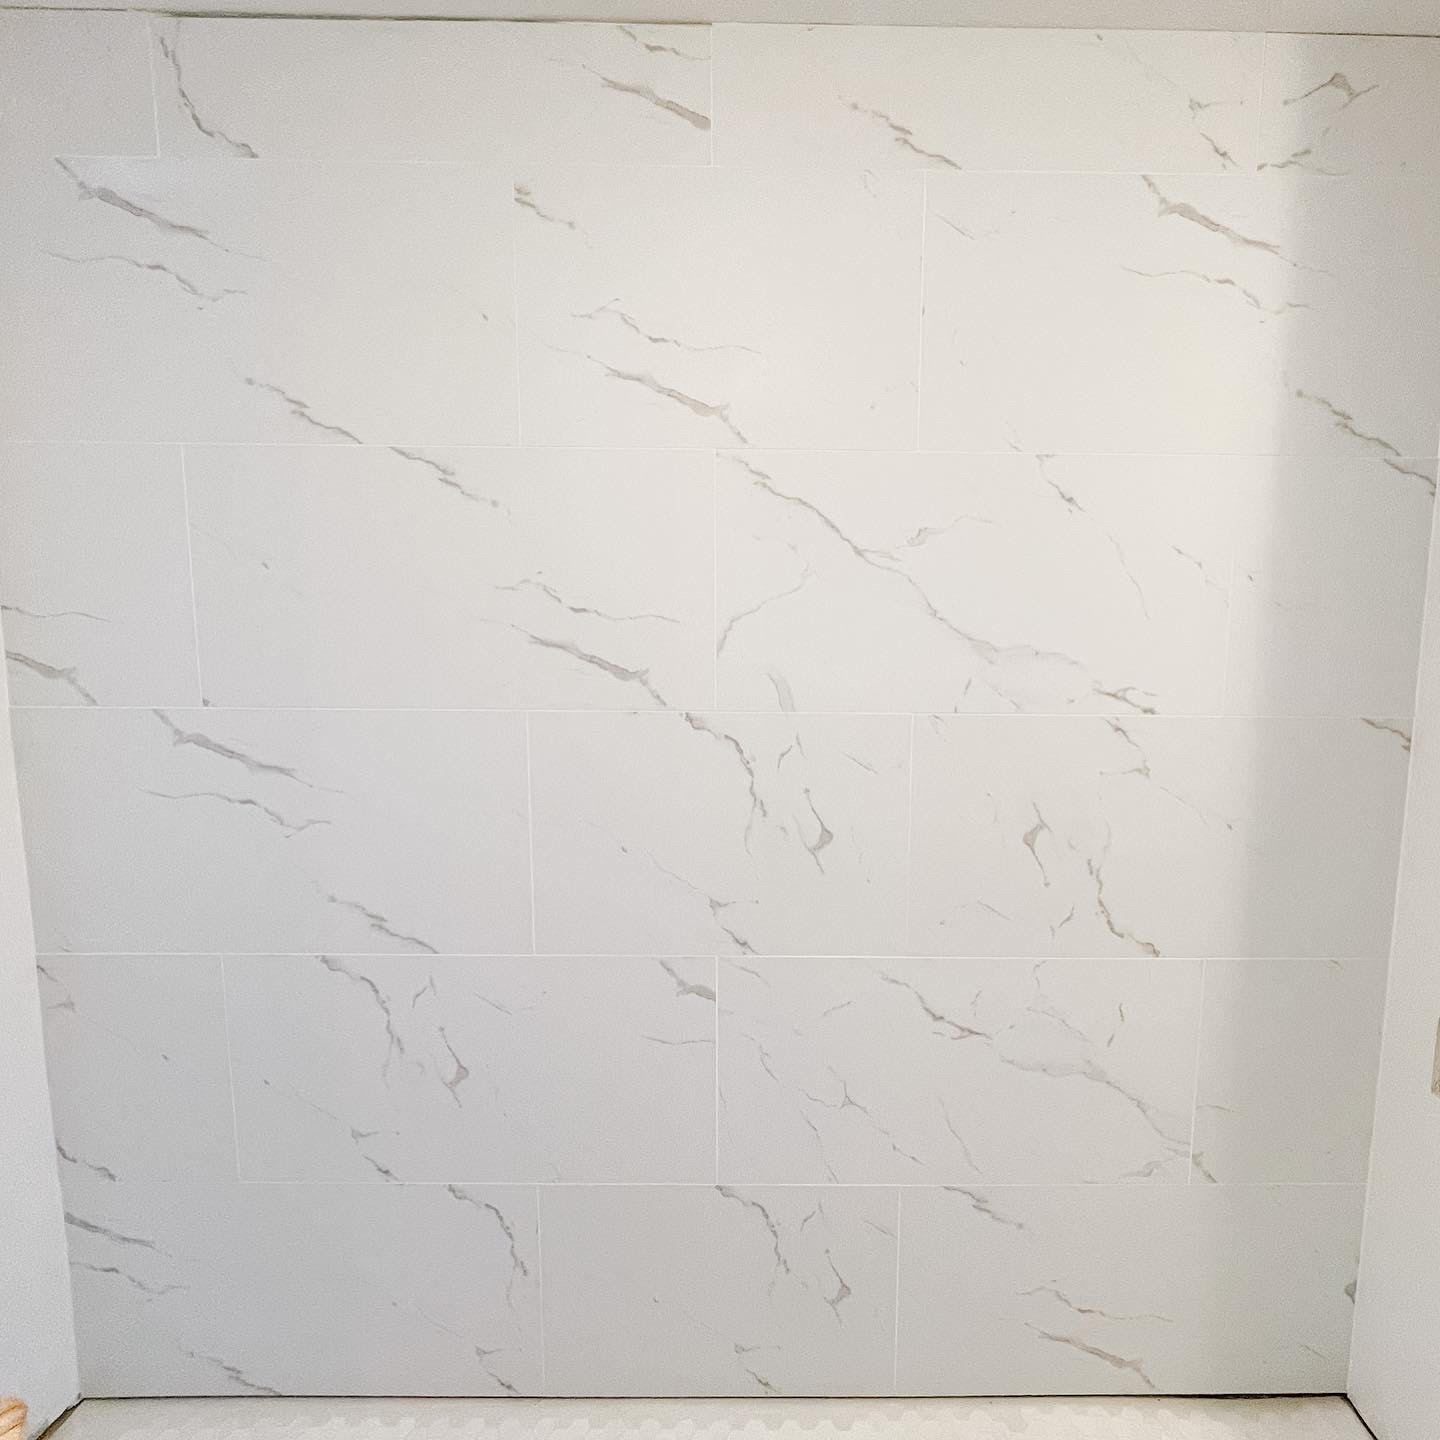
After I opened all 3 boxes I pulled a tile and dry fit it on the wall to make sure I liked the look of it, then I put it in place. For the most part I could look at the tile options on the floor and easily pull from them. I didn’t stress about matching the marble lines up, but I did try to make it look somewhat cohesive. I’ve drawn on the photo below to better show the pattern I followed. For each row I used 2 full tiles and cut the rest. If the full tile was in the middle then I would start with that.
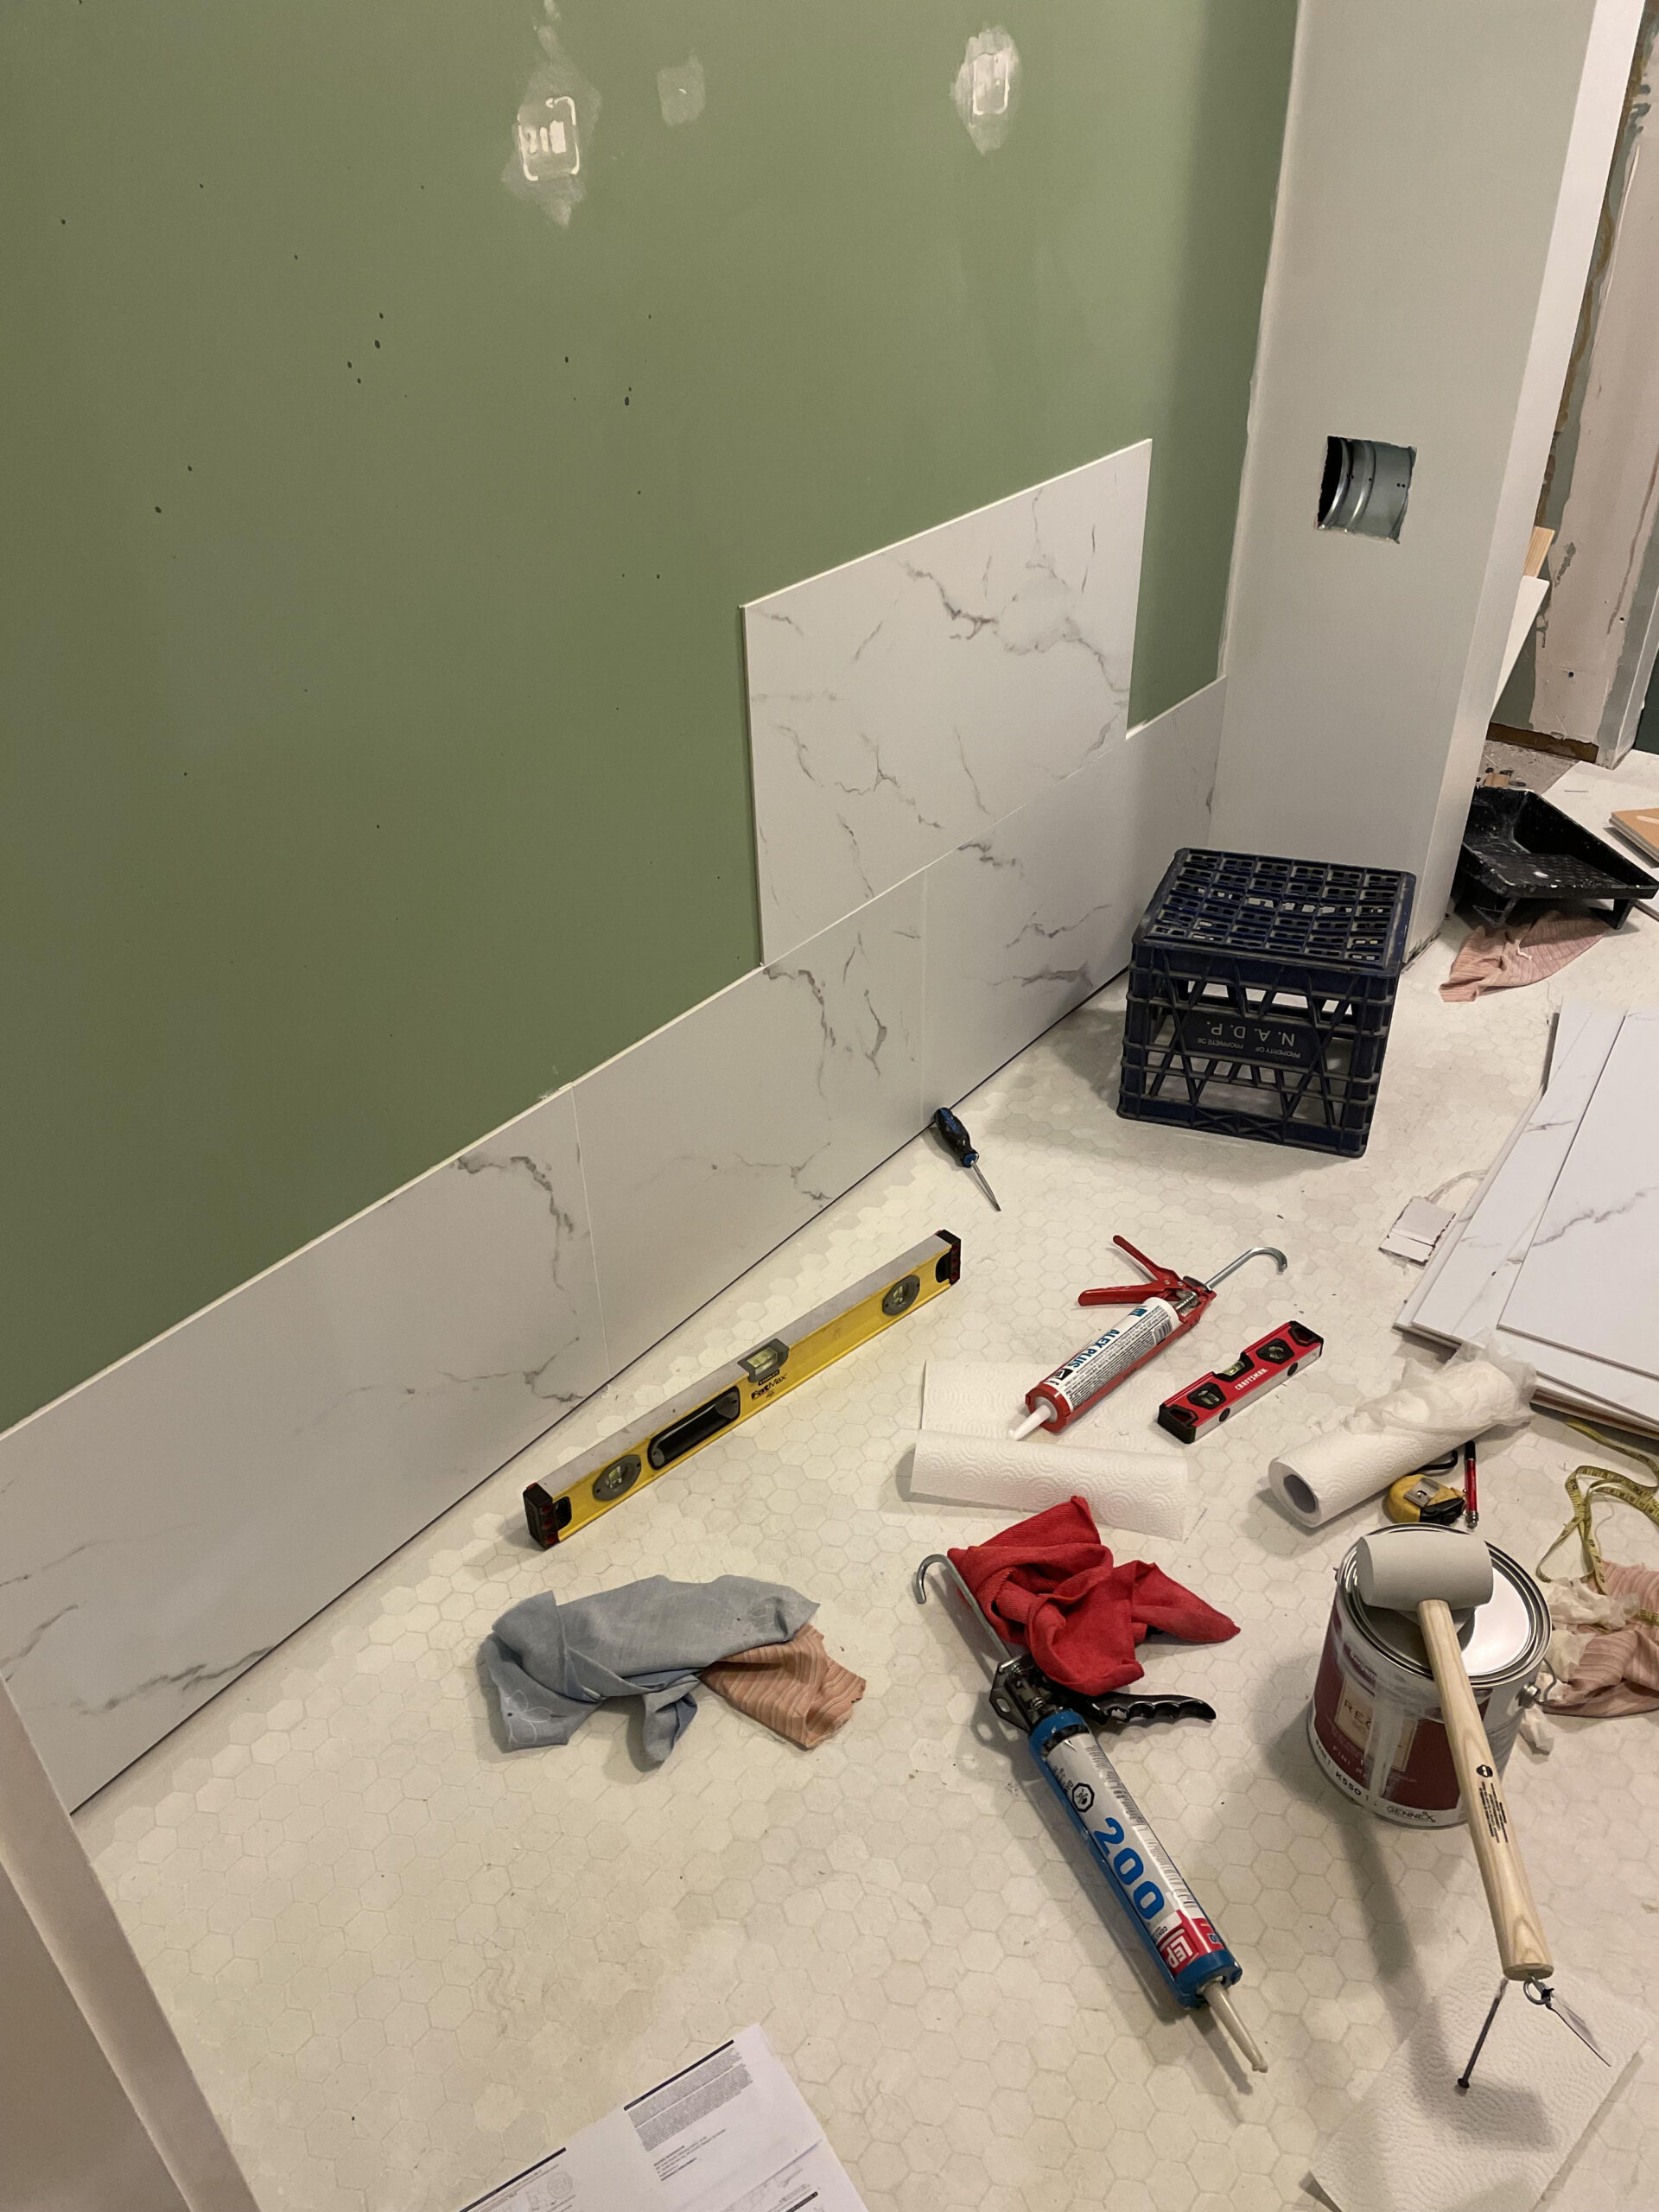
Cutting the tiles was pretty straight forward. It was simple for a straight cut, but I had one L shaped cut near the top left corner and that did take a little more patience. It cuts similar to drywall; you score and snap.
Use your construction glue, I’ve linked the stuff I used below (PL 200). I used about 3-4 tubes for this wall. Put a dab in all the open spots then peel away the backing and apply to the wall. They do not move around once on the wall so you want to get it just right the first time. I didn’t have any problems with this. The first row I did I wrote the level marks on the wall and made sure it was level then it was a piece of cake from there. I checked each one to make sure it was level and it was, all the way up!
Did you know you can actually use these tiles in the shower? Yes, they are waterproof as long as you finish the seams with silicone. Since my wall is not on a shower, I used caulking with silicone in it (ALEX PLUS) and applied it to the edges of the tile on the wall before placing a new tile on top. At the end I went over the whole thing and placed a small amount over each seam (ALEX FLEX) and wiped away the excess with a damp cloth. It is recommended to only apply it before, not after the tiles are on, however I really liked the finish look of how I did it. As always, follow the instructions provided by the manufacturer.
Click HERE to read more about these self-adhesive tiles and all the different options! And here’s the before and after, what do you think?
Any questions! Let me know in the comments!
We would love to see your renovations so please share with us by tagging us on Instagram @sewbrightcreations or email them to [email protected].
Shop this post …
Here are some of the tools and supplies I used for the board and batten <<some links are affiliate links where I may earn a small commission at no extra cost to you, if you shop by clicking on my links. Your support is always greatly appreciated!>>


Click HERE for more of my Amazon Favourites!


