
The room was a combined effort between my husband and I plus help from my parents on the finishing touches. I hope you enjoy the before and after photos and maybe get some inspiration for your special spaces! Don’t forget to save the images to your Pinterest boards for later <3
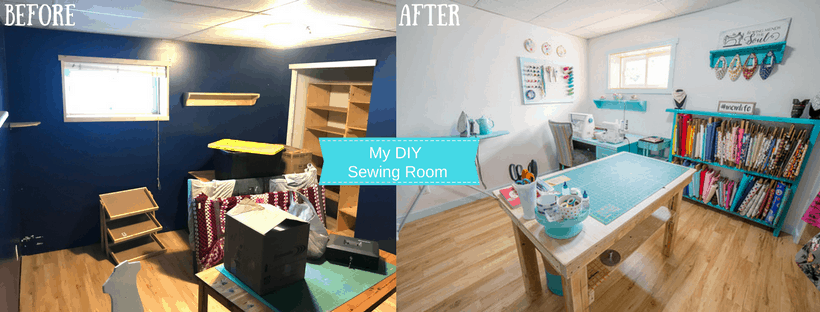
My DIY Sewing Room Makeover
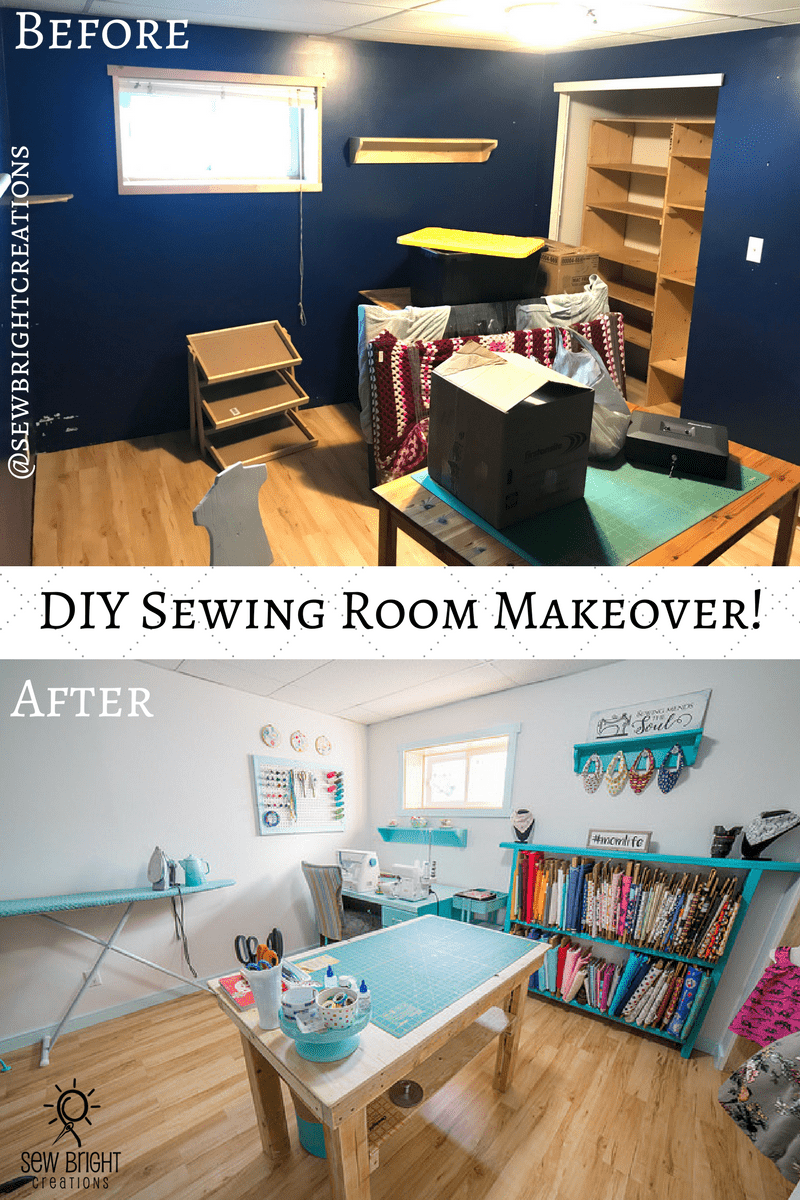
From Navy to White
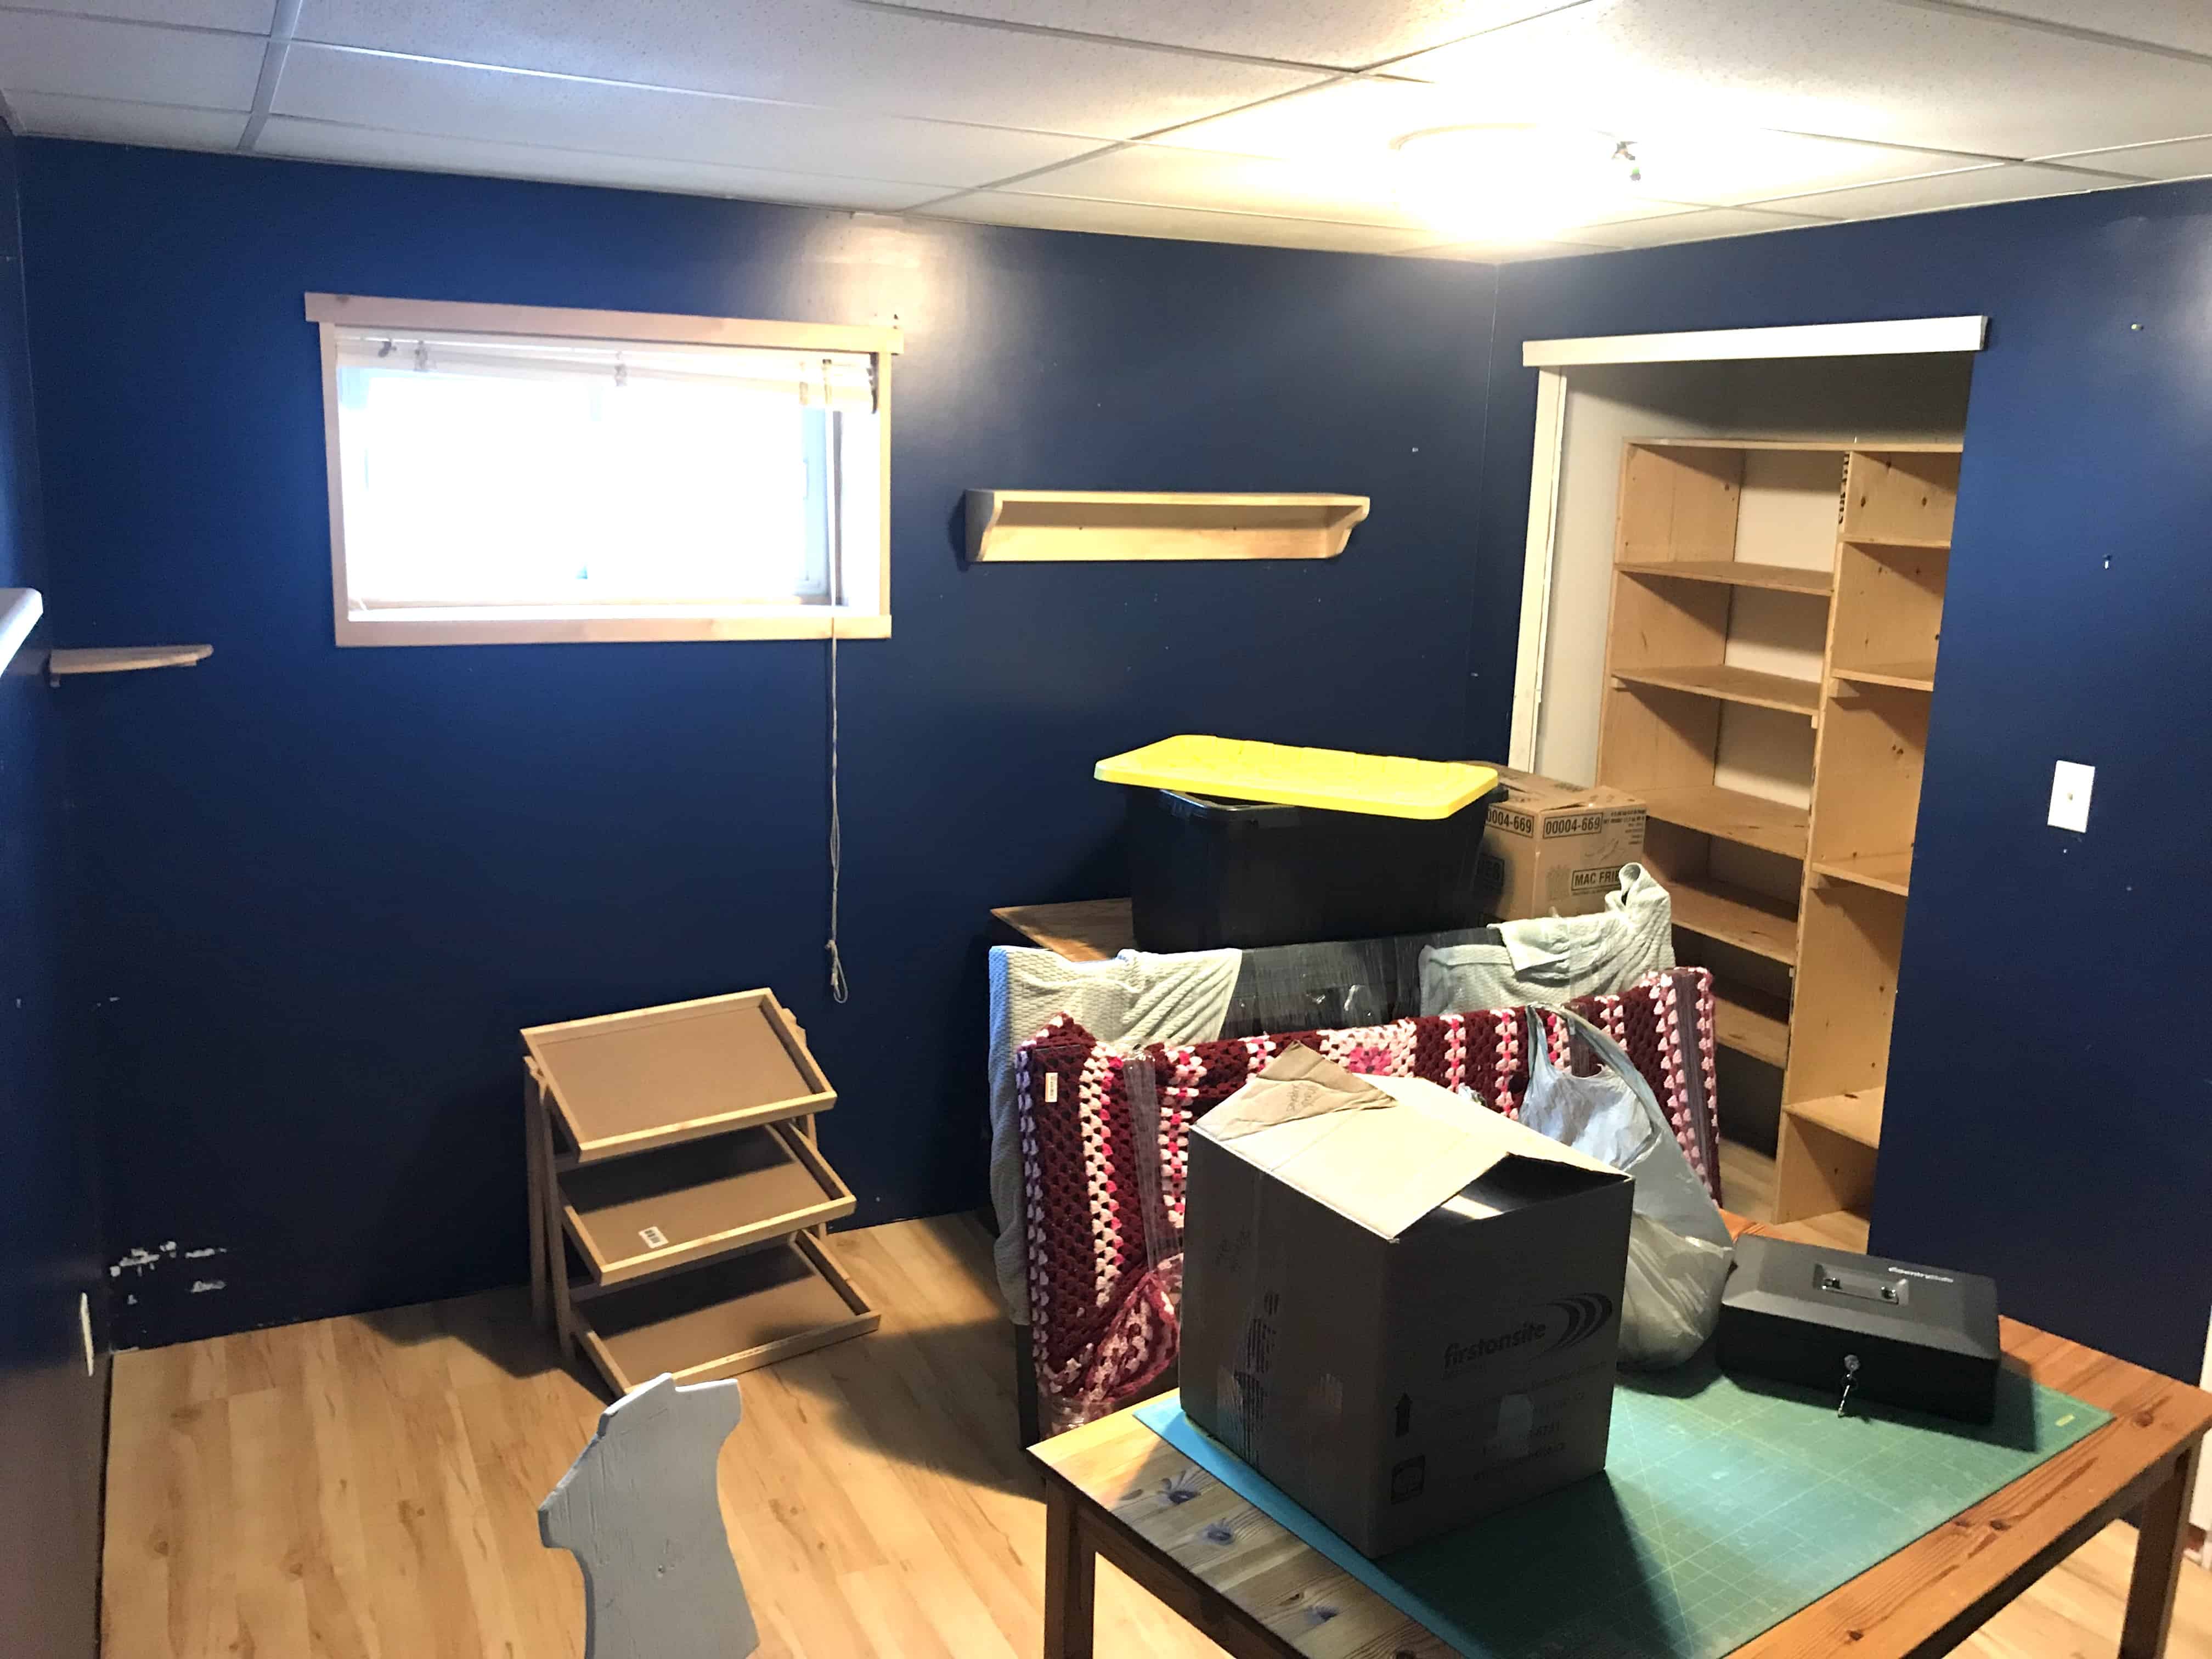
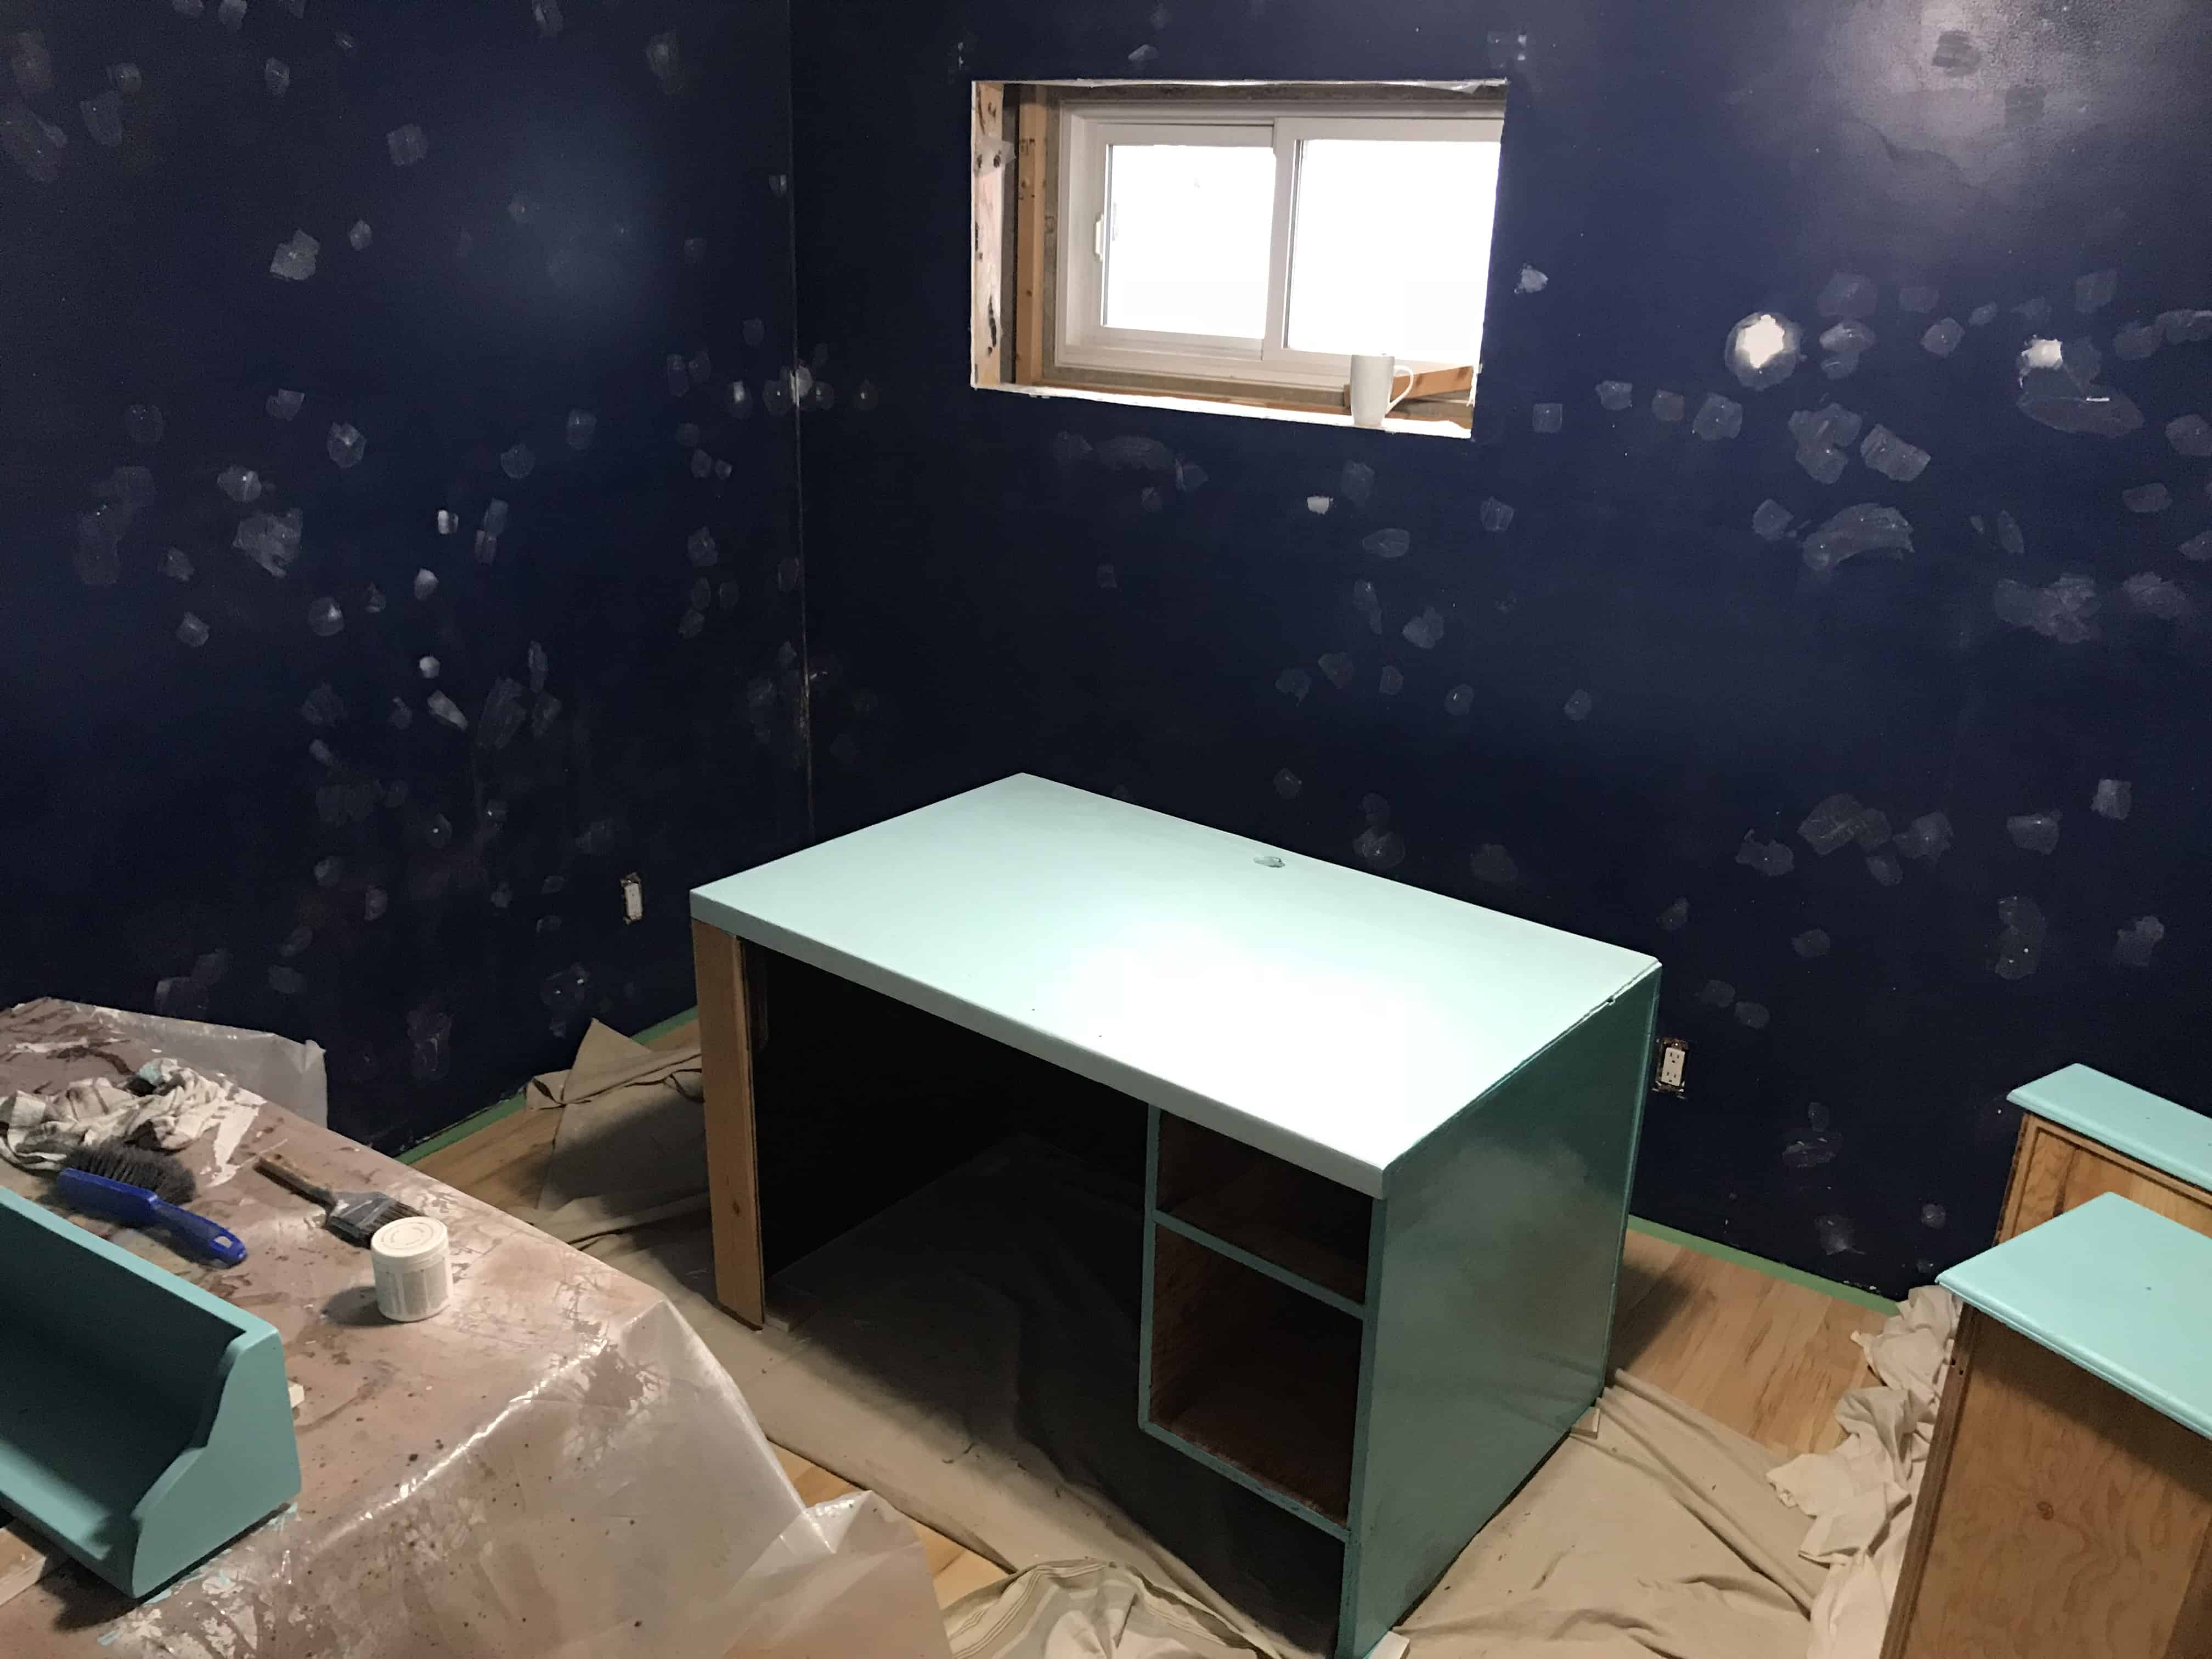
This is what we started with, dark navy walls. I removed all the existing baseboards and casing, filled the holes in the walls (there were a TON), sanded, sanded again and put on one coat of primer and three coats of Benjamin Moore white paint. I really like the Benjamin Moore paint because it covers very well, however I think it could have used another coat to completely cover all the navy, but after four coats in total we were DONE! Read more HERE for a quick guide on renovating a bedroom. We followed these same steps.
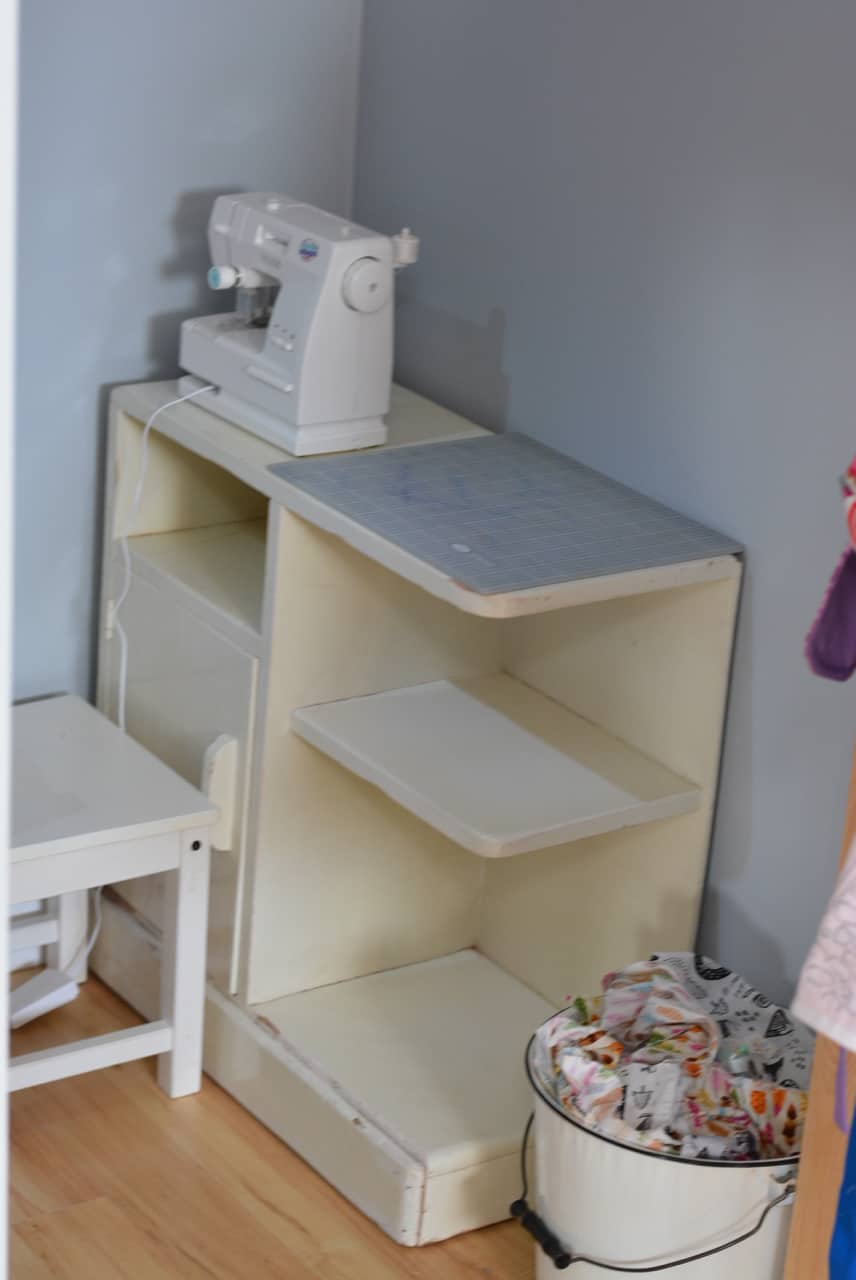
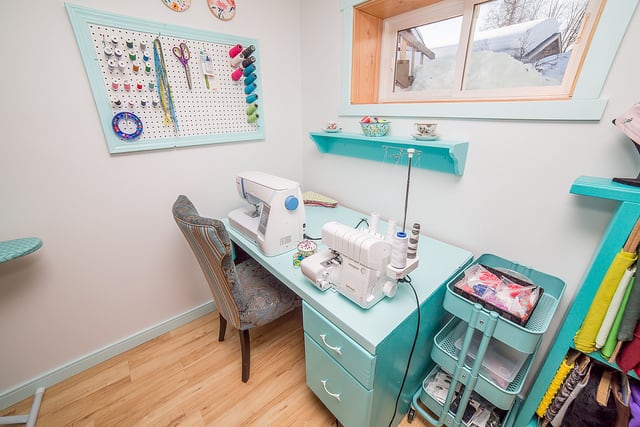
The Sewing Desk
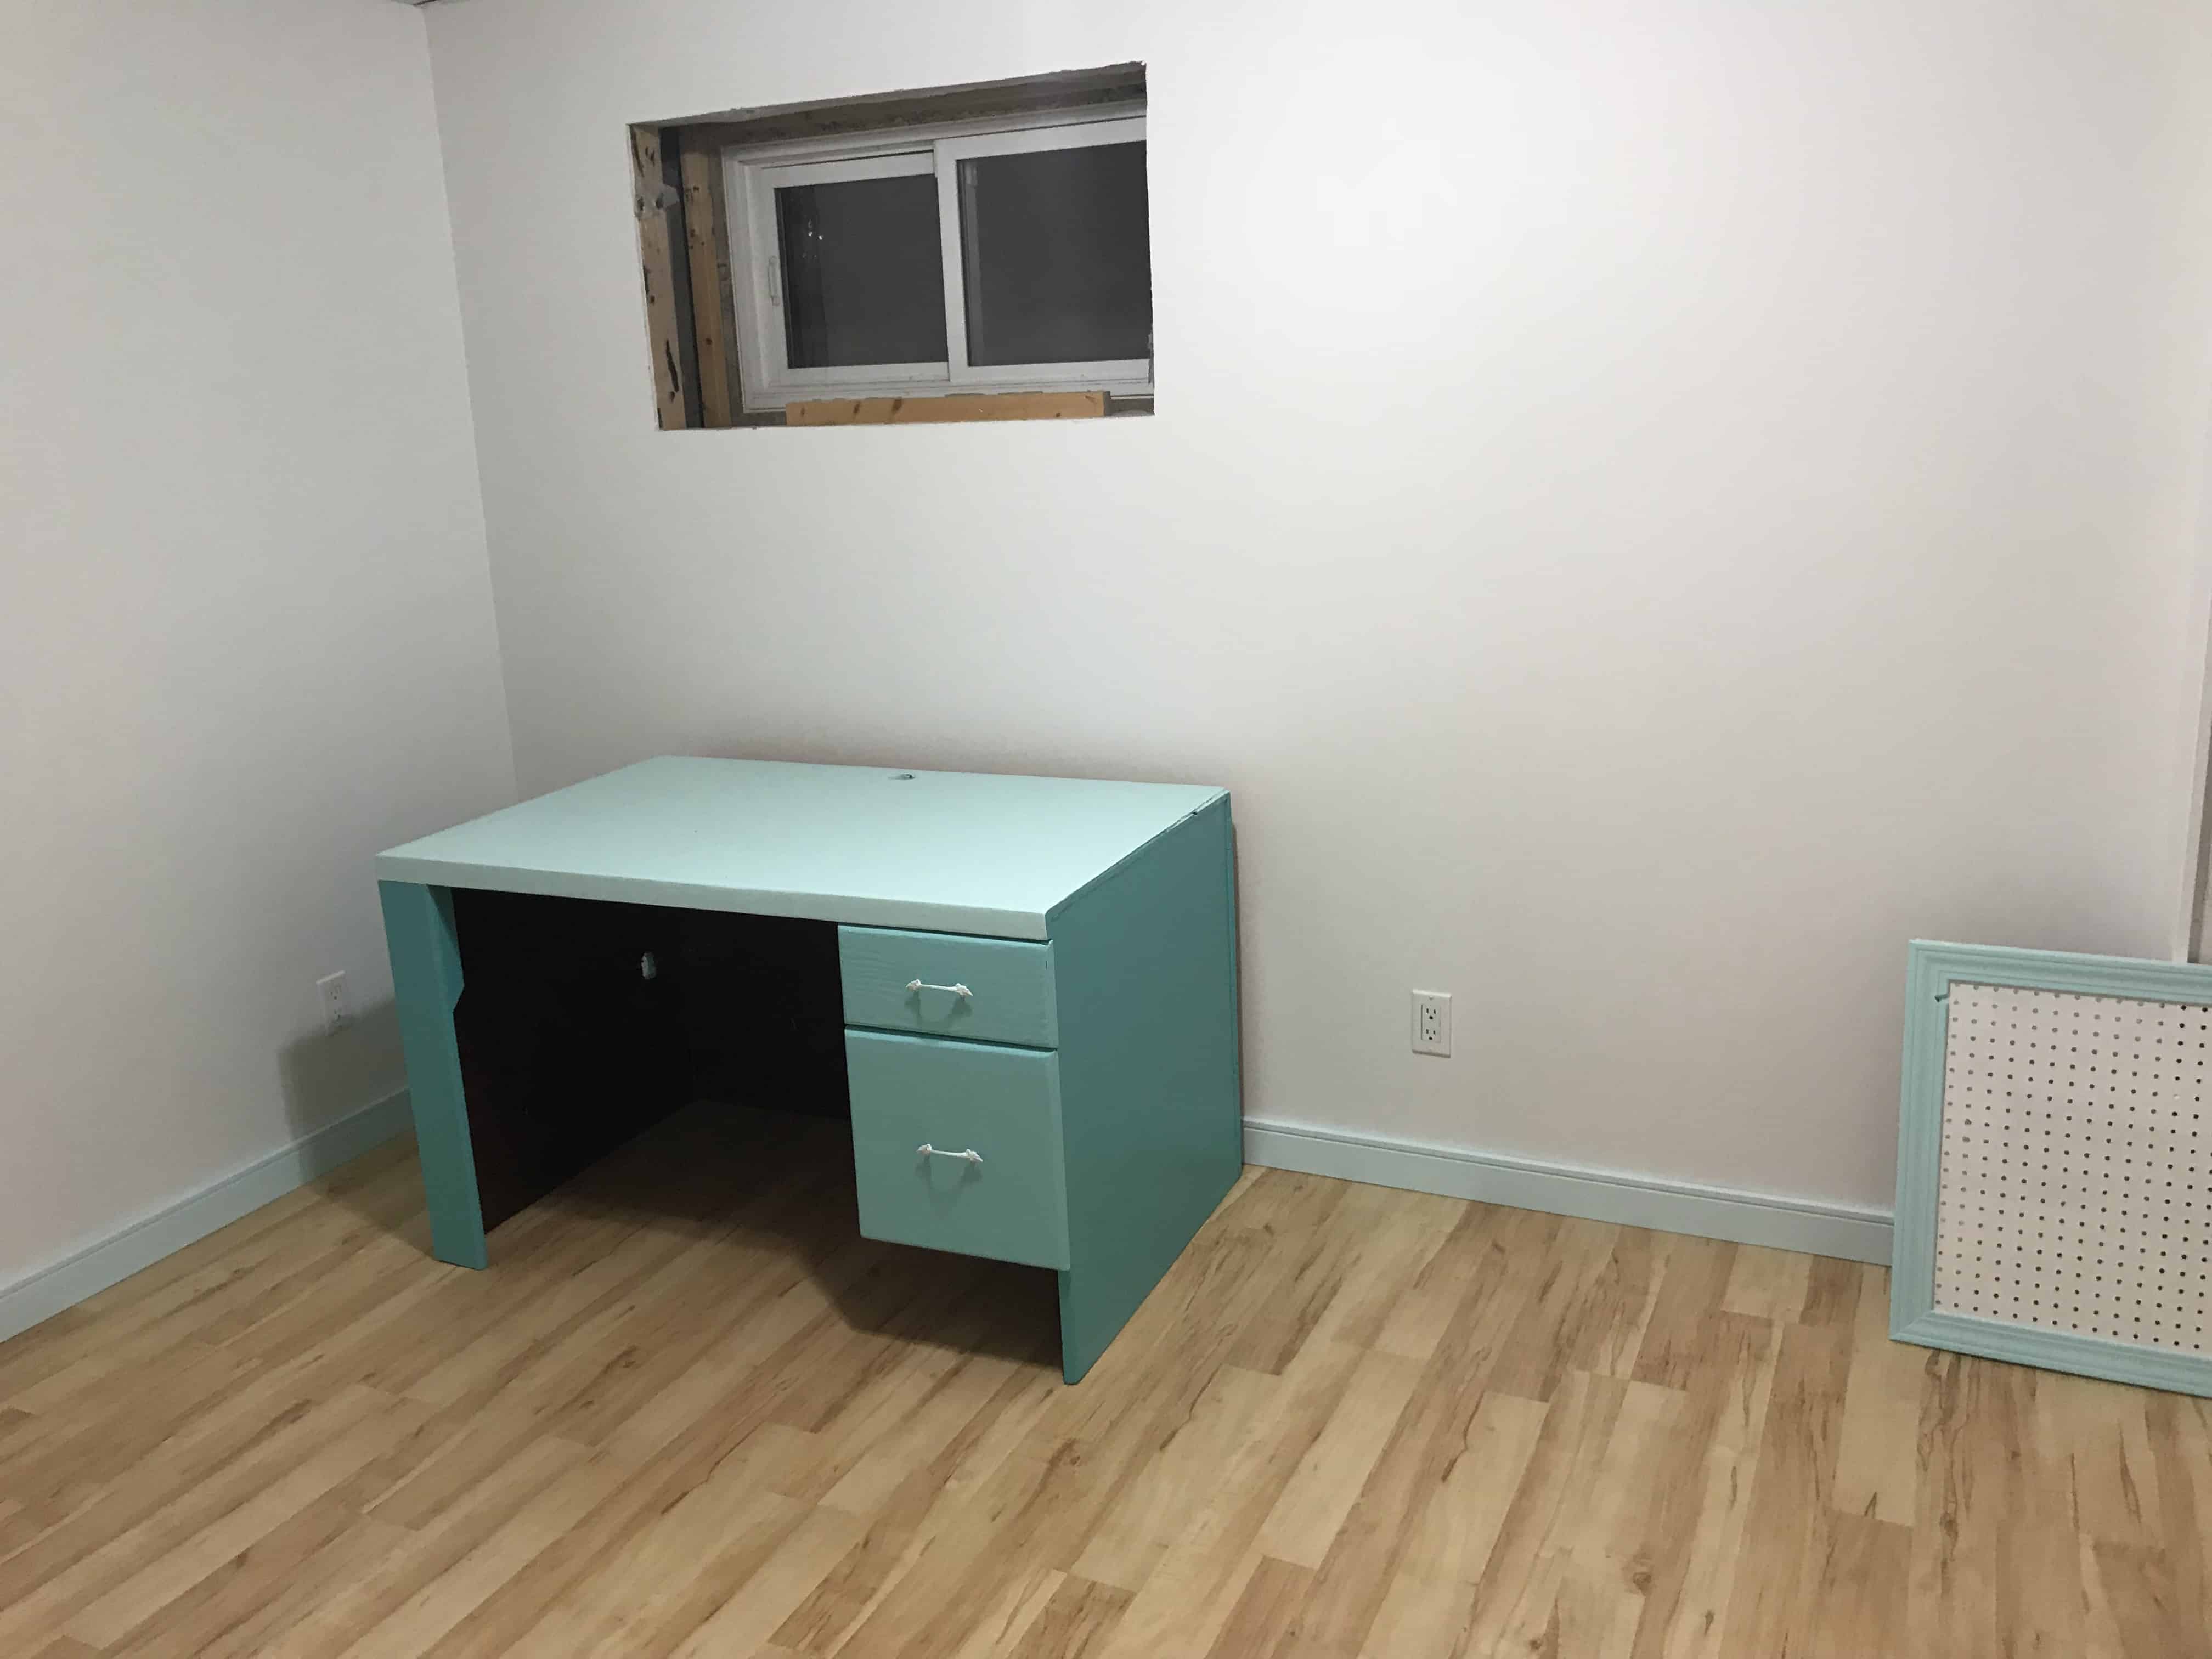
This desk was actually left in the room from the previous owners. It is solid wood, so I painted it! I bought four small cans of Benjamin Moore turquoise paint, one of each shade from the same paint colour chip and I mixed and matched for the room decor, including the desk. I also removed the handles on the desk drawers, gave them a light sand and painted them with a lighter shade of the turquoise paint. Once completely dried I gave them a very light sand and then coated in varathane.
The Benjamin Moore colours from lightest to darkest were Barely Teal (2048-70), Jamaican Aqua (2048-60), Tropicana Cabana (2048-50) and Poolside Blue (2048-40).

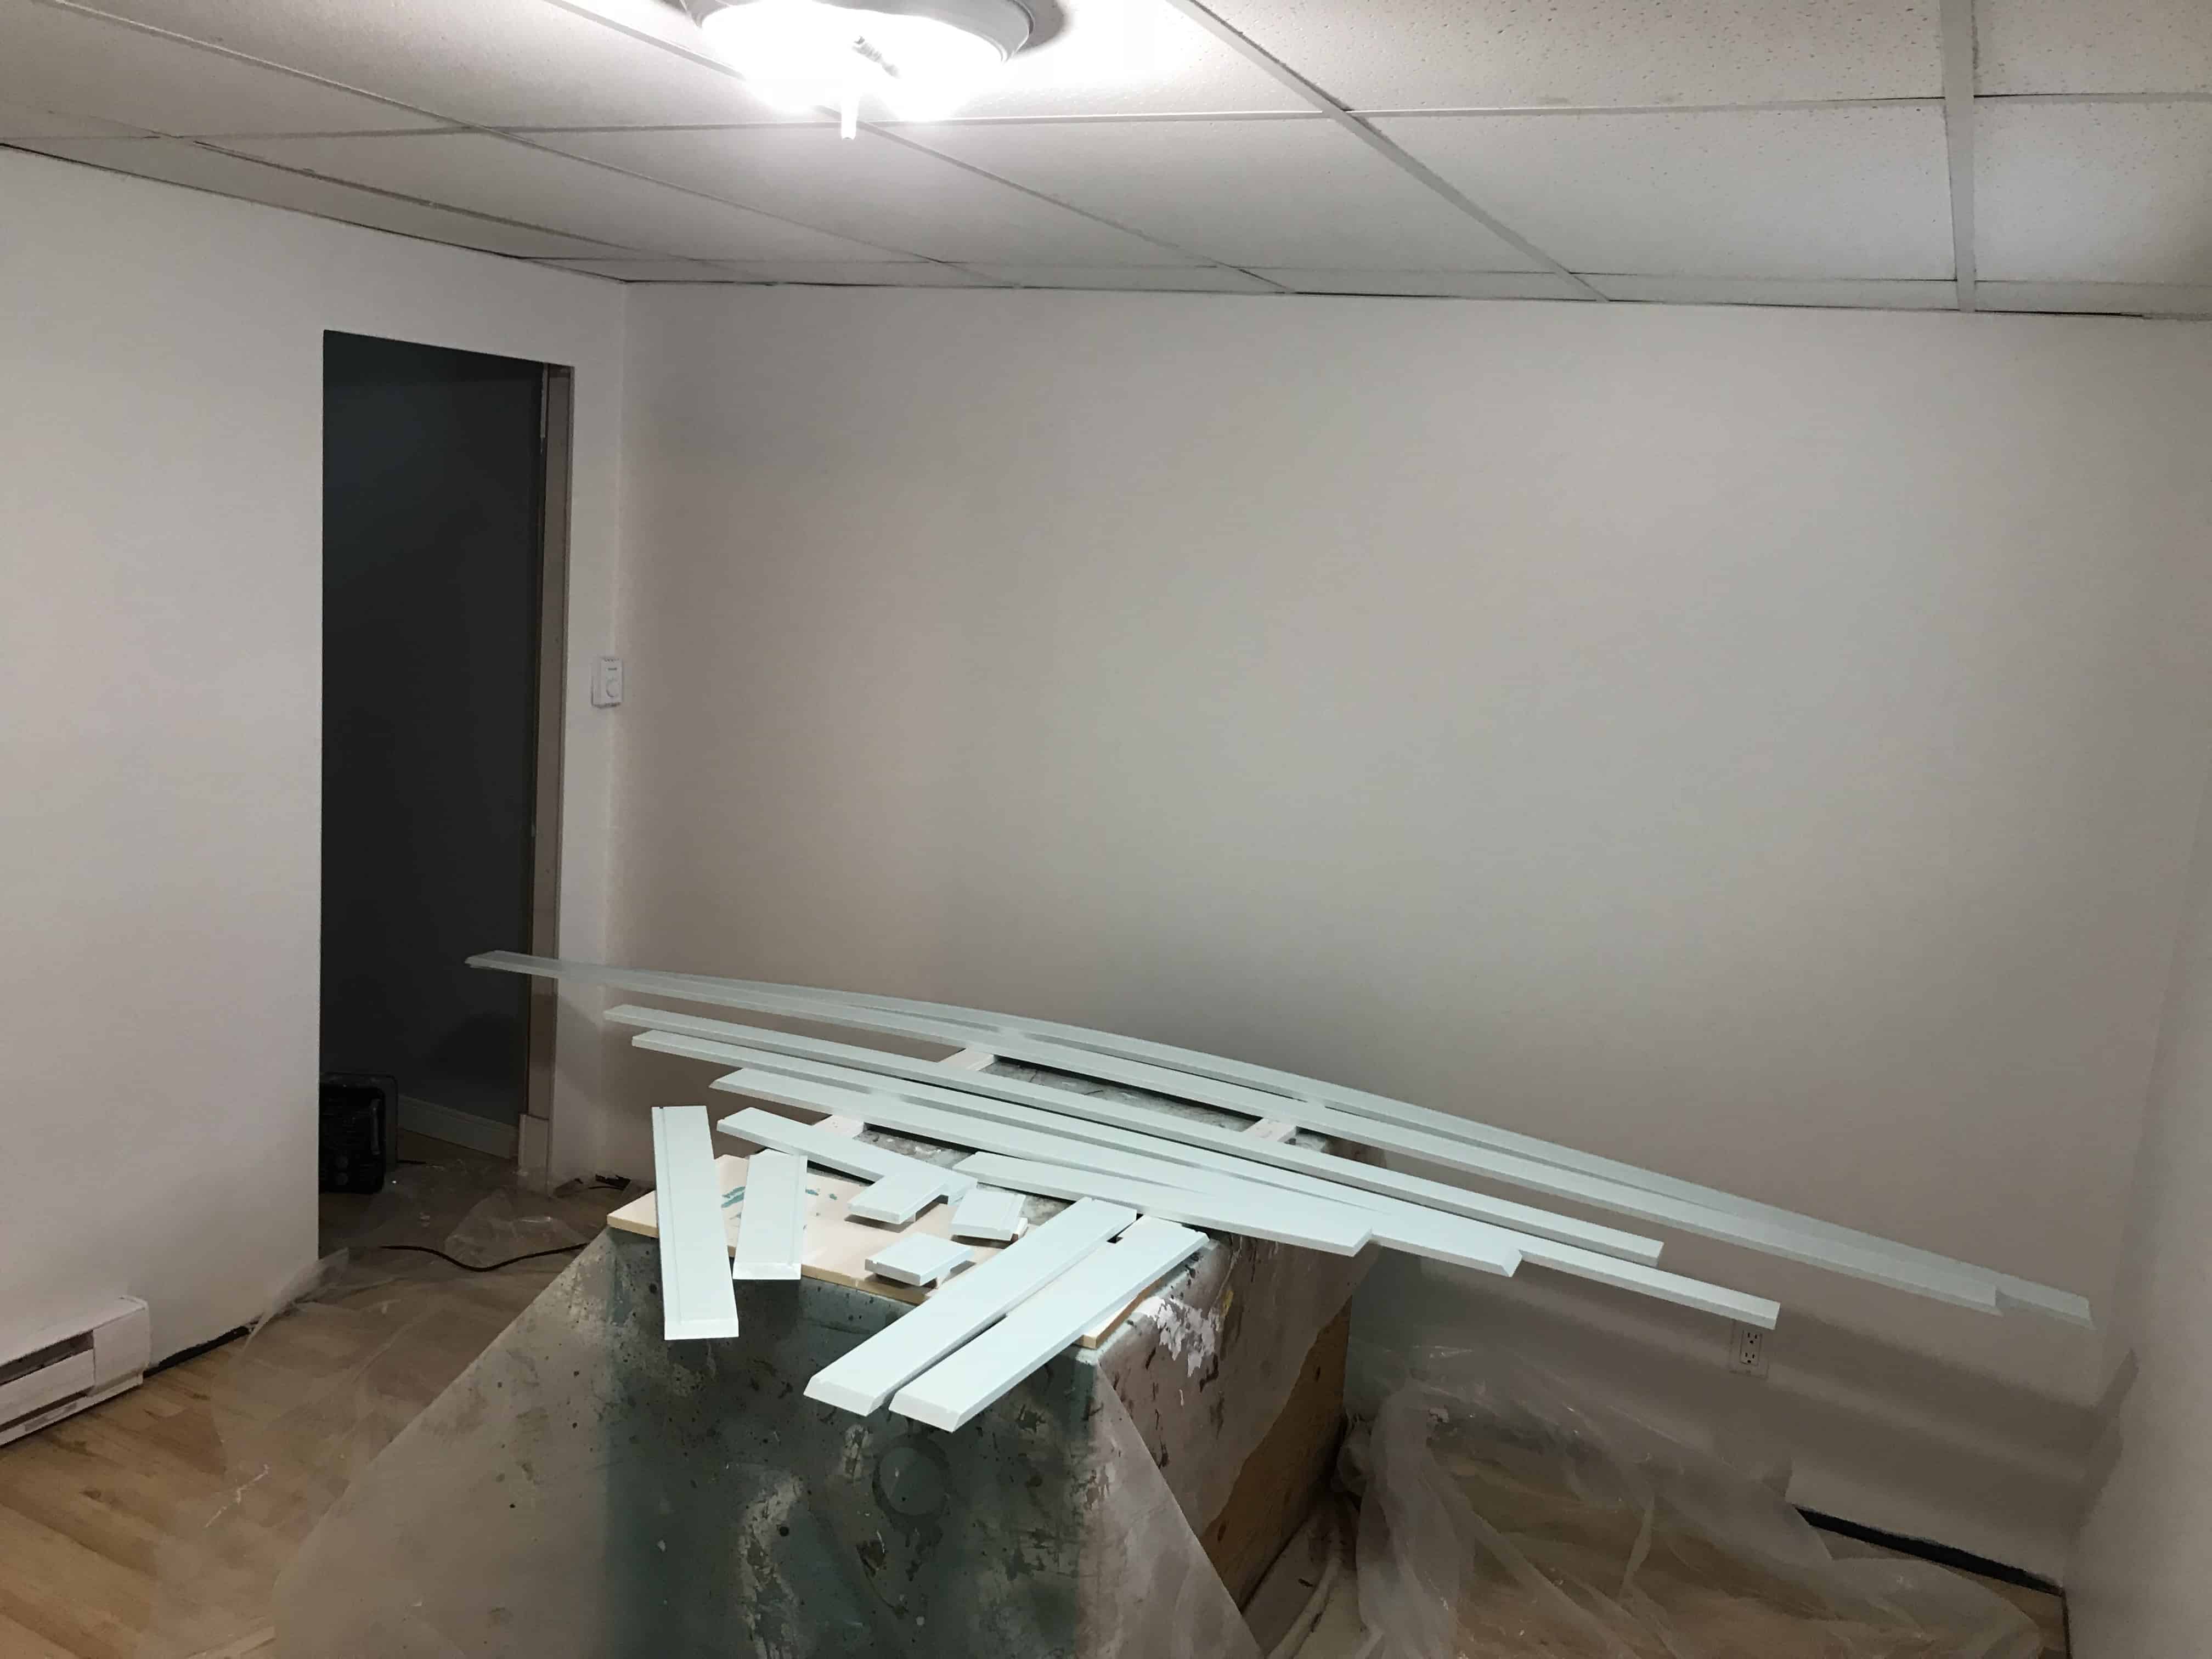
The Trim
We used the same MDF board as my daughter’s room, except this one was painted very light turquoise – the lightest shade on the colour chip.
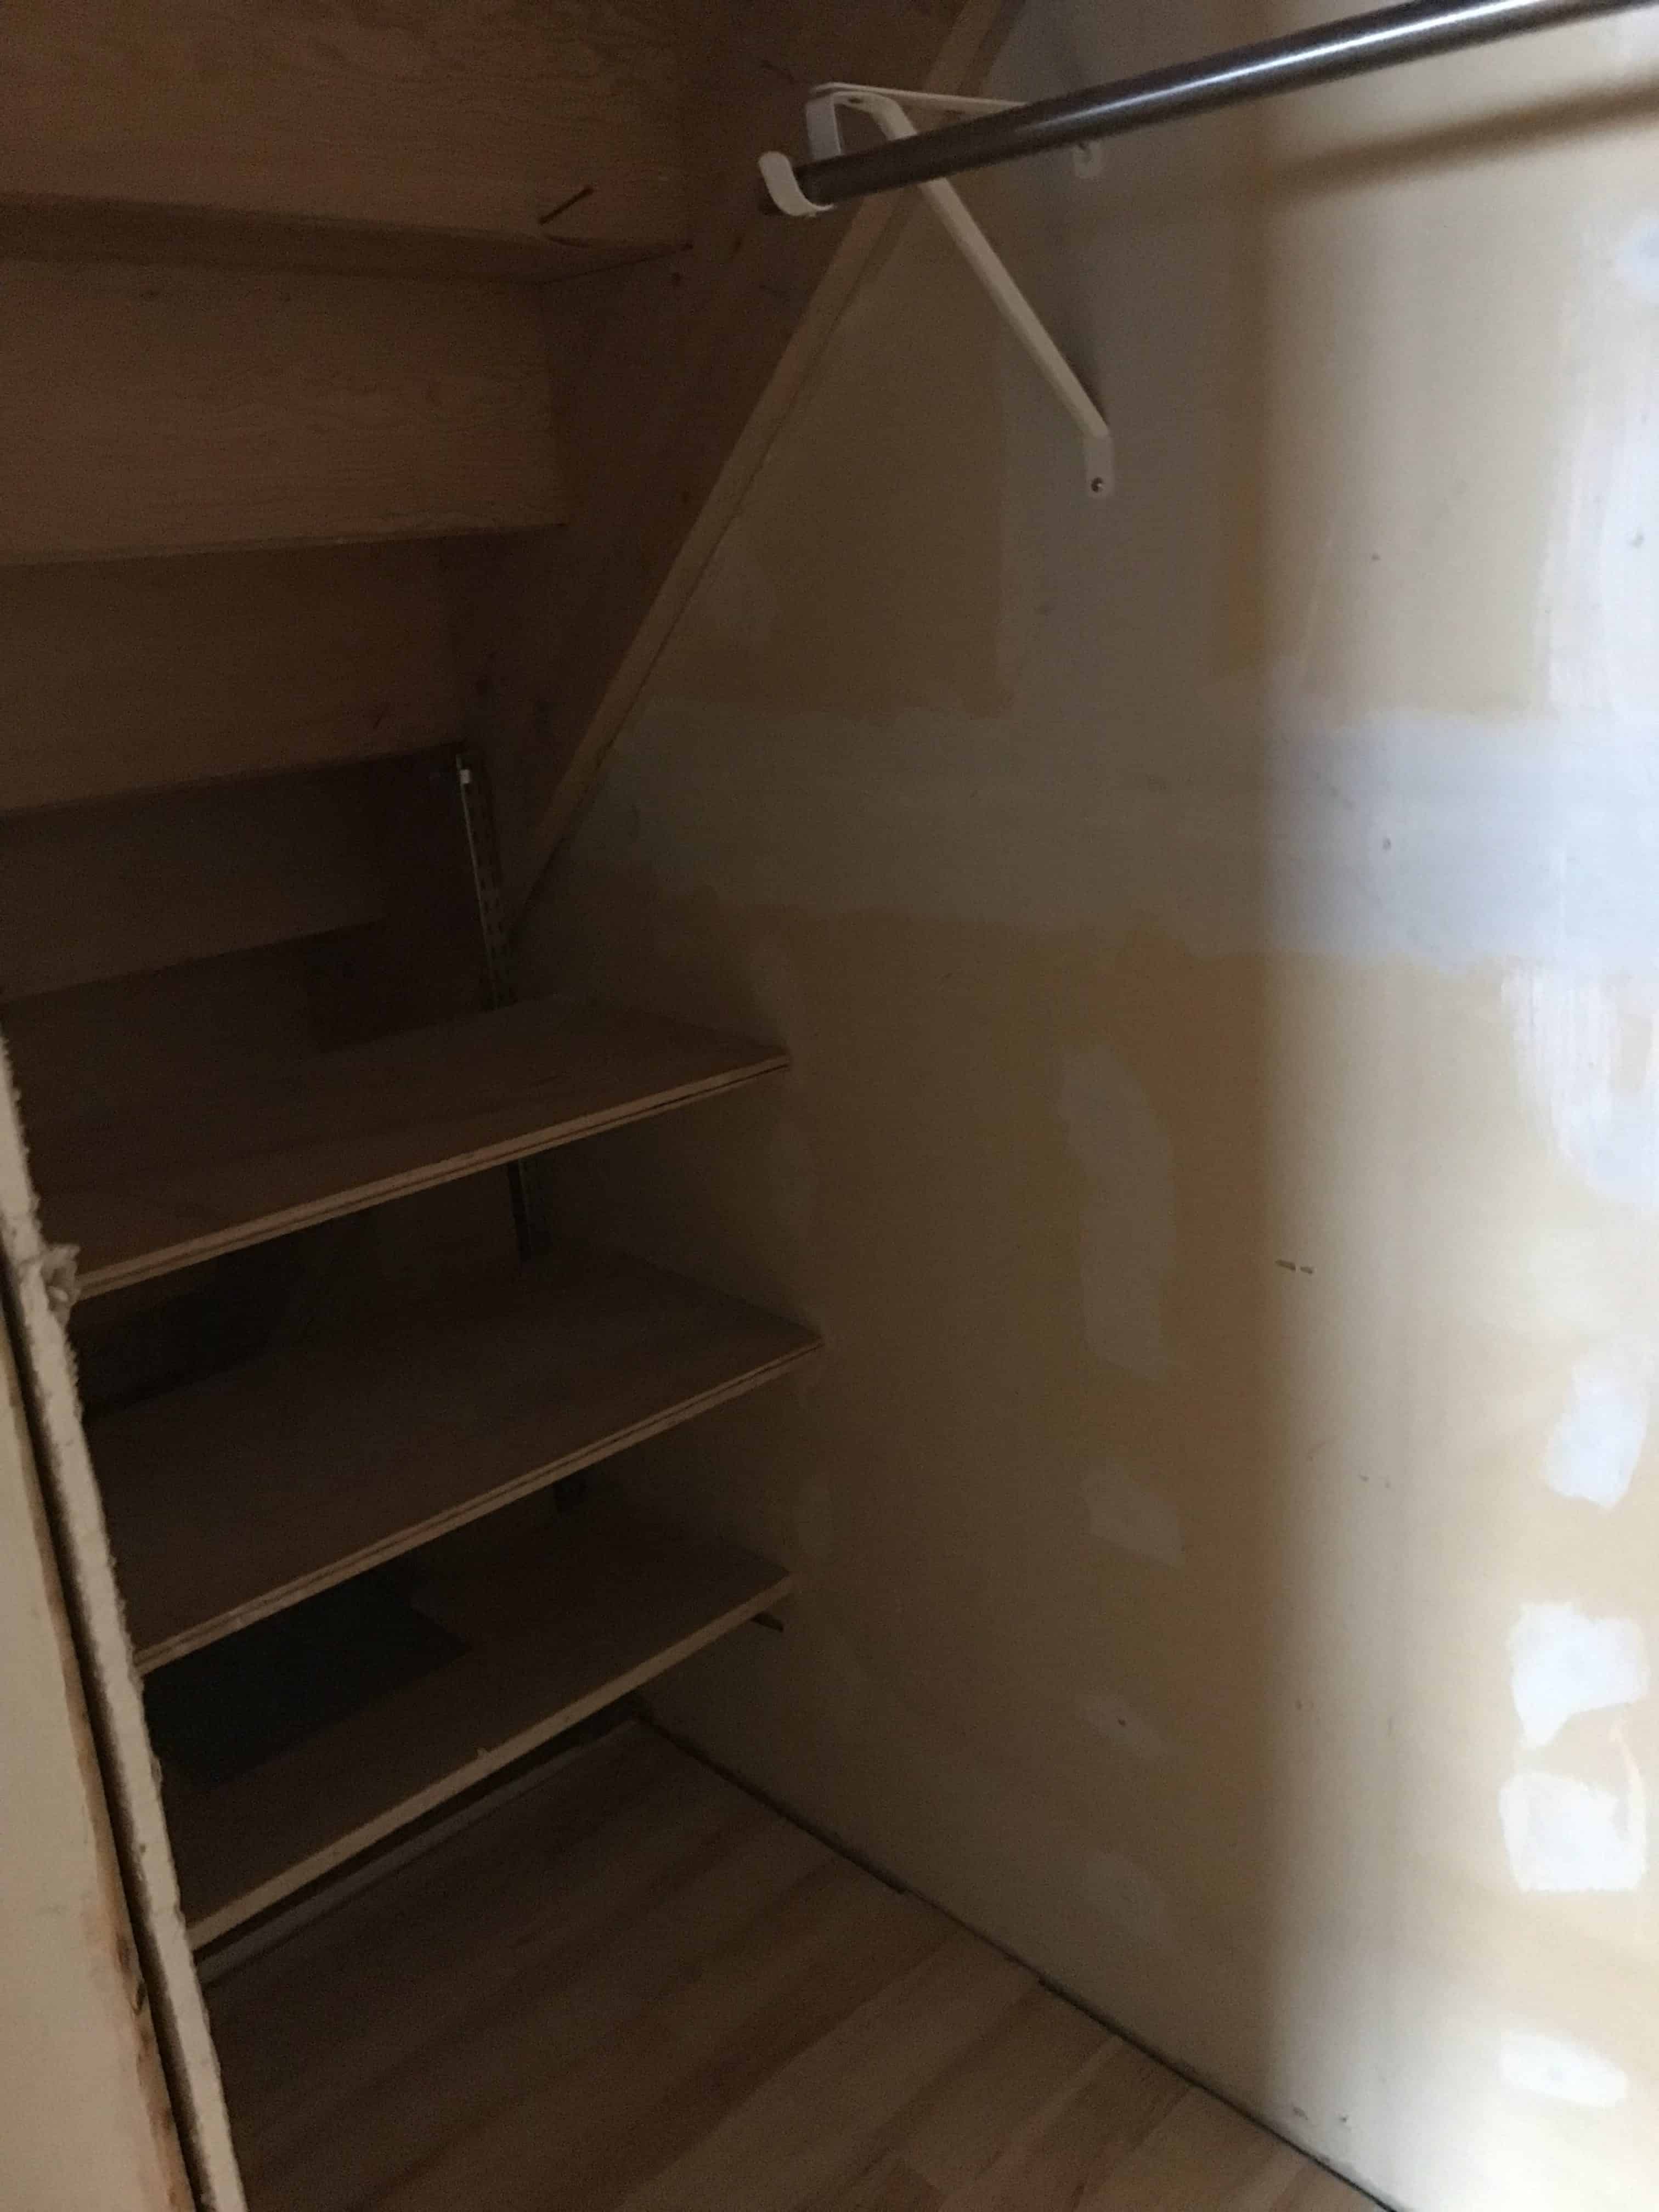
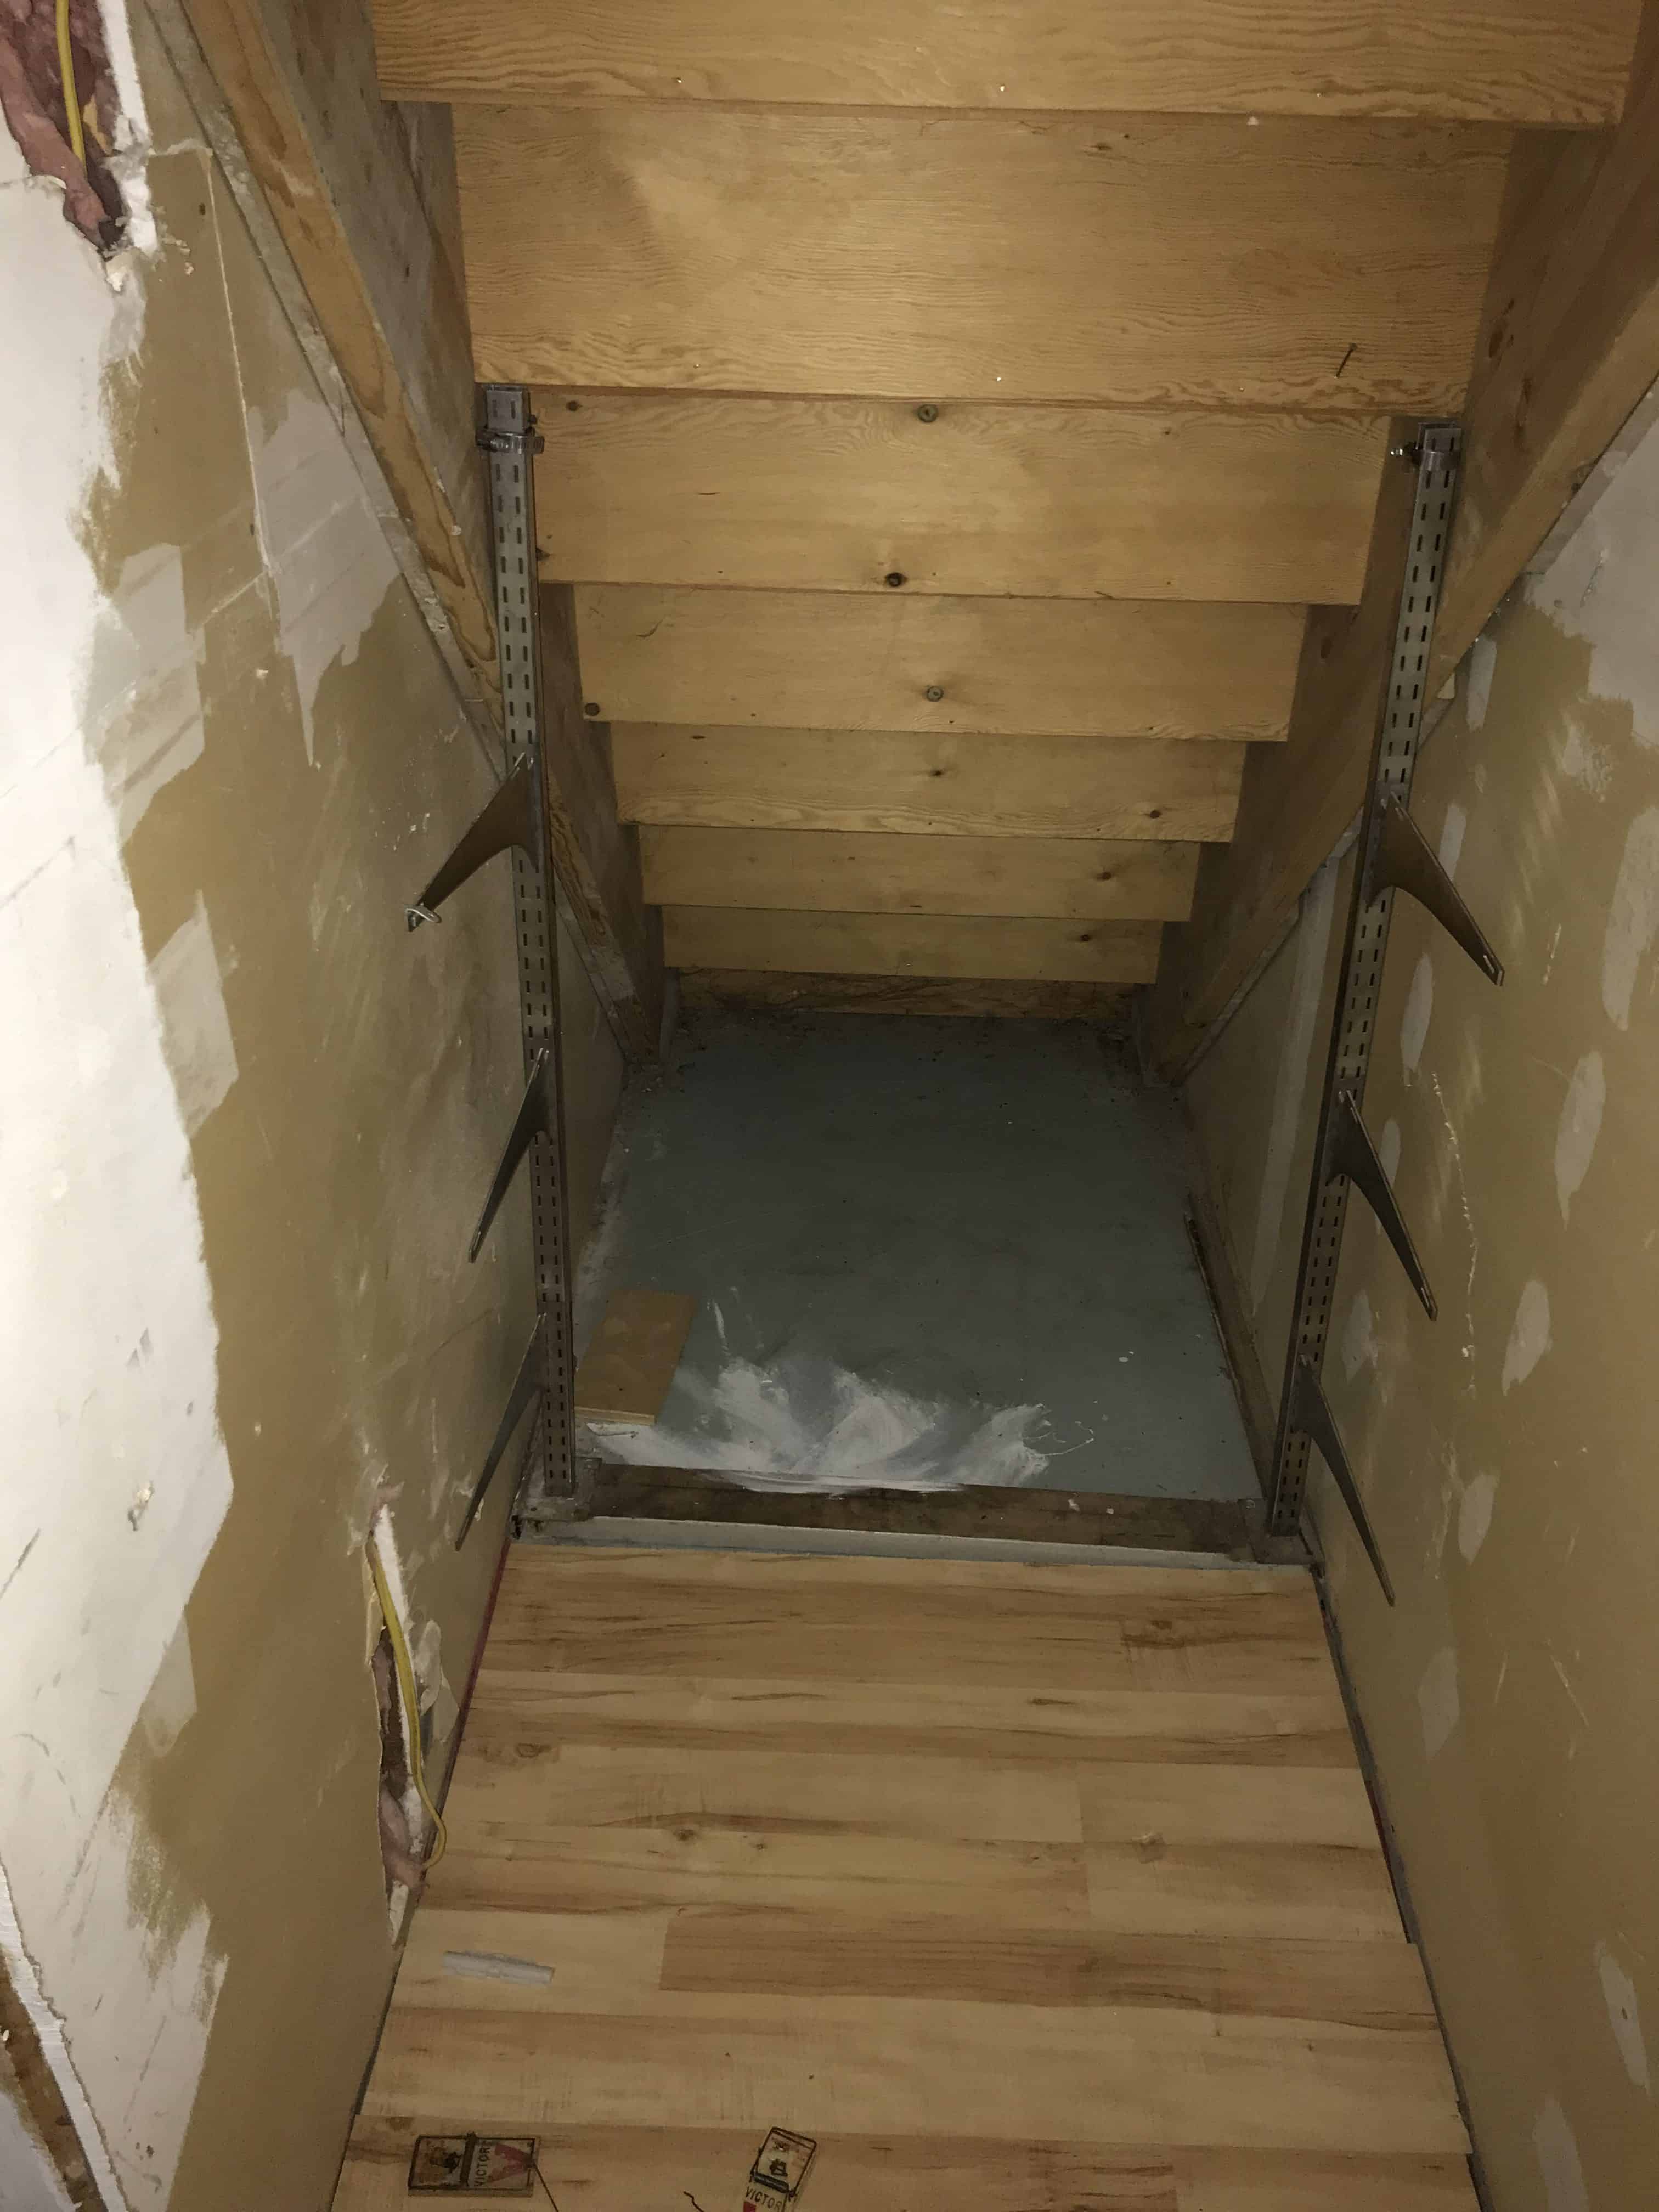
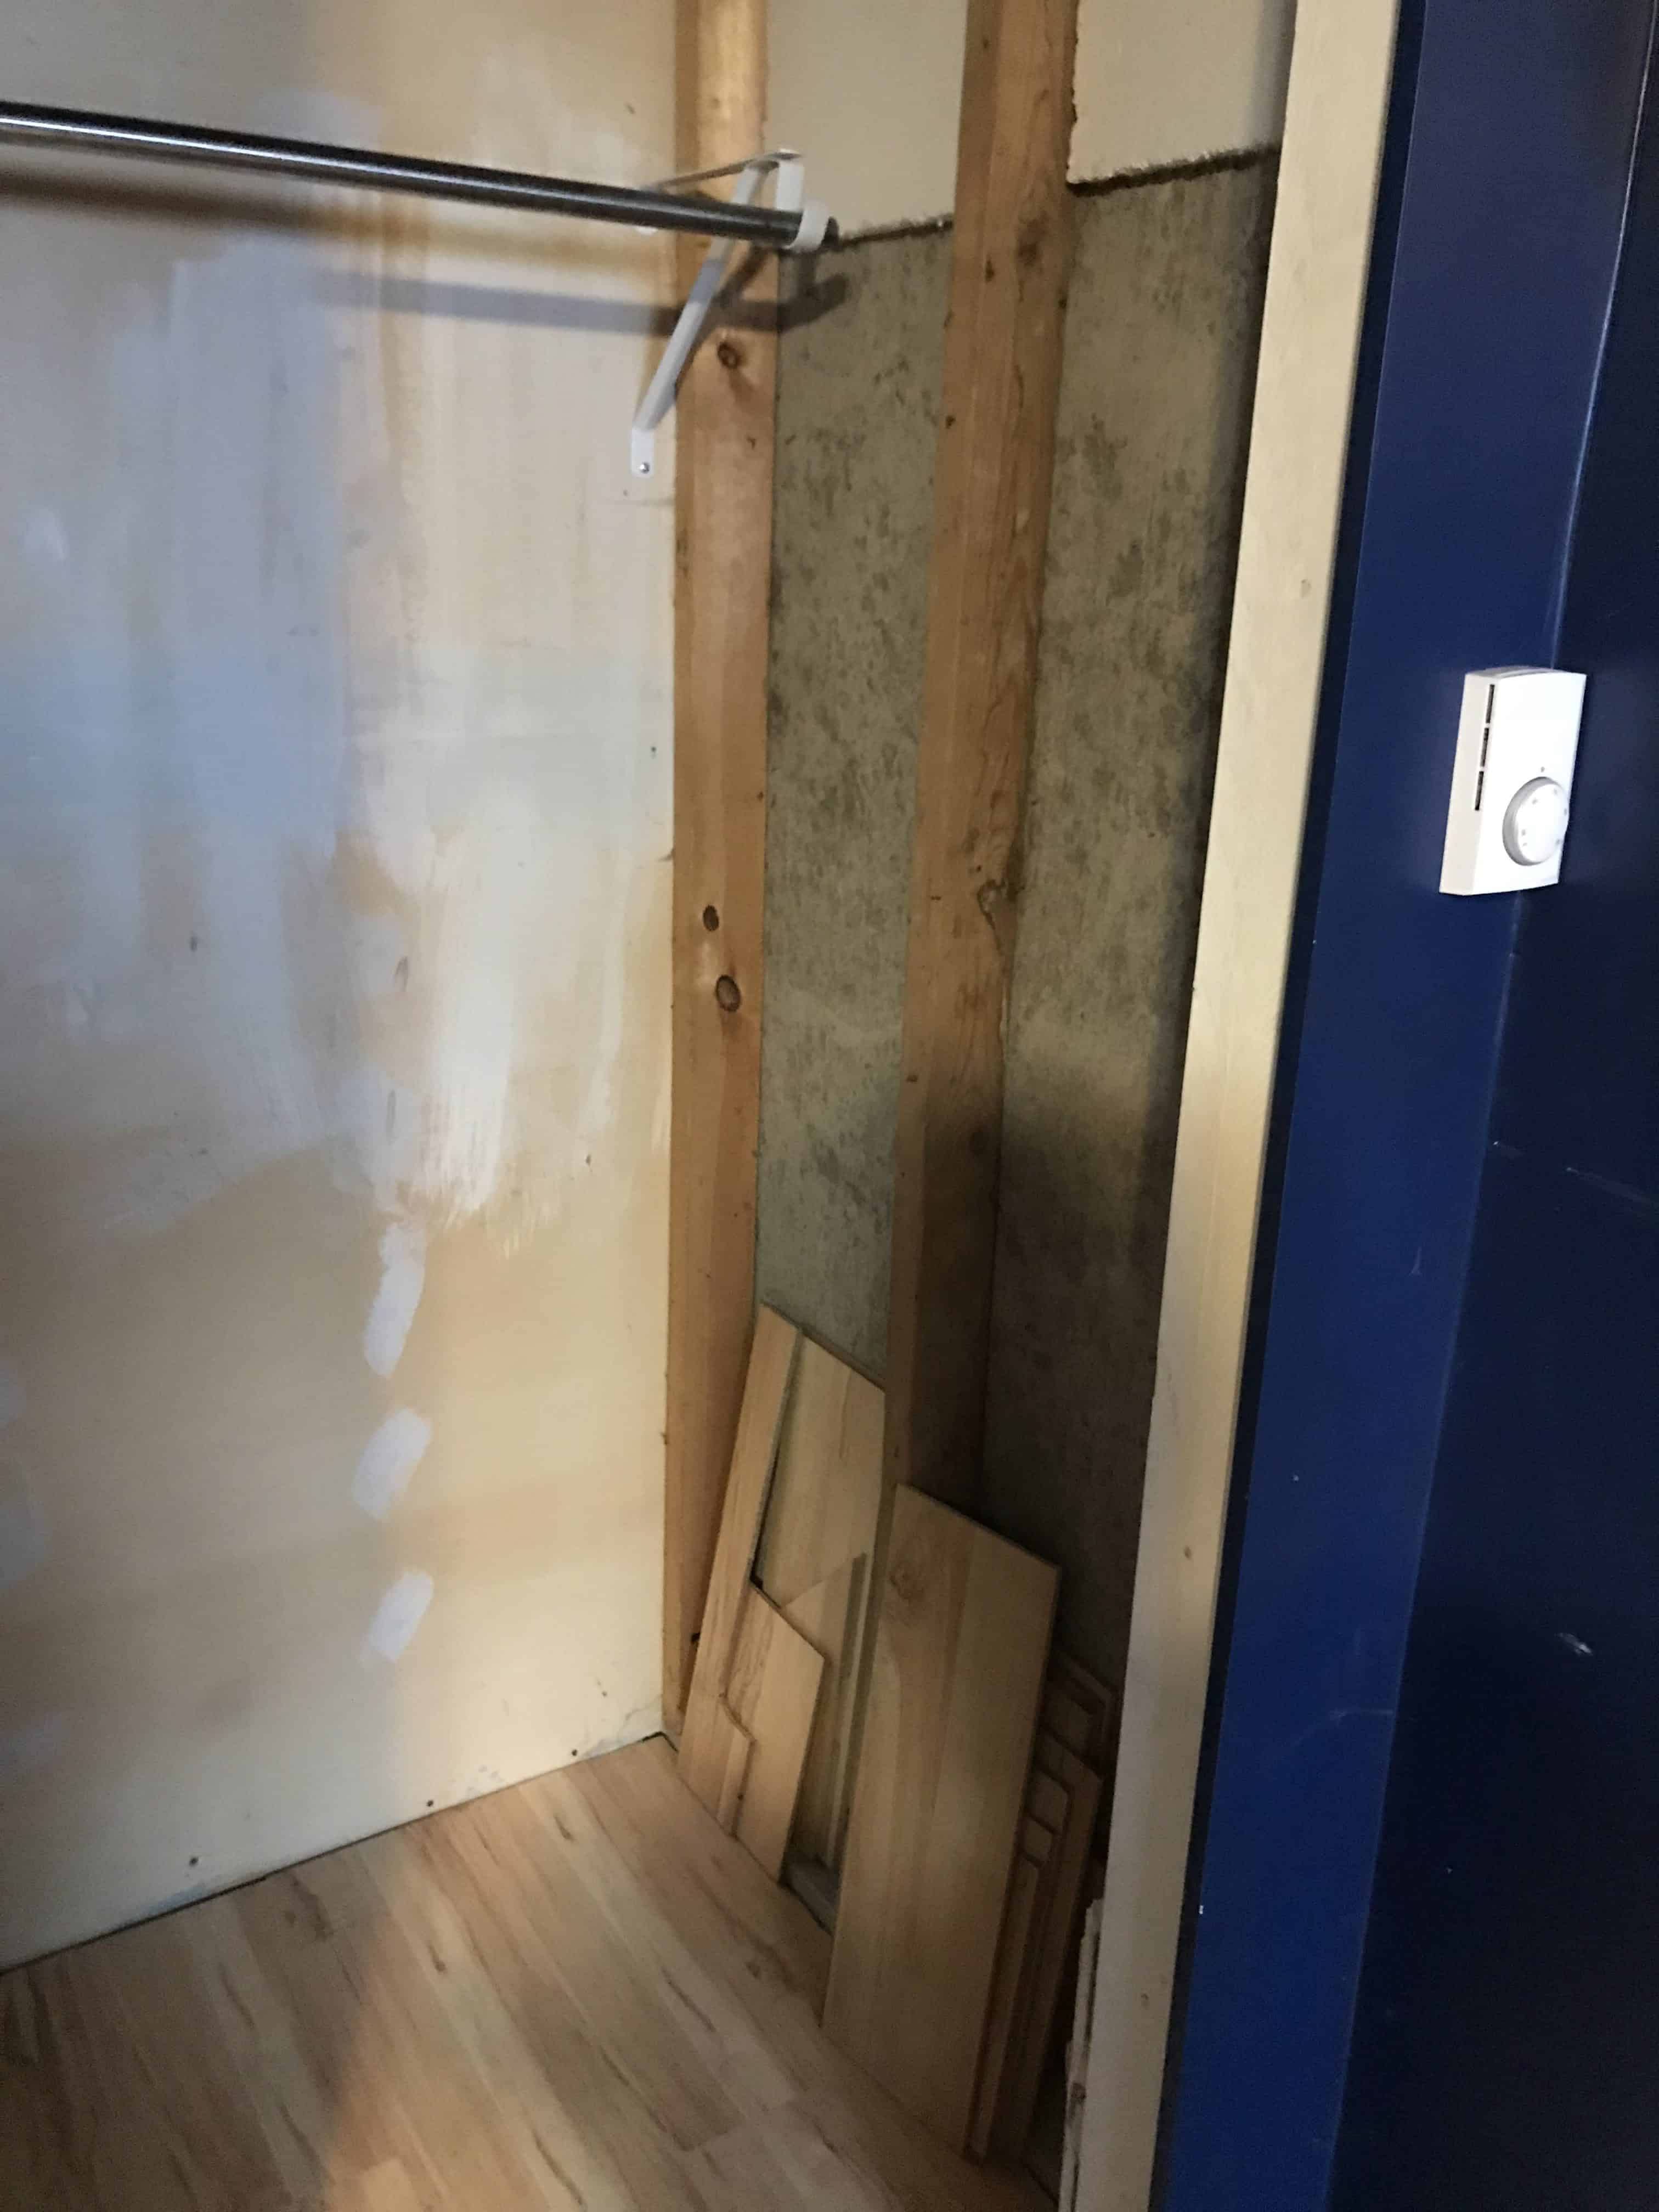
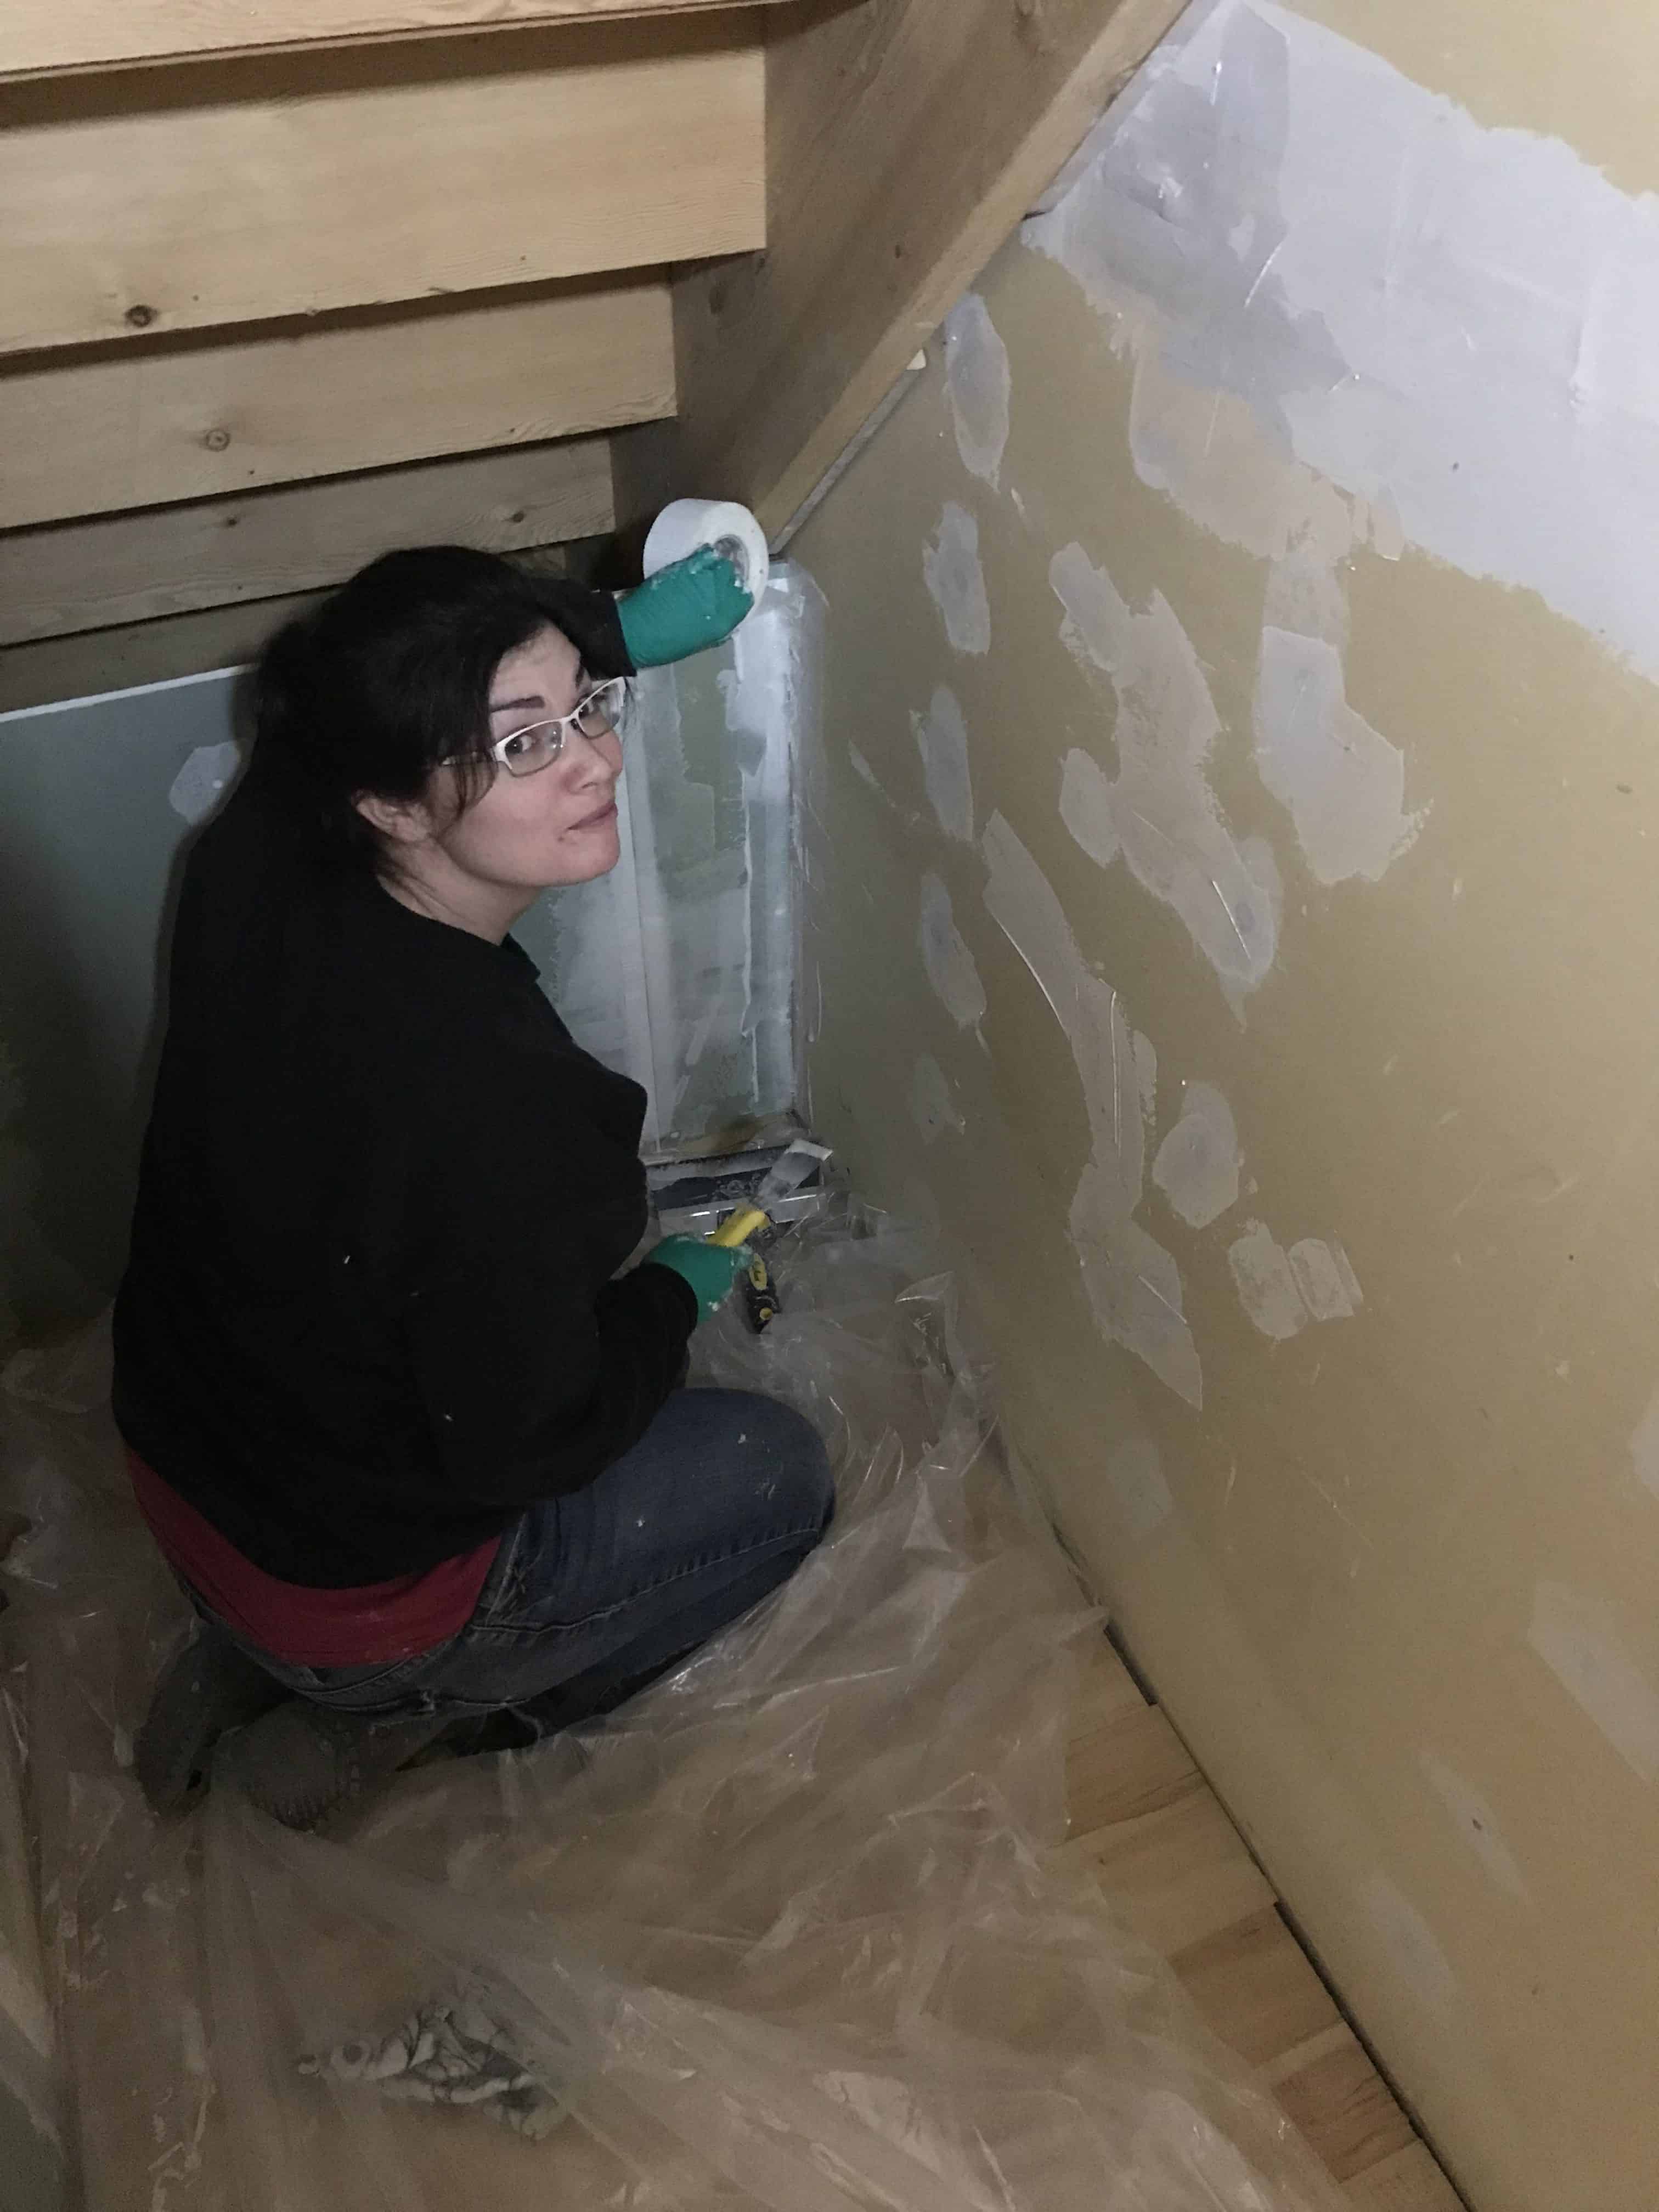
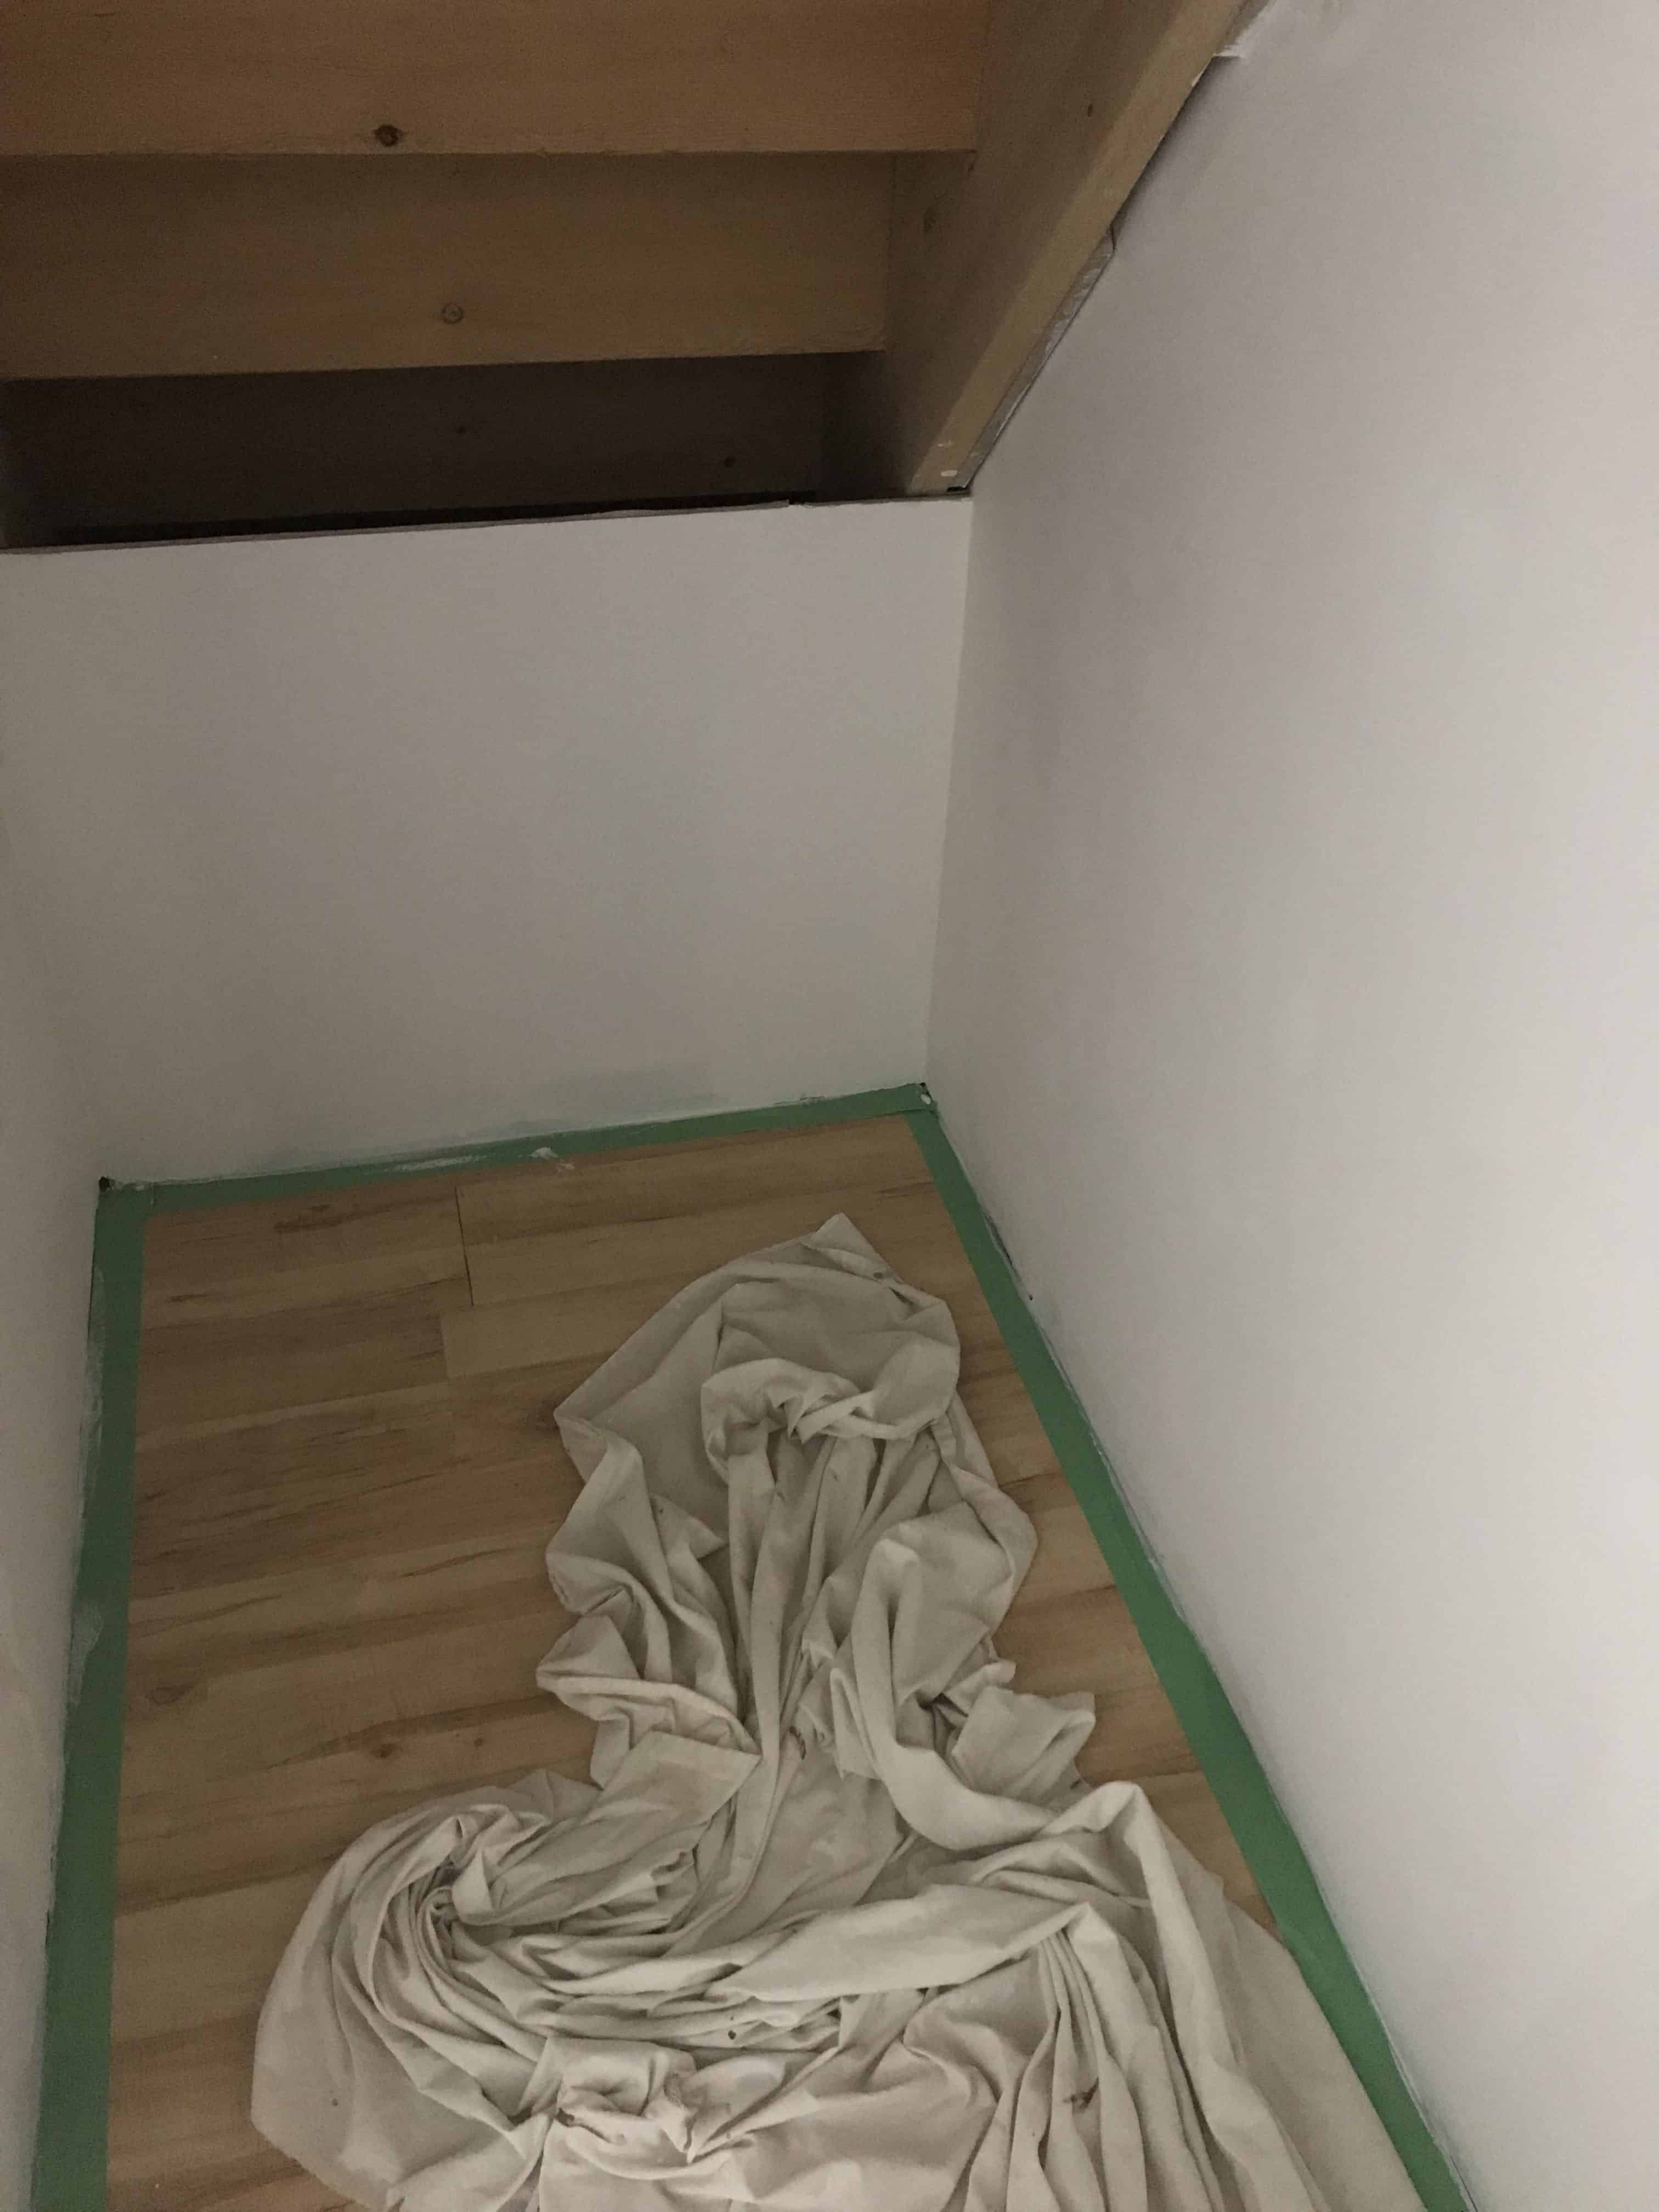
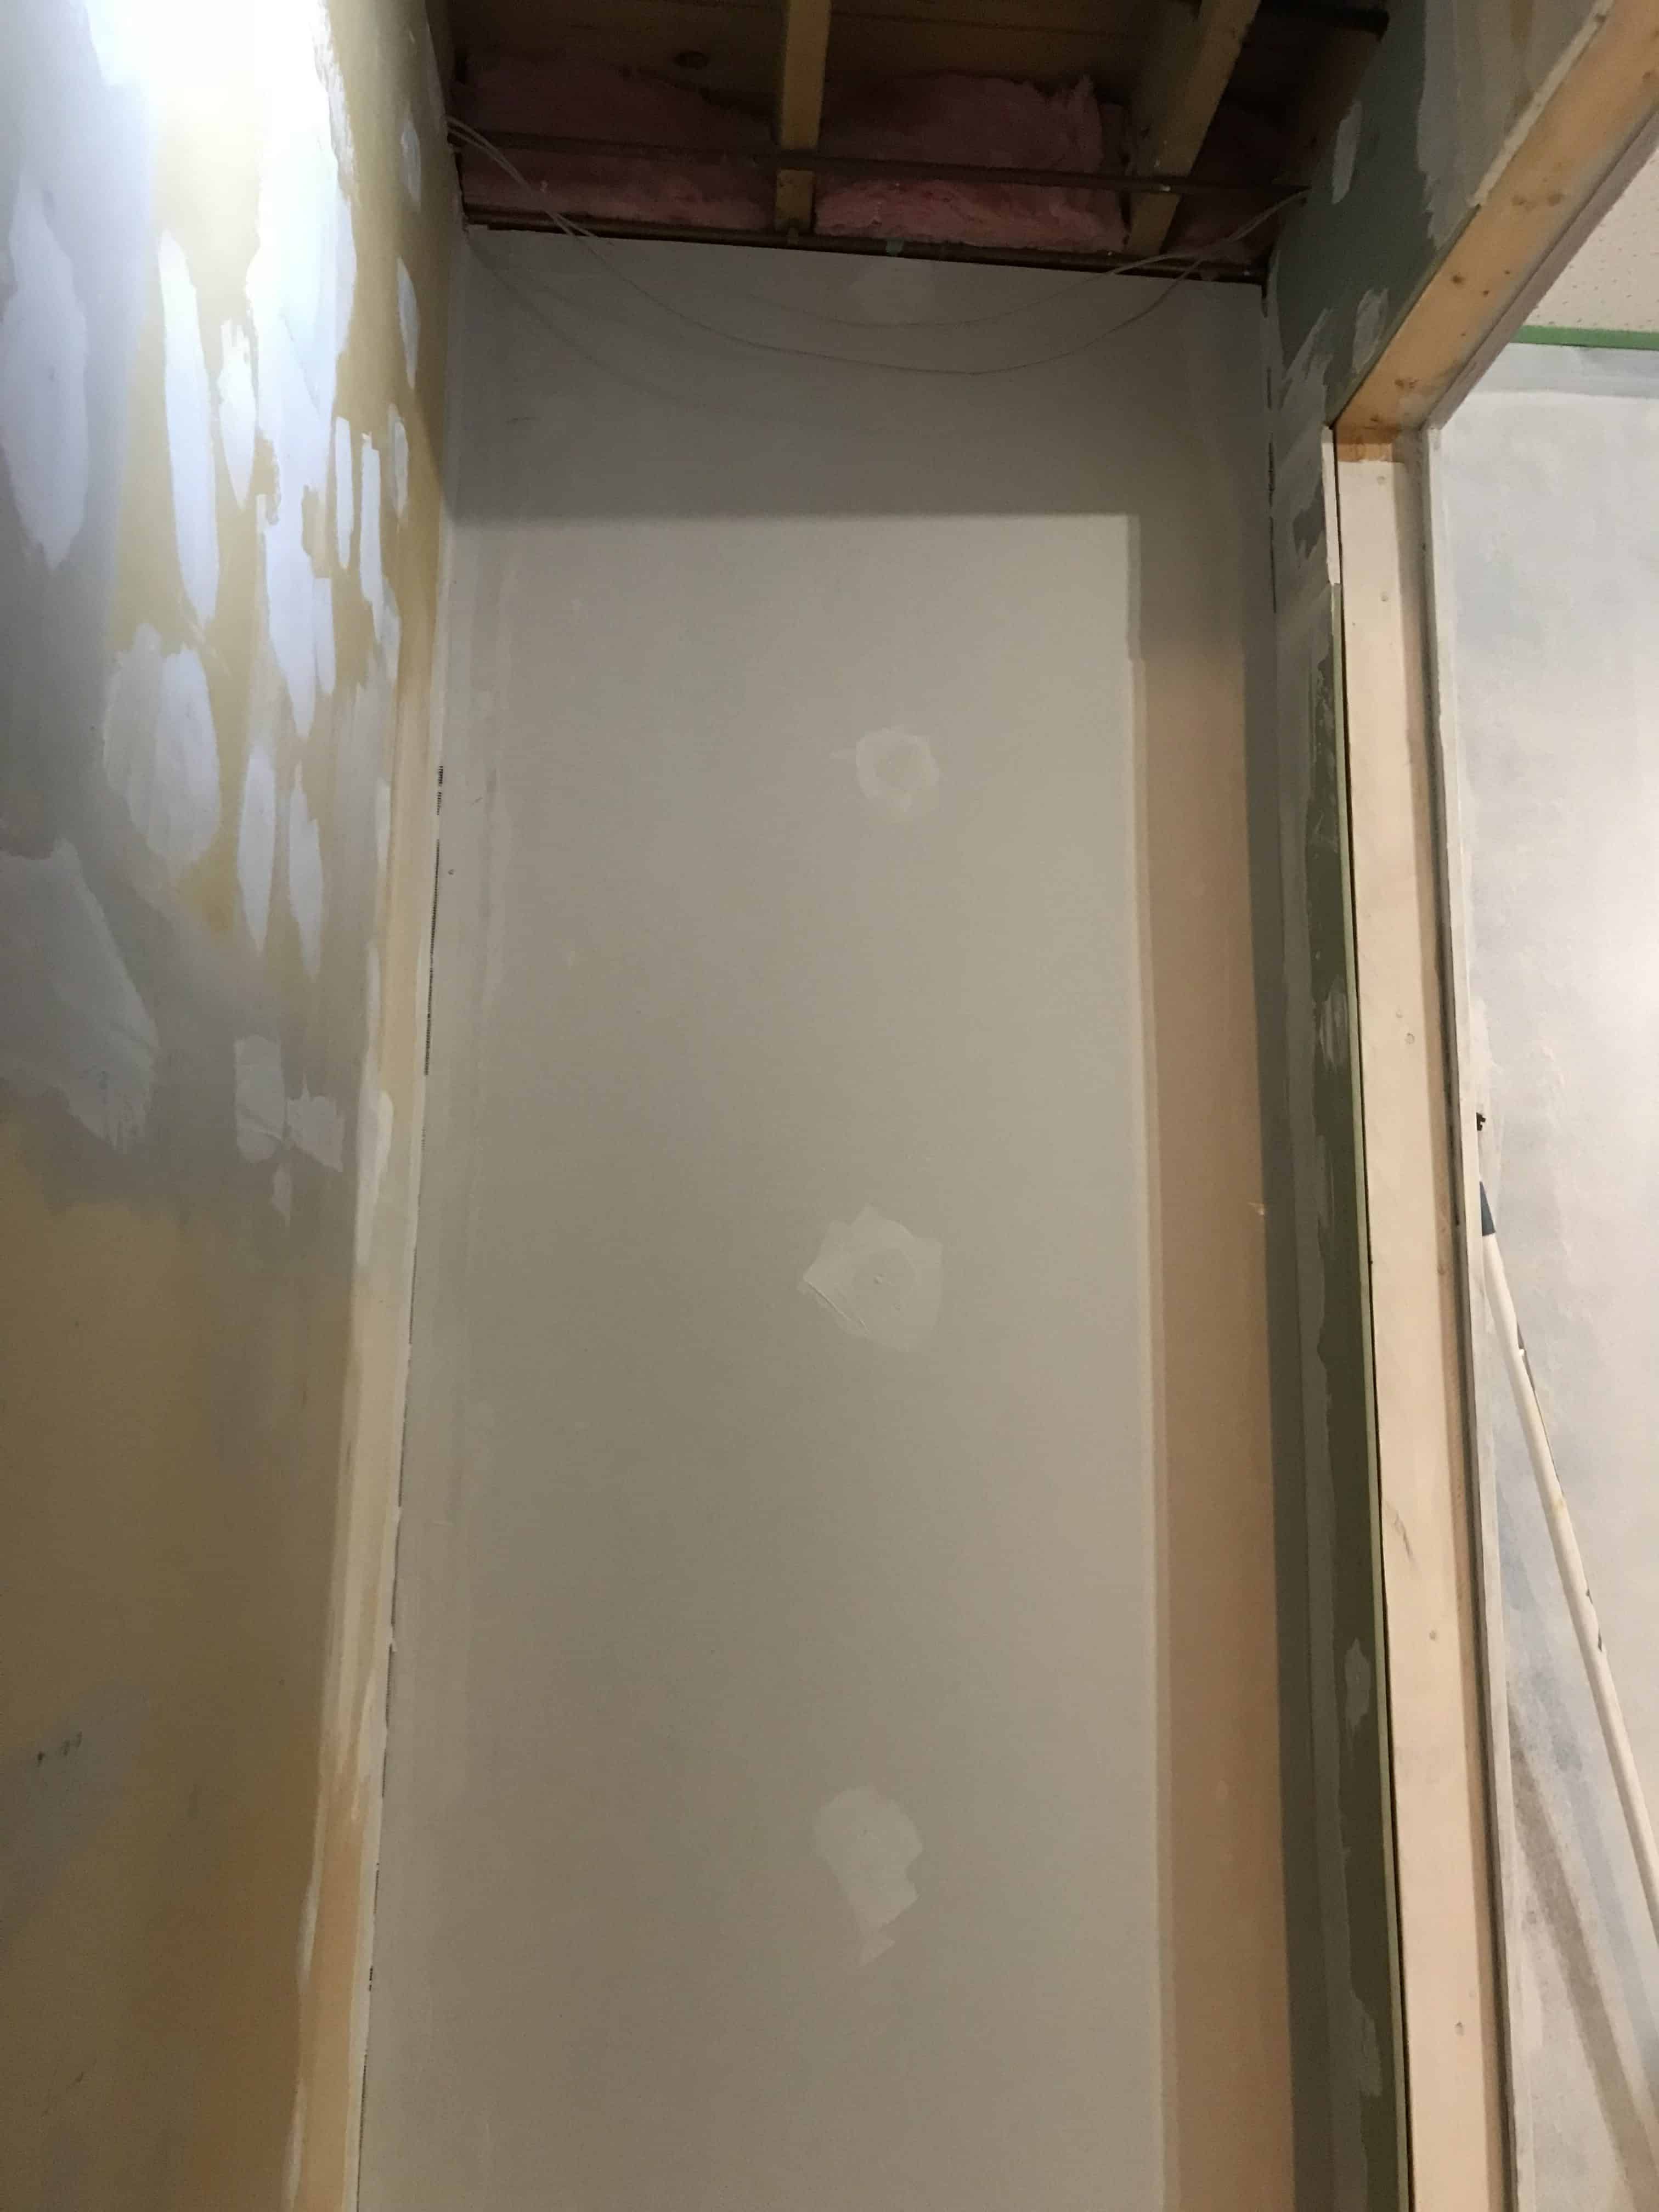
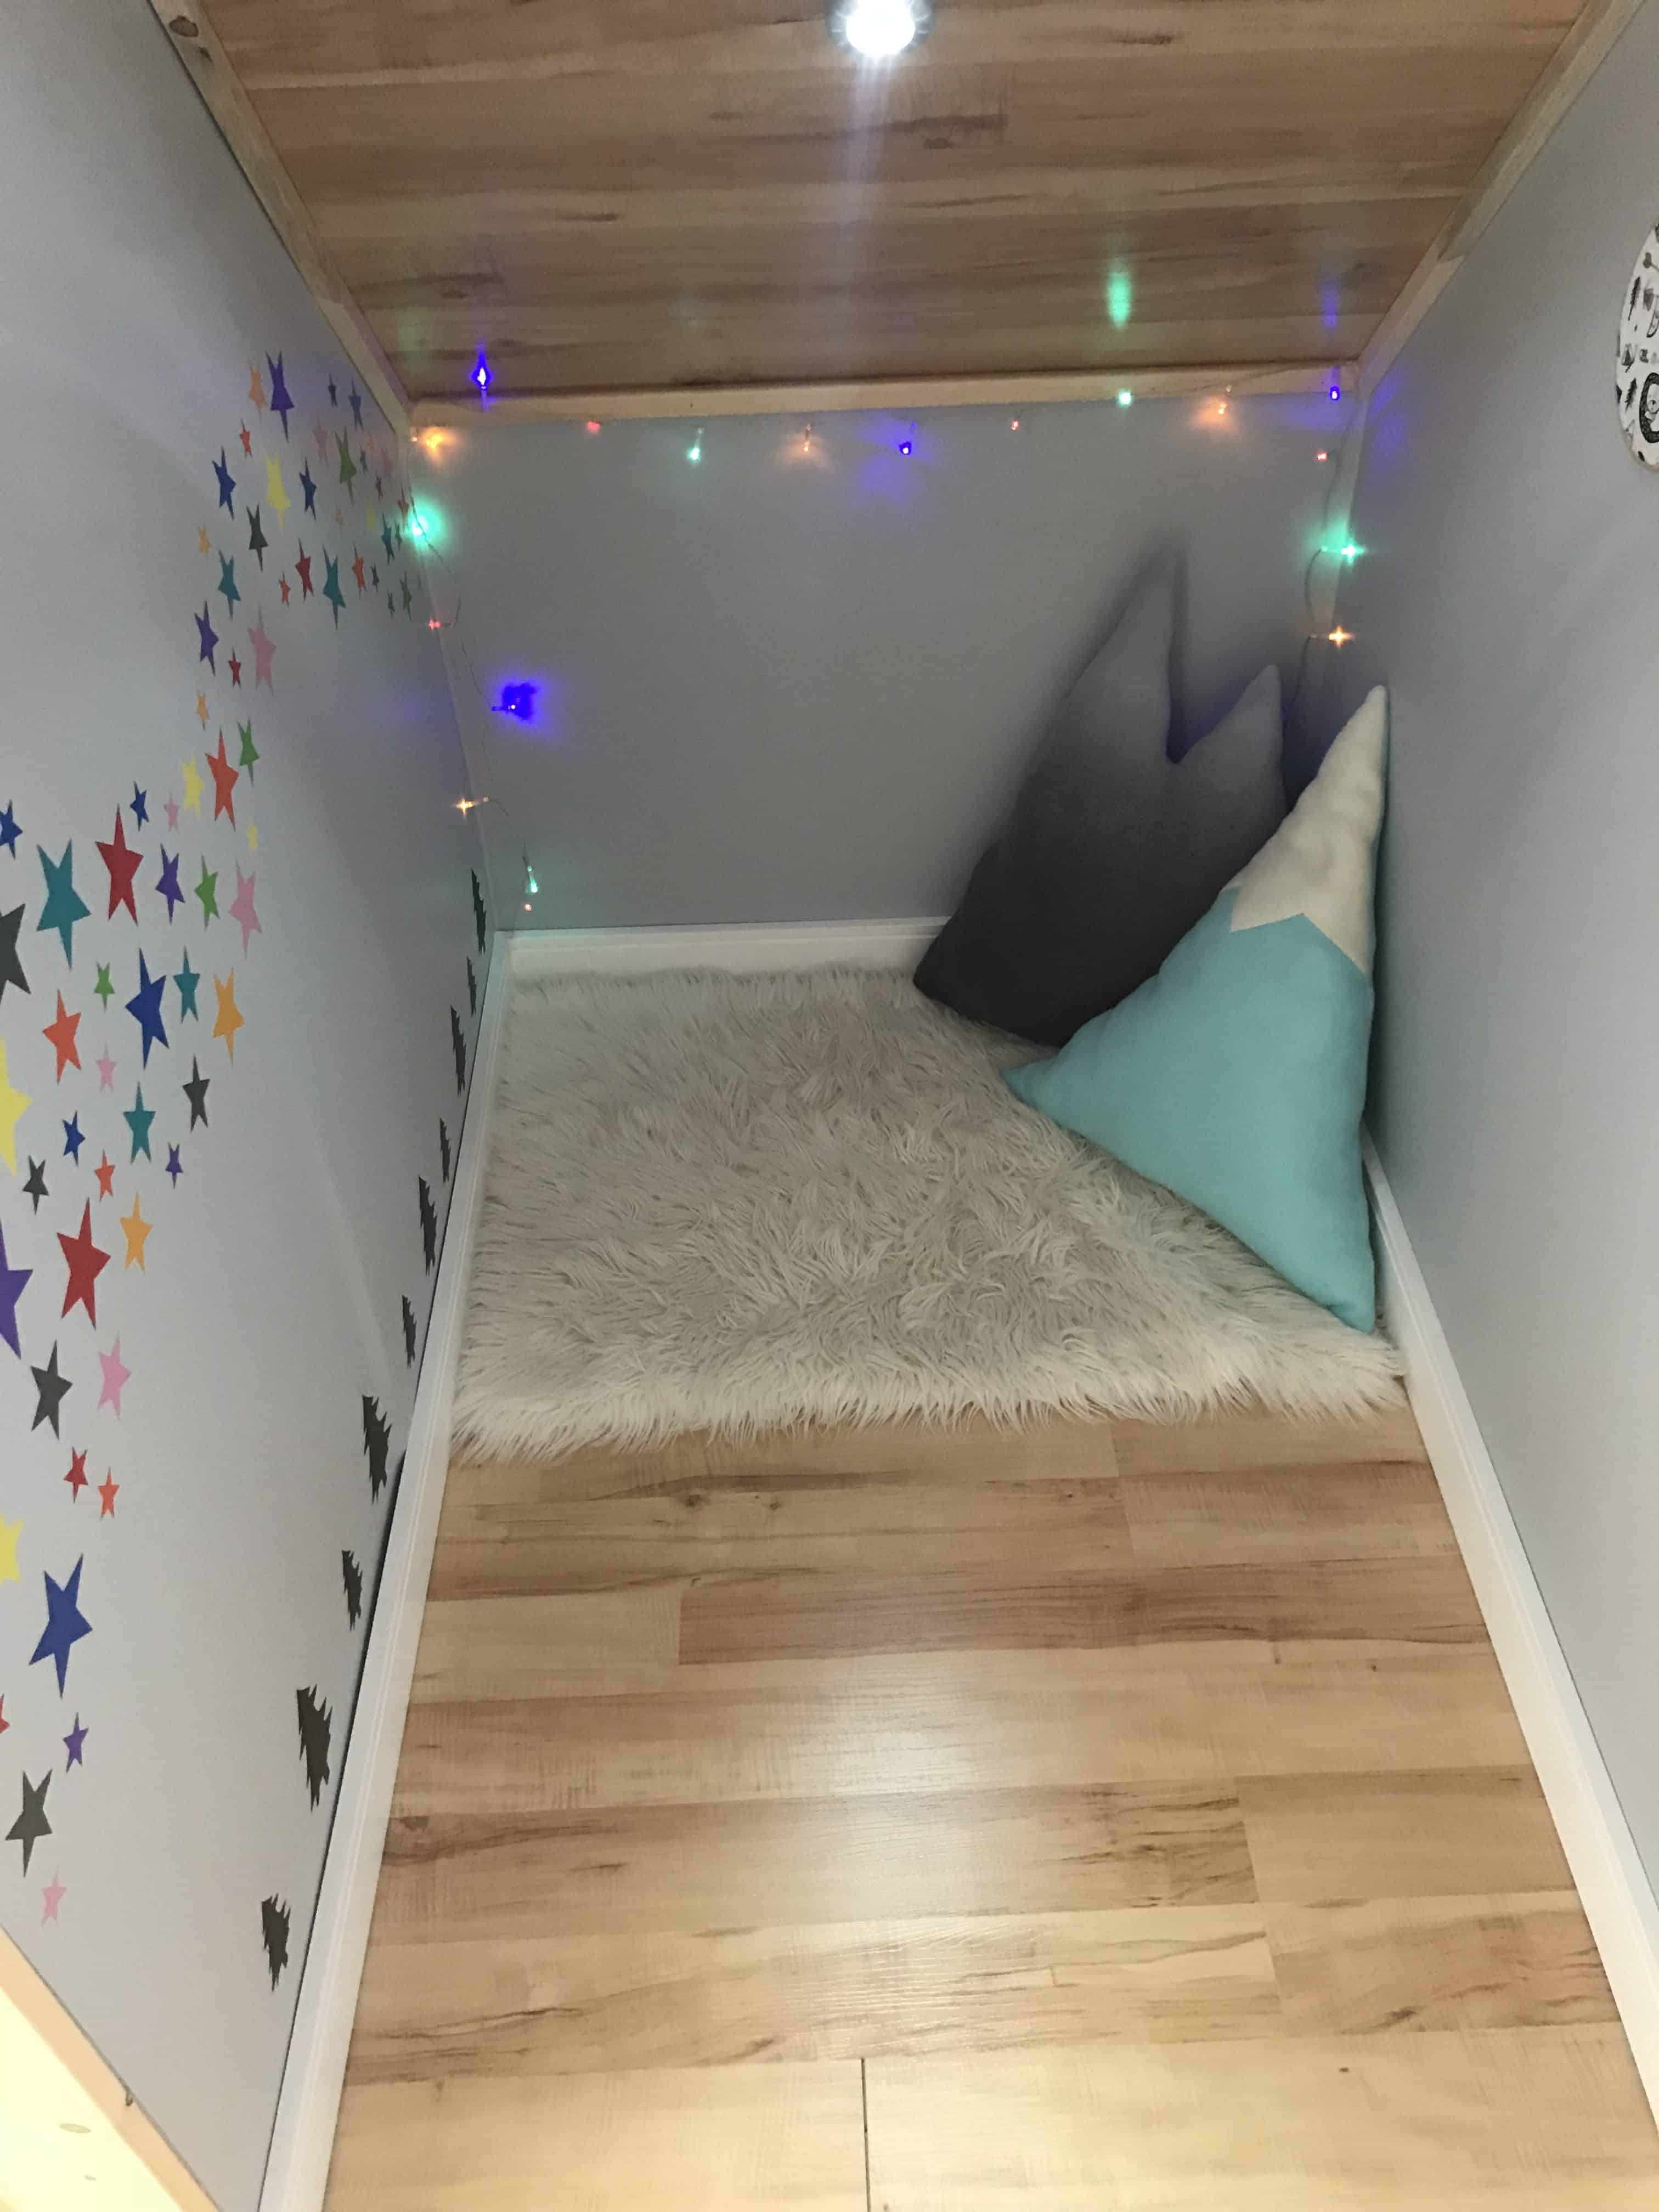
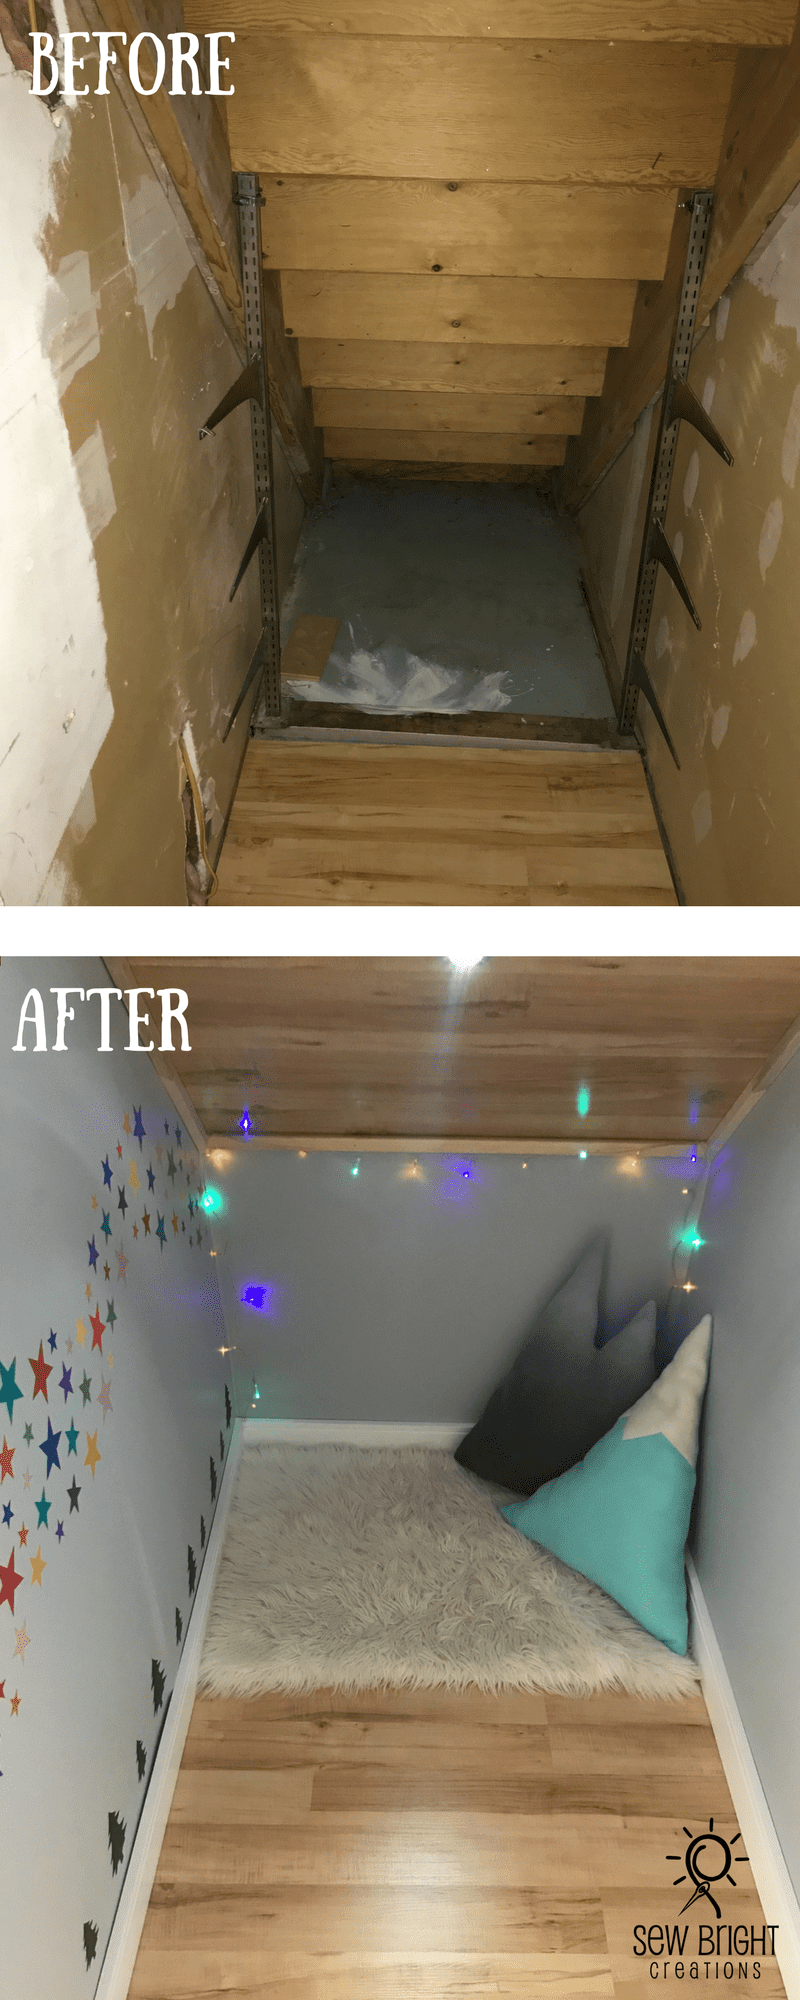
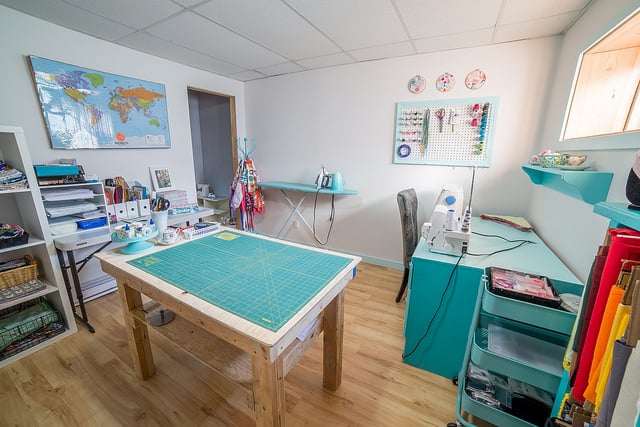
The Fort
One of my favourite parts of this room is the area under the stairs, or what we refer to as my daughter’s “fort.” We gave this area a complete 180 which included me learning how to mud and tape drywall on You Tube! Here are the before photos.

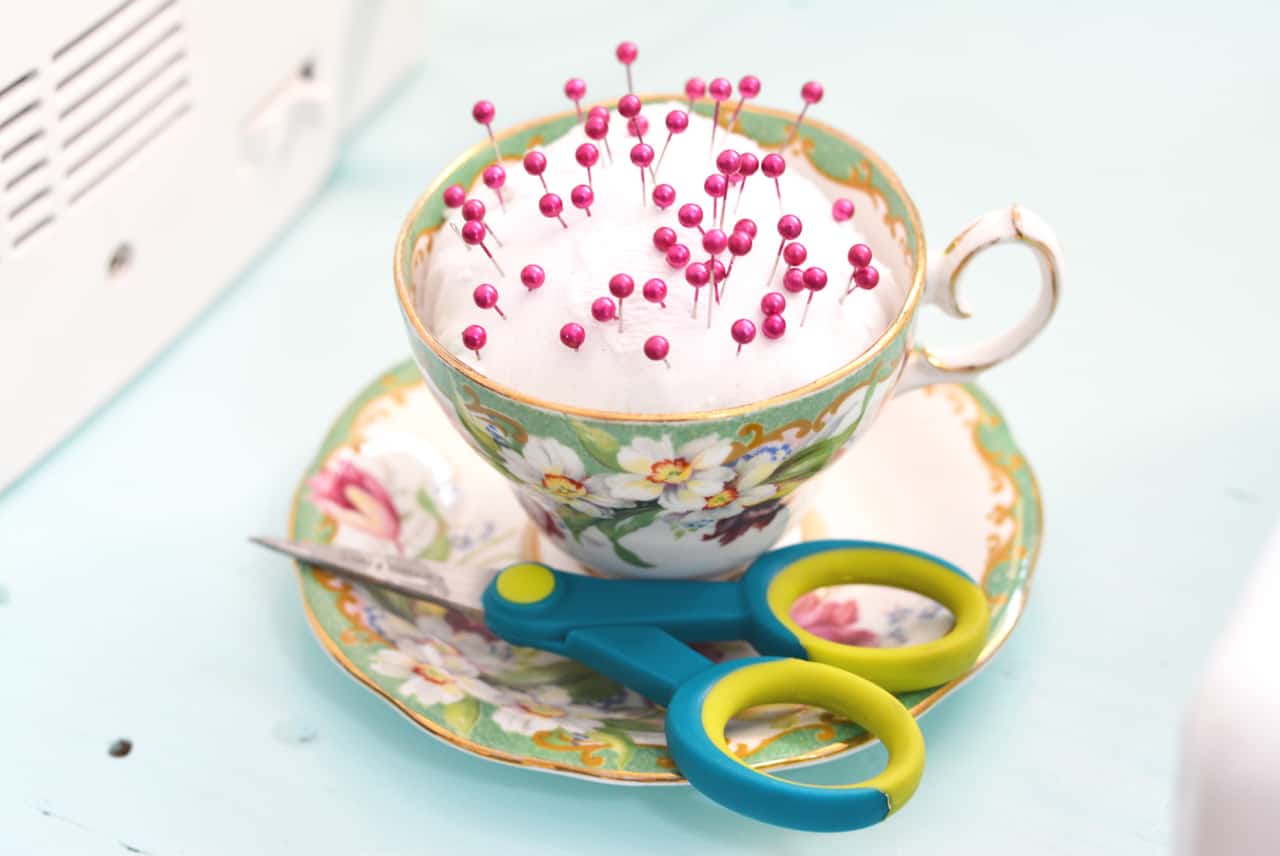
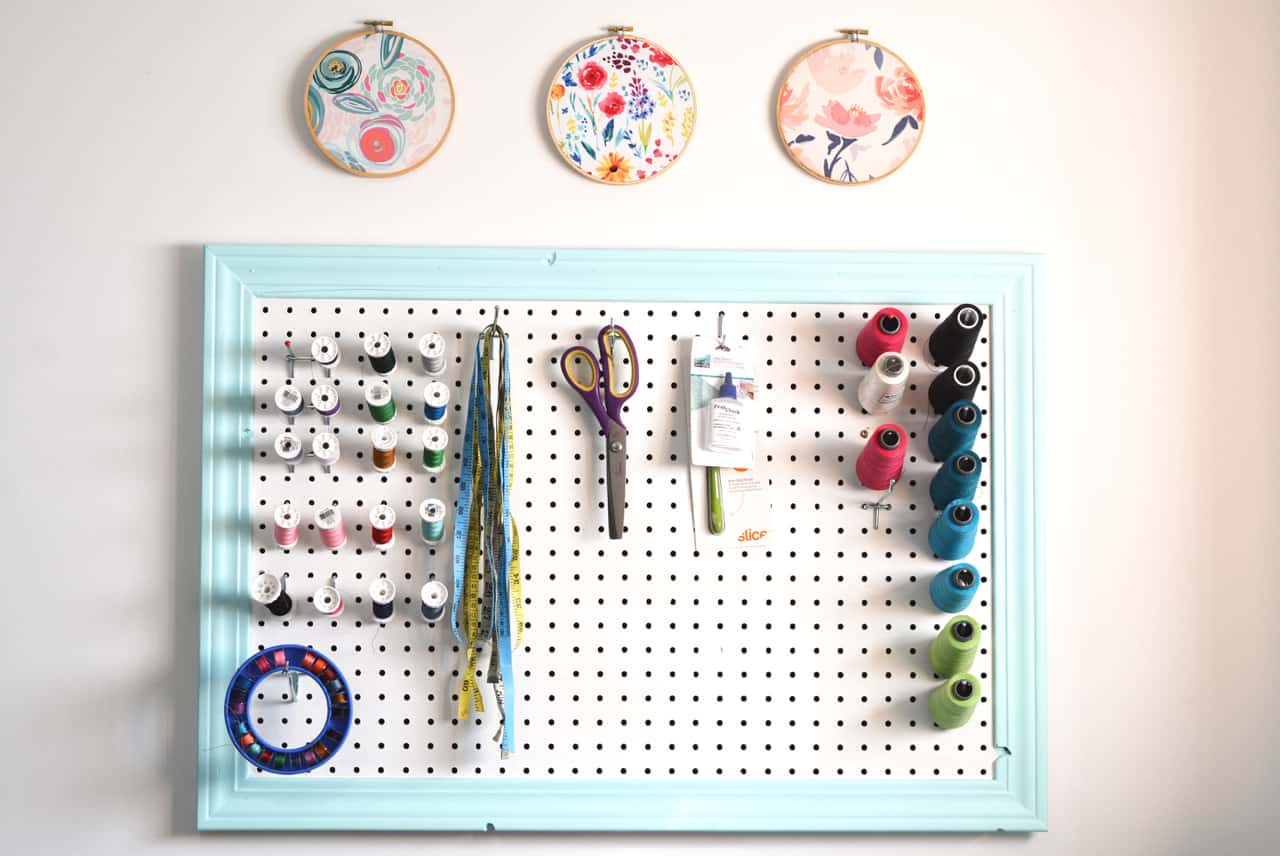
Sewing Room DIY Decor
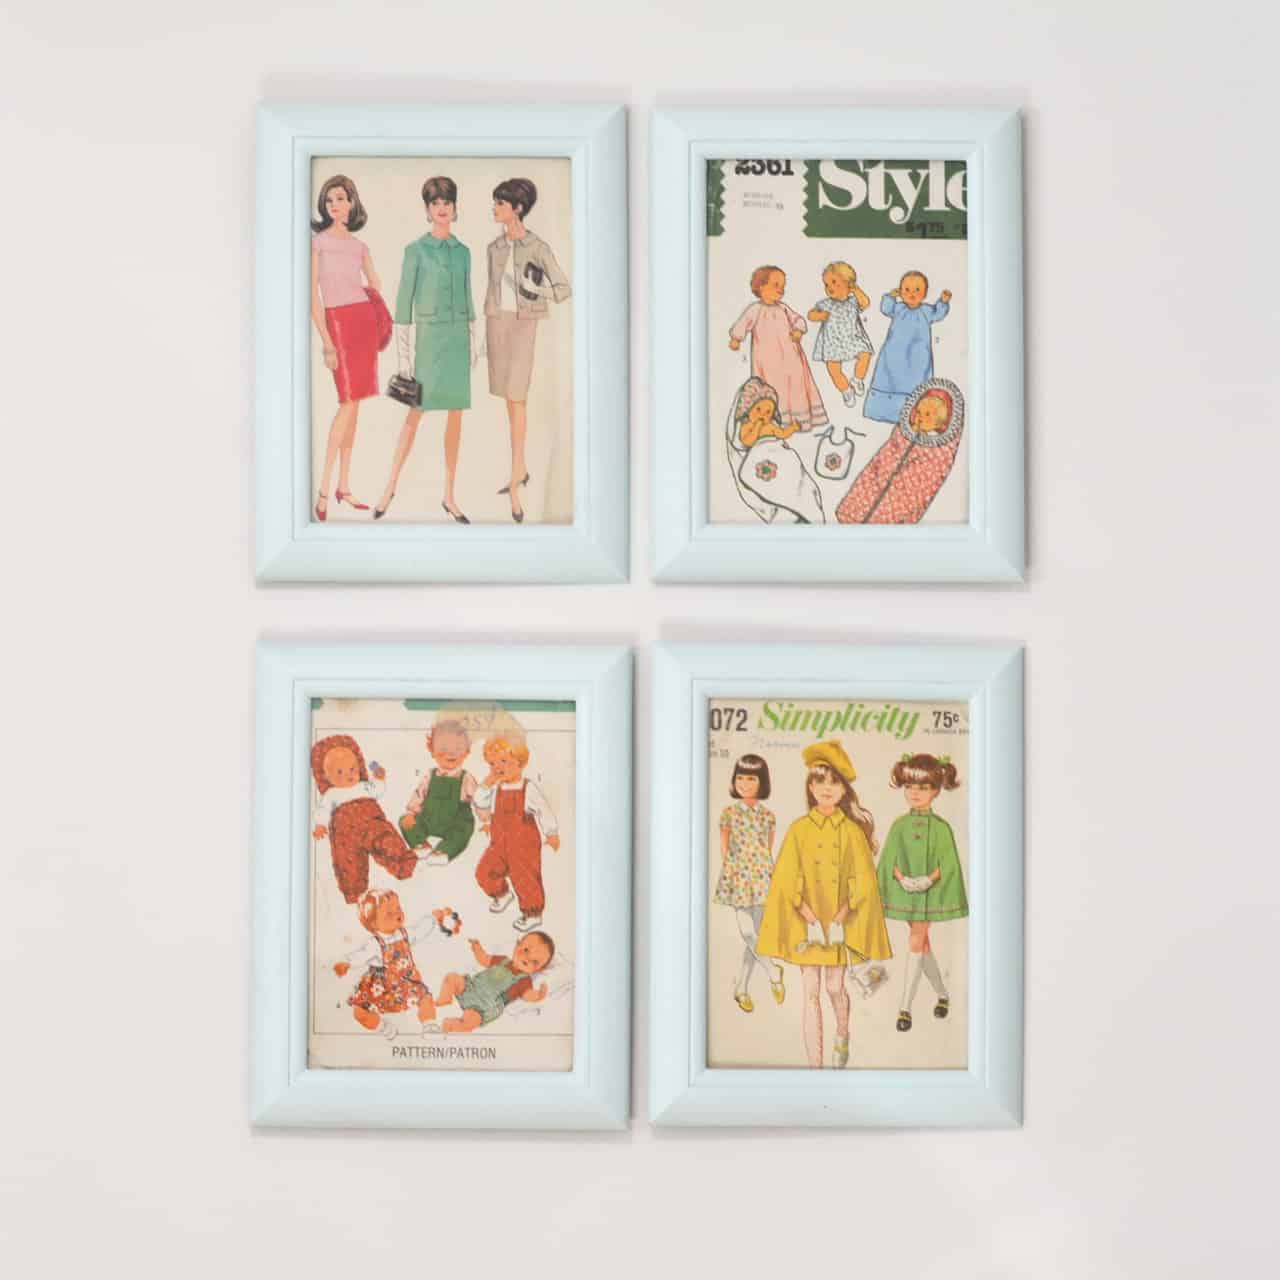
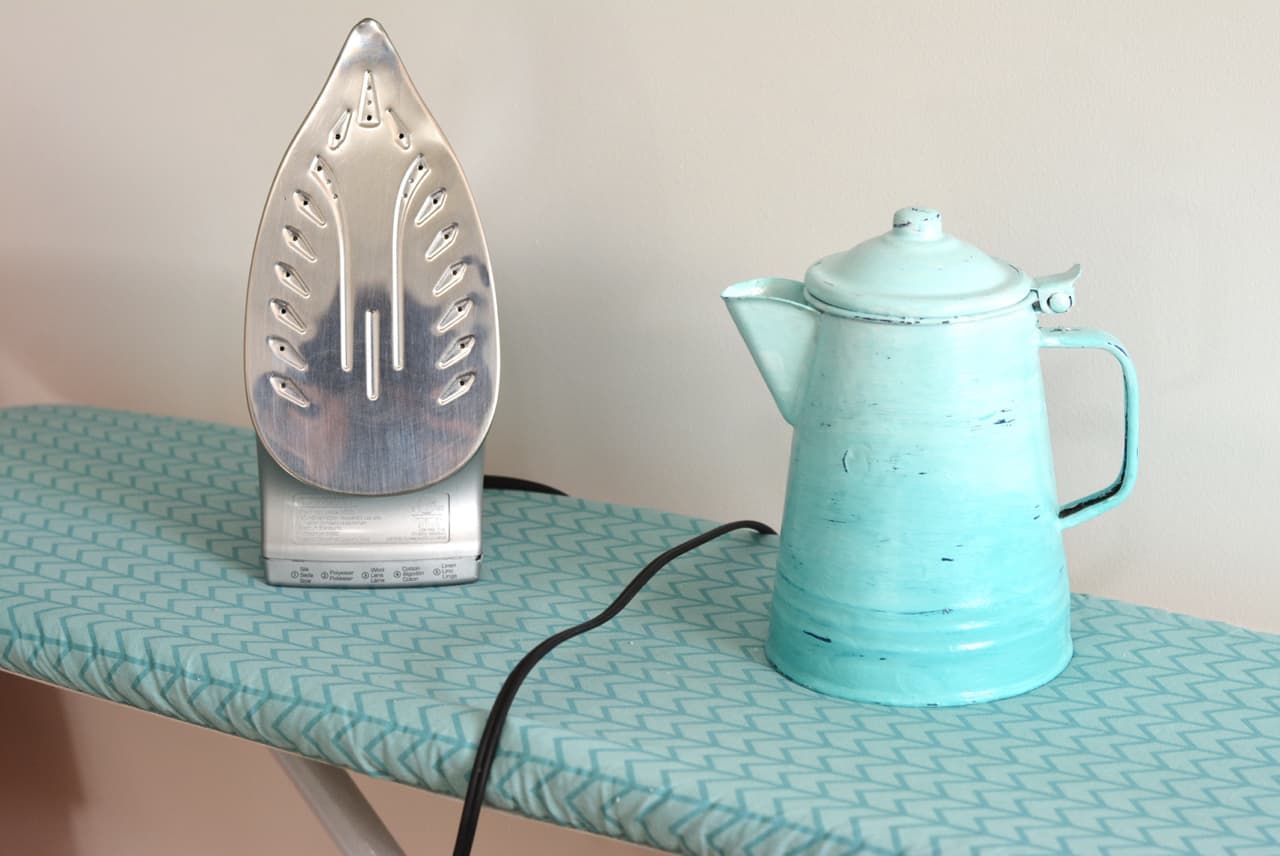
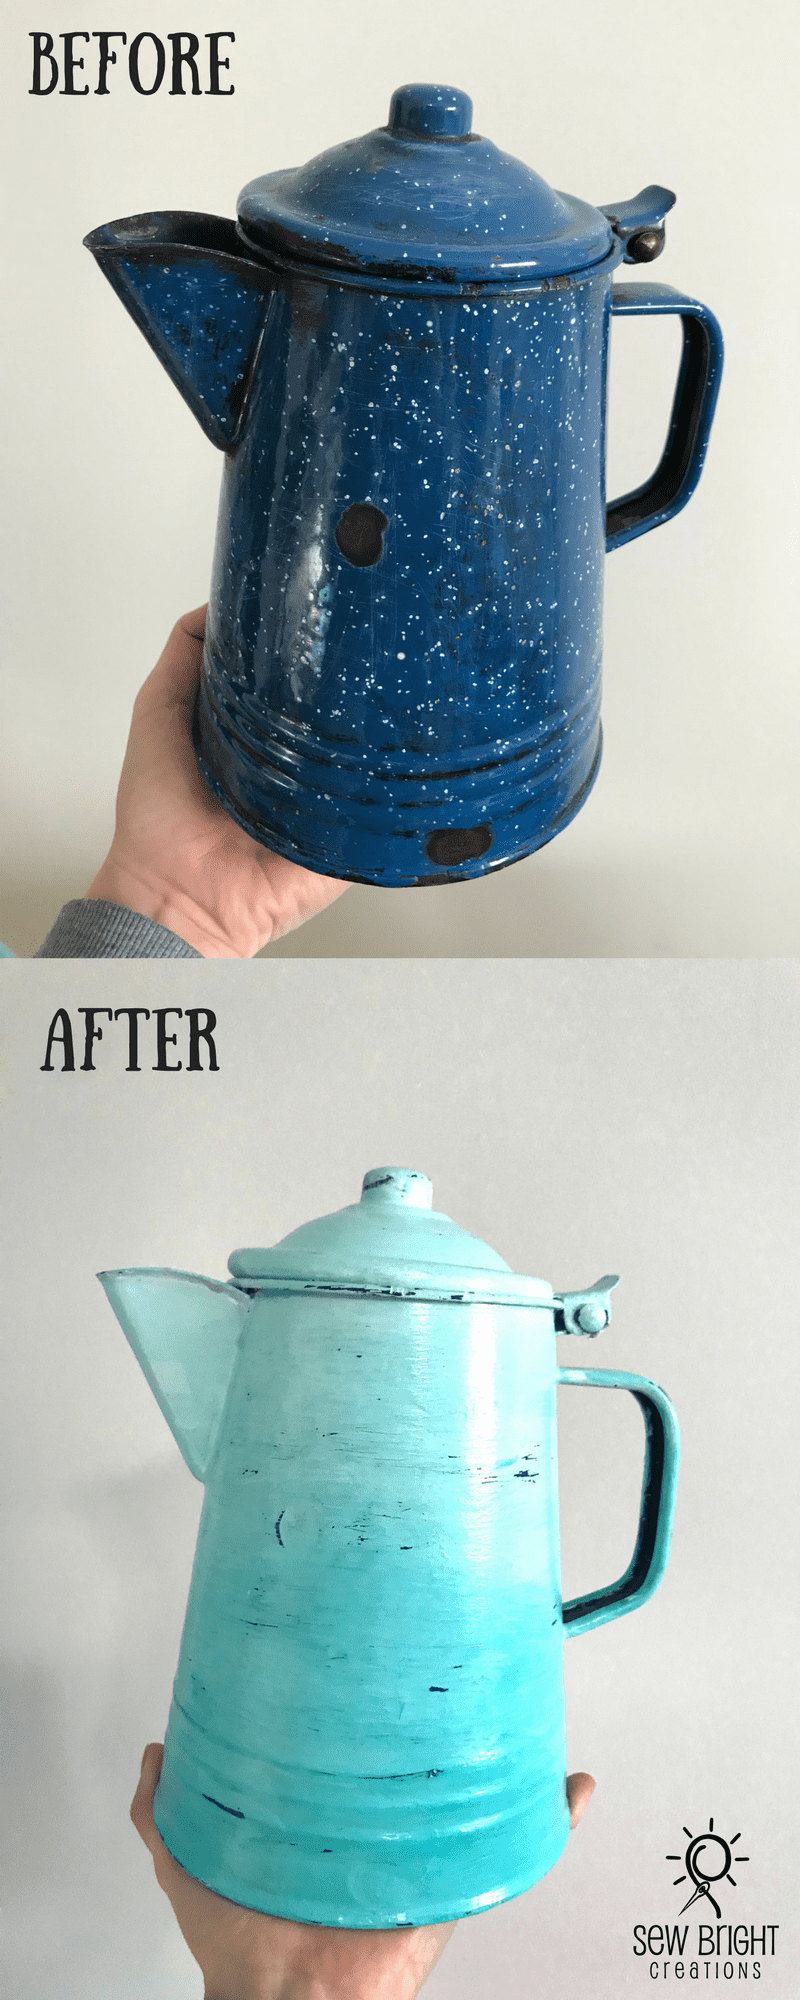
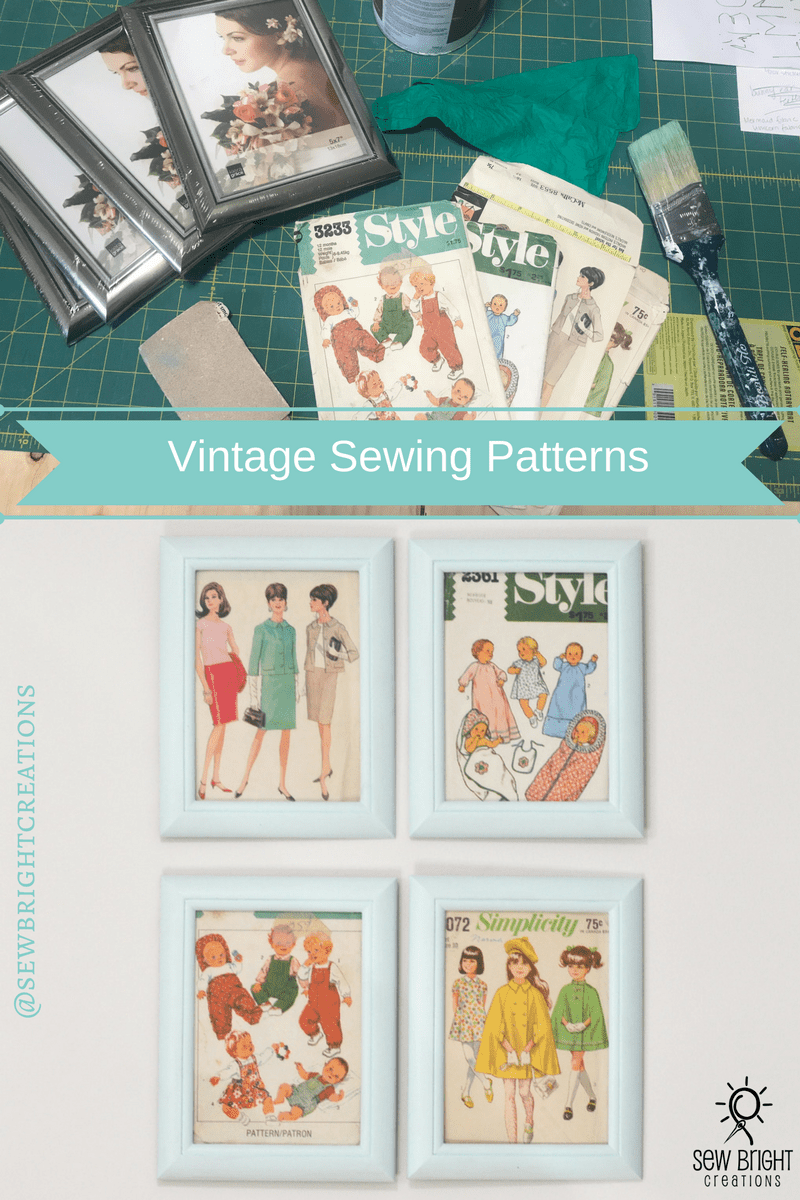
Because the little things matter! I up cycled this old camping pot into a water jug for the iron, the tea cups were converted into pin cushions and I resurrected some old sewing patterns by putting them into painted frames from the dollar store.
And More Decor
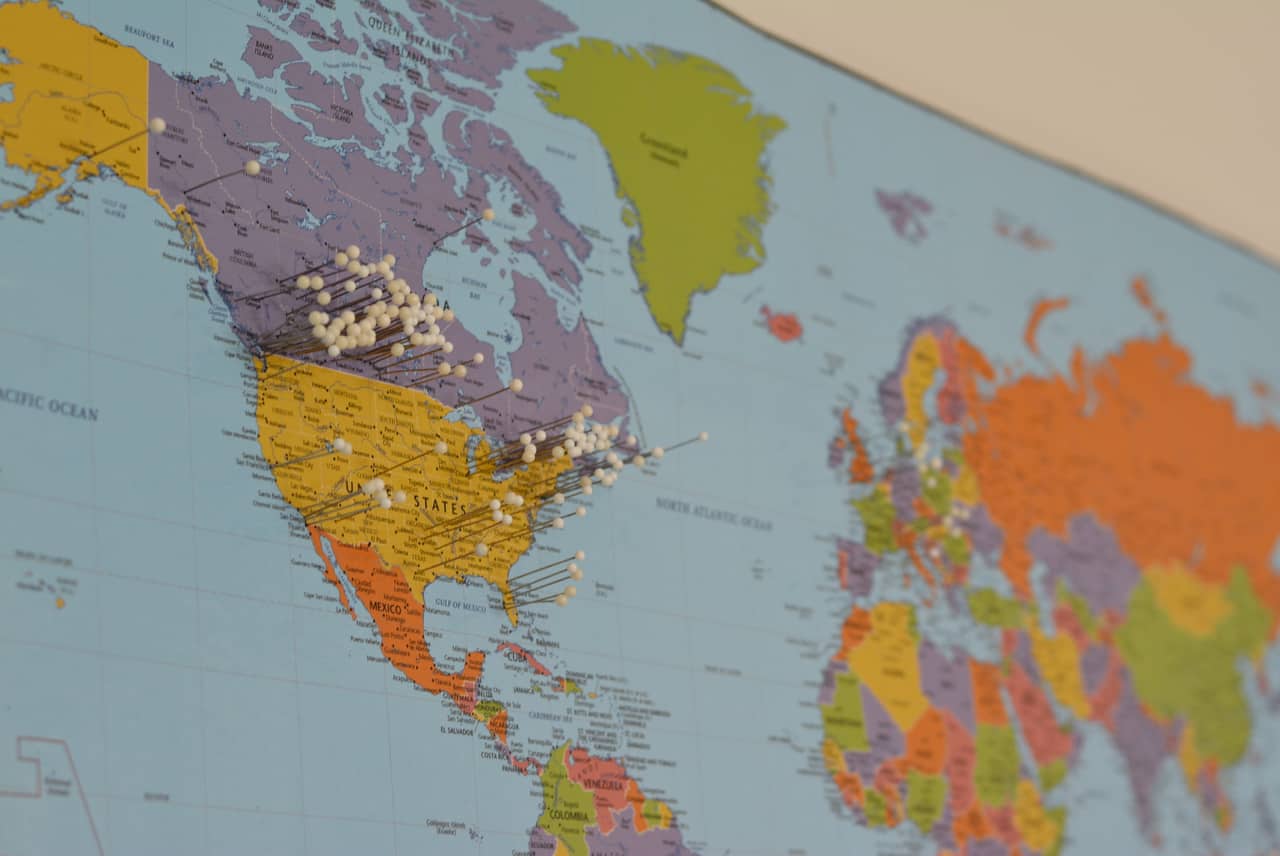
I used fabric scraps and cross stitch loops (I don’t remember what they are actually called) to make some more pretty decorations and all the pins in the map are where I’ve shipped Sew Bright products!
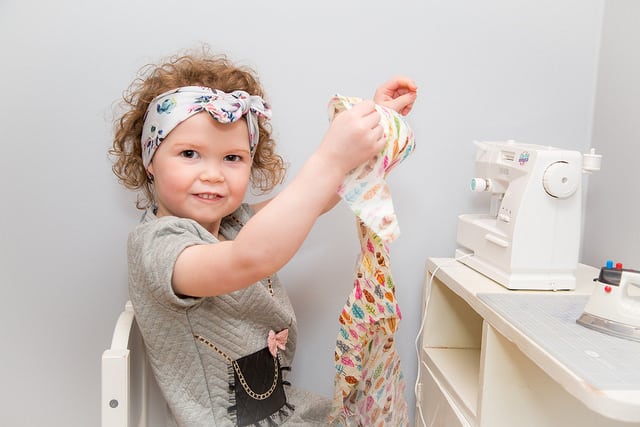
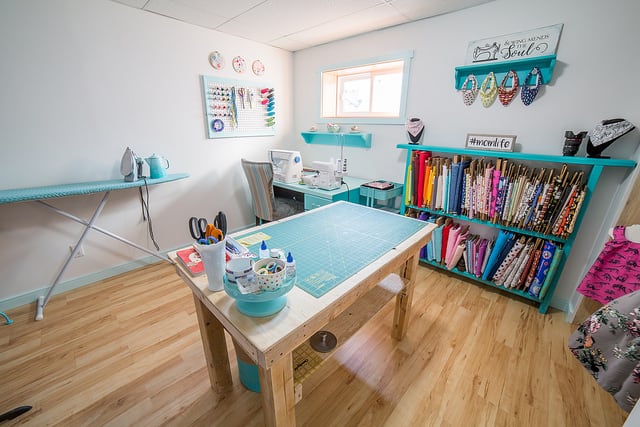
The Finished Product!
And this is the finished product! I didn’t show the details on the window, but this was another big job my dad helped with. We re-did the whole window sill and properly insulated it.
I’m super happy with how it all turned out, it’s definitely a nice bright work space! You can check my Etsy Shop to see what’s created in this lovely space!
These next photos were taken by Love Smithers! Make sure to check out their website to see the full photoshoot that I participated in. There are also lots of other great local shops on the website.
What do you think?
This post is not sponsored.
Want to collaborate? Email Jackie at [email protected].


Ahhhh! This is amazing Jackie! So beautiful! It was super fun to watch the process!
Thanks Jenna!! I’m glad you enjoyed the behind the scenes on Instagram, we had a lot of fun with it!
What a great reno job of your sewing room! The colours are so bright & cheerful & the fort is fabulous ❤️
Thanks Auntie Anne-Marie!
Wow! Your room is beautiful! What a fabulous work space. I love your daughter’s work space too – adorable.
Thanks Lisa! Much different then the cave I had before!