
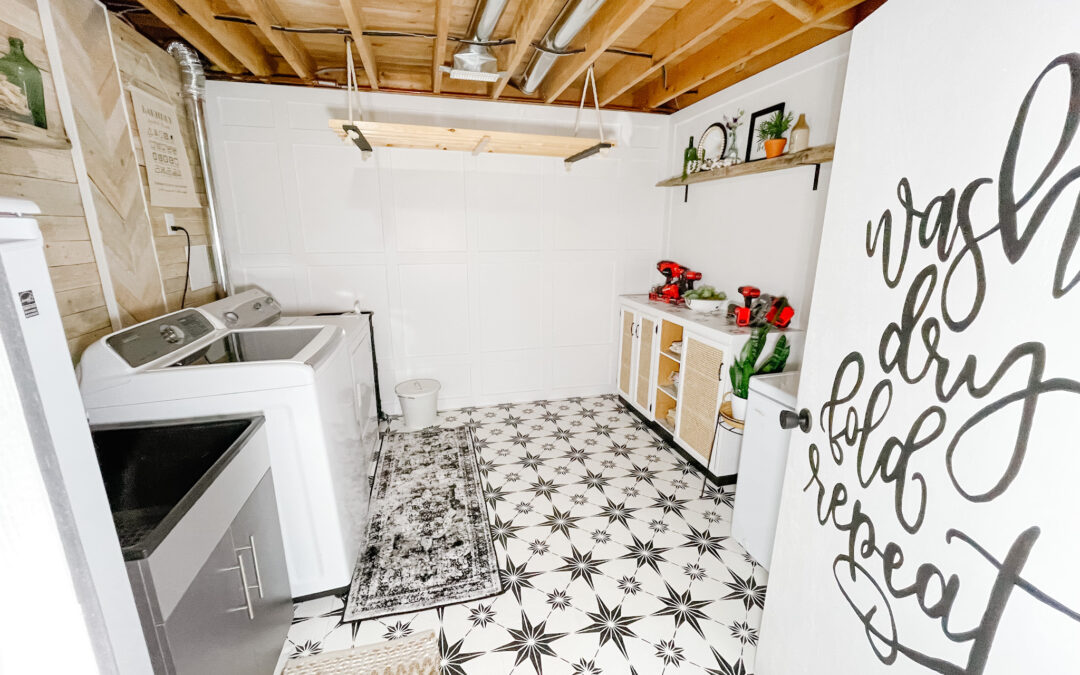
Have you been following along my laundry room renovation? It has taken over 4 months, but I did it! I’m done! And wow, does that ever feel good 🙂
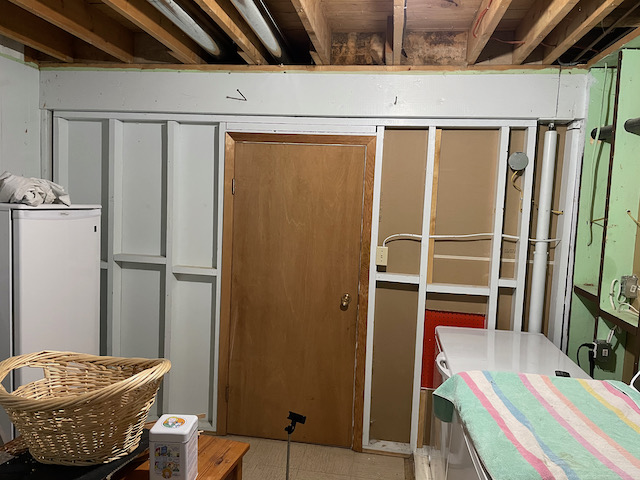
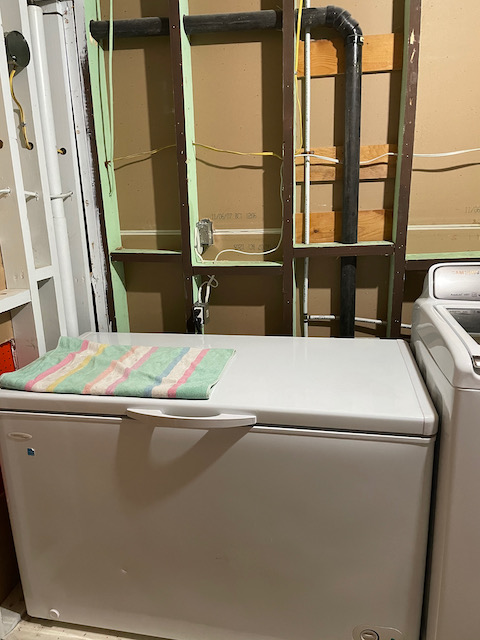
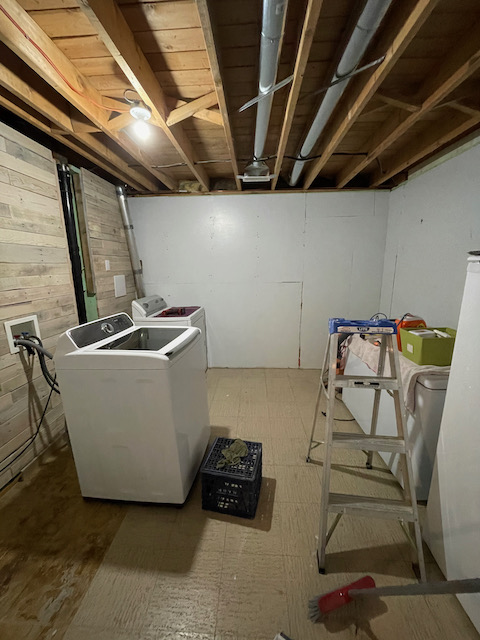
Remember where we started? This room was partially unfinished and I wanted it to be mostly finished, make it brighter and more inviting for doing the dreaded chore of laundry!
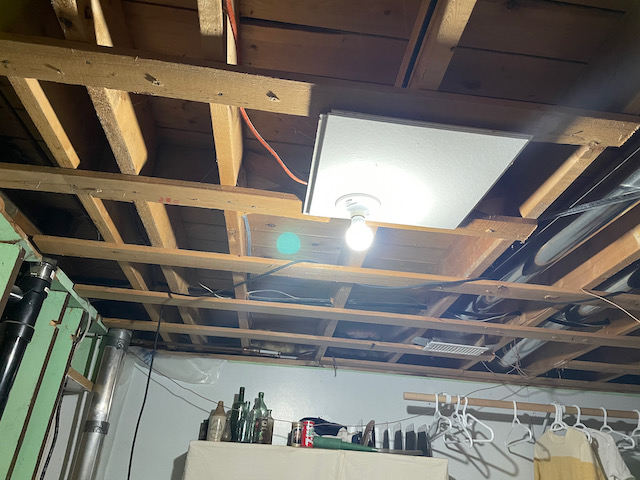
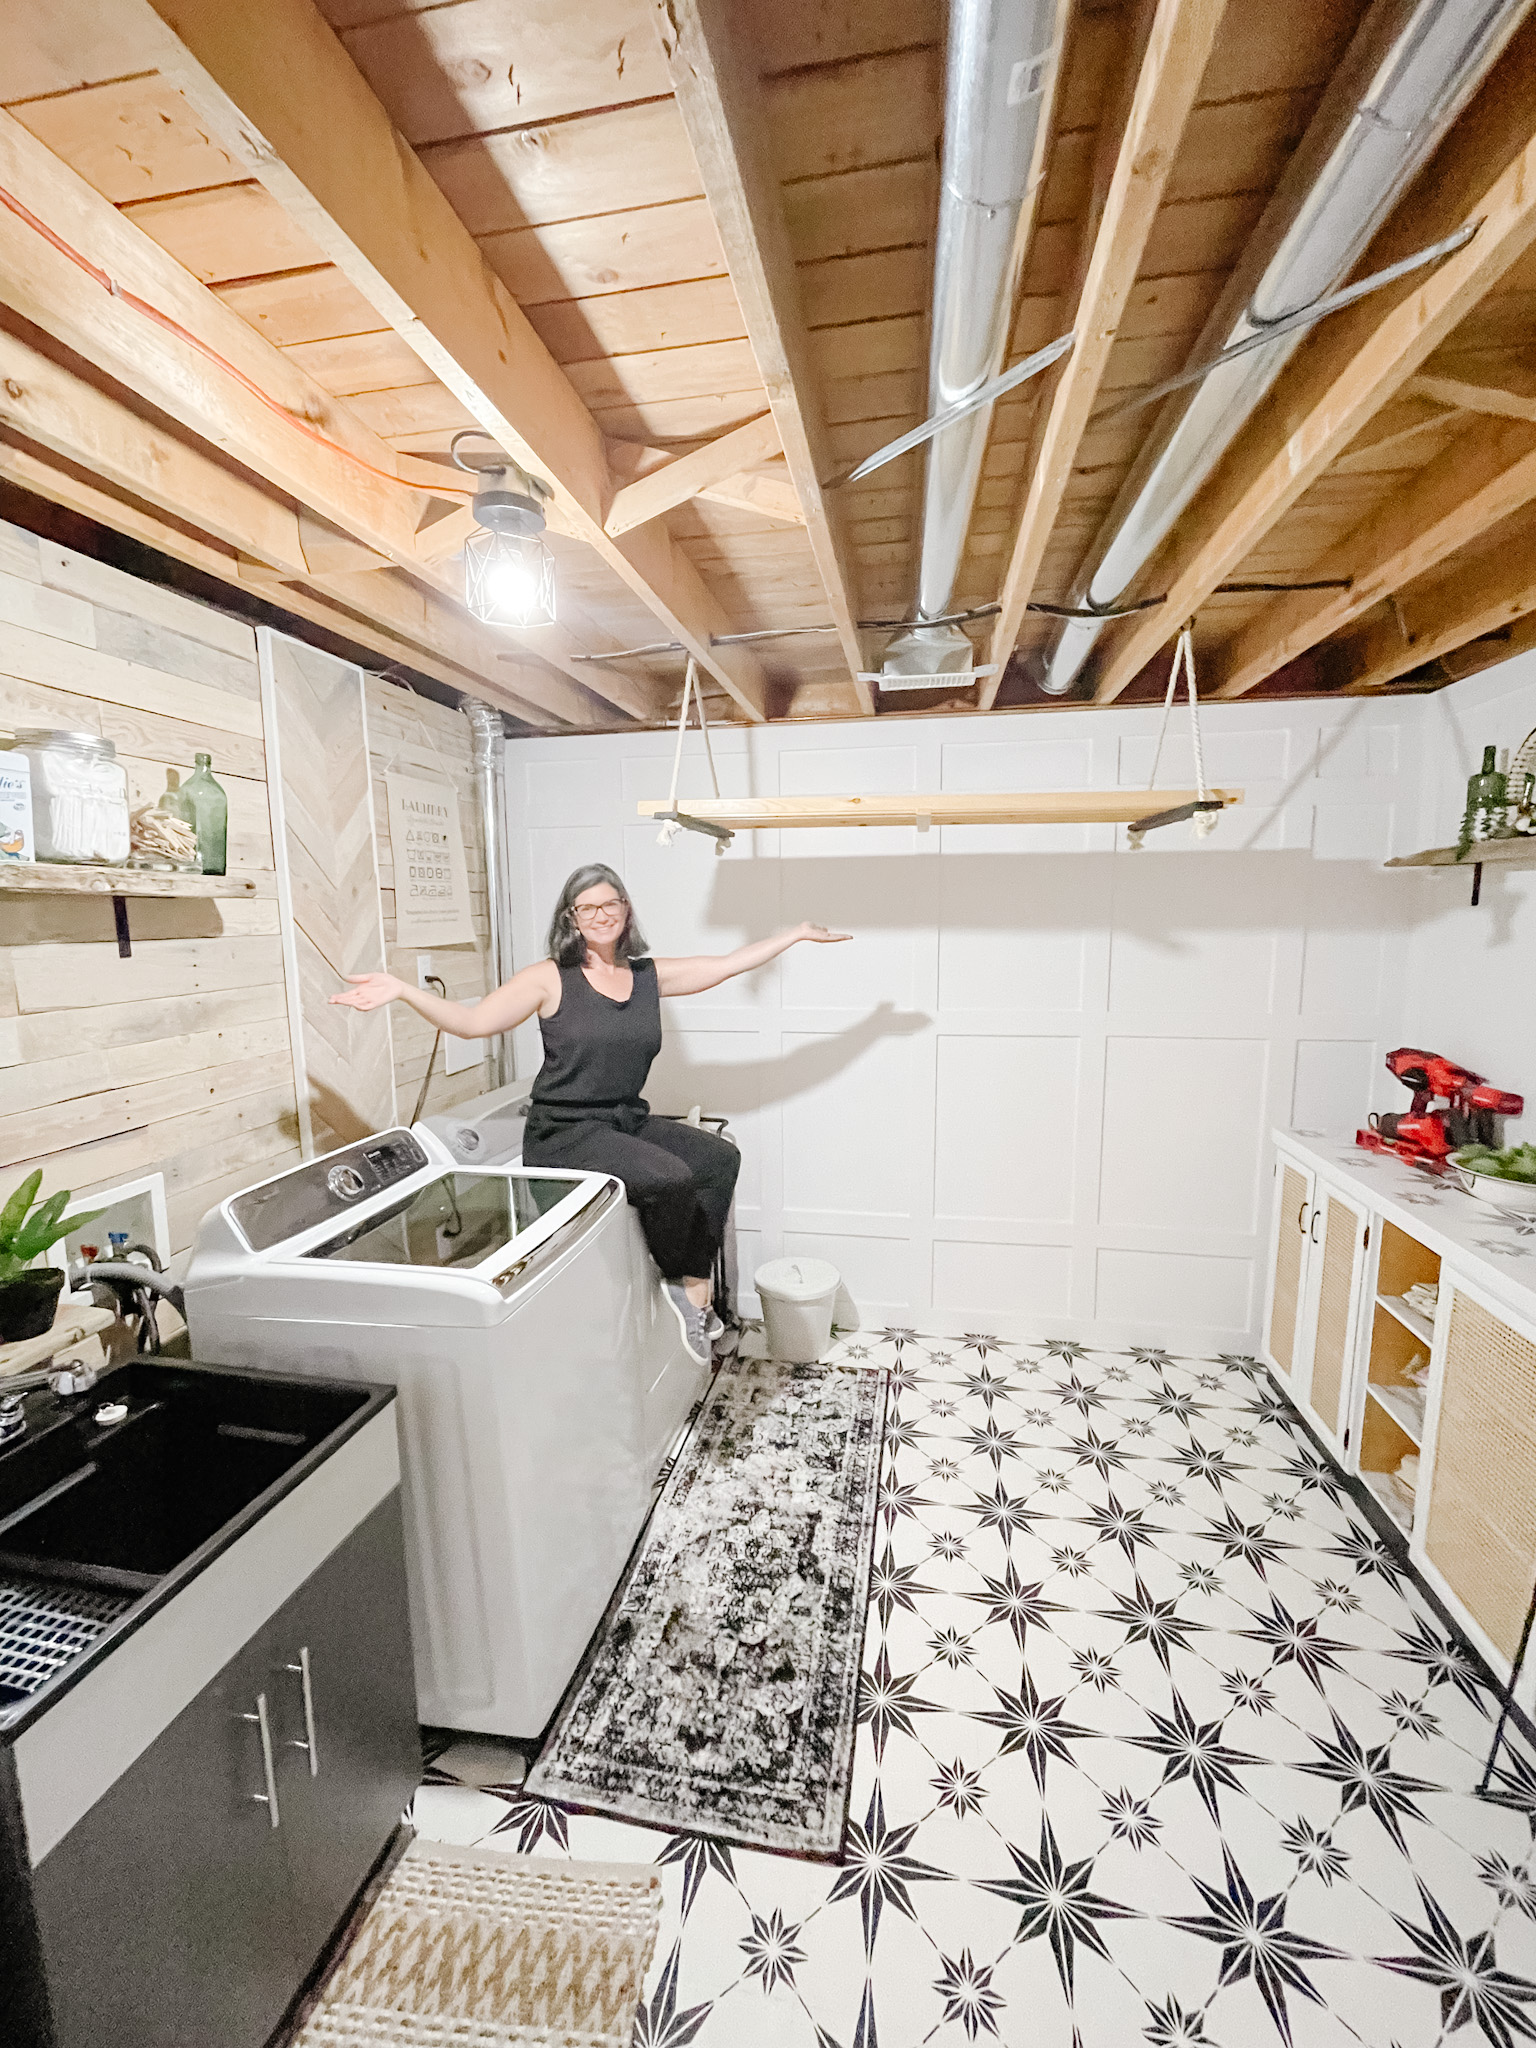
I left the ceiling open as we still have other renovations planned in the house and want to ensure easy access in case anything needs to be moved.
Here’s a quick recap on what we did:
- Removed extra strapping from ceiling, washed some of the wood and vacuumed ceiling (just this made a big difference).
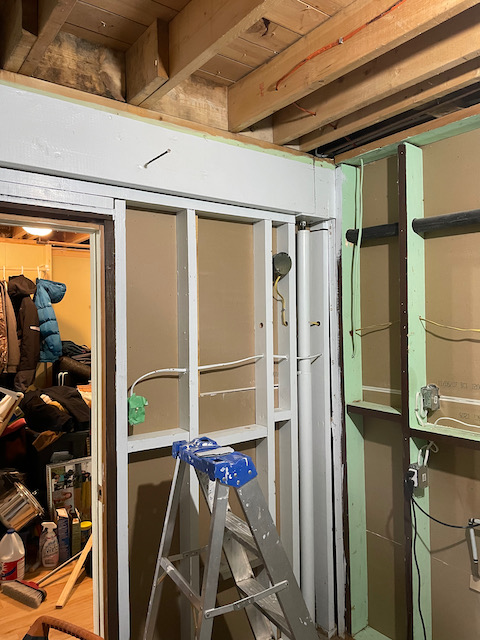
- Patched hole in drywall on doorway wall – thanks to a follower who had a piece of drywall for me!
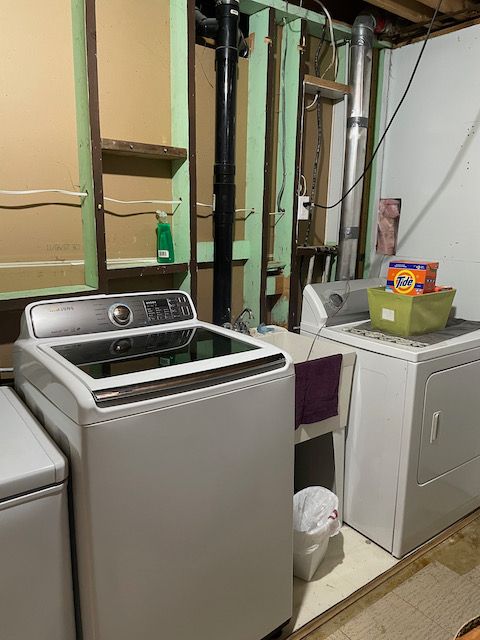
- Tidied the electrical along this wall thanks to help from Poppa Sew Bright.
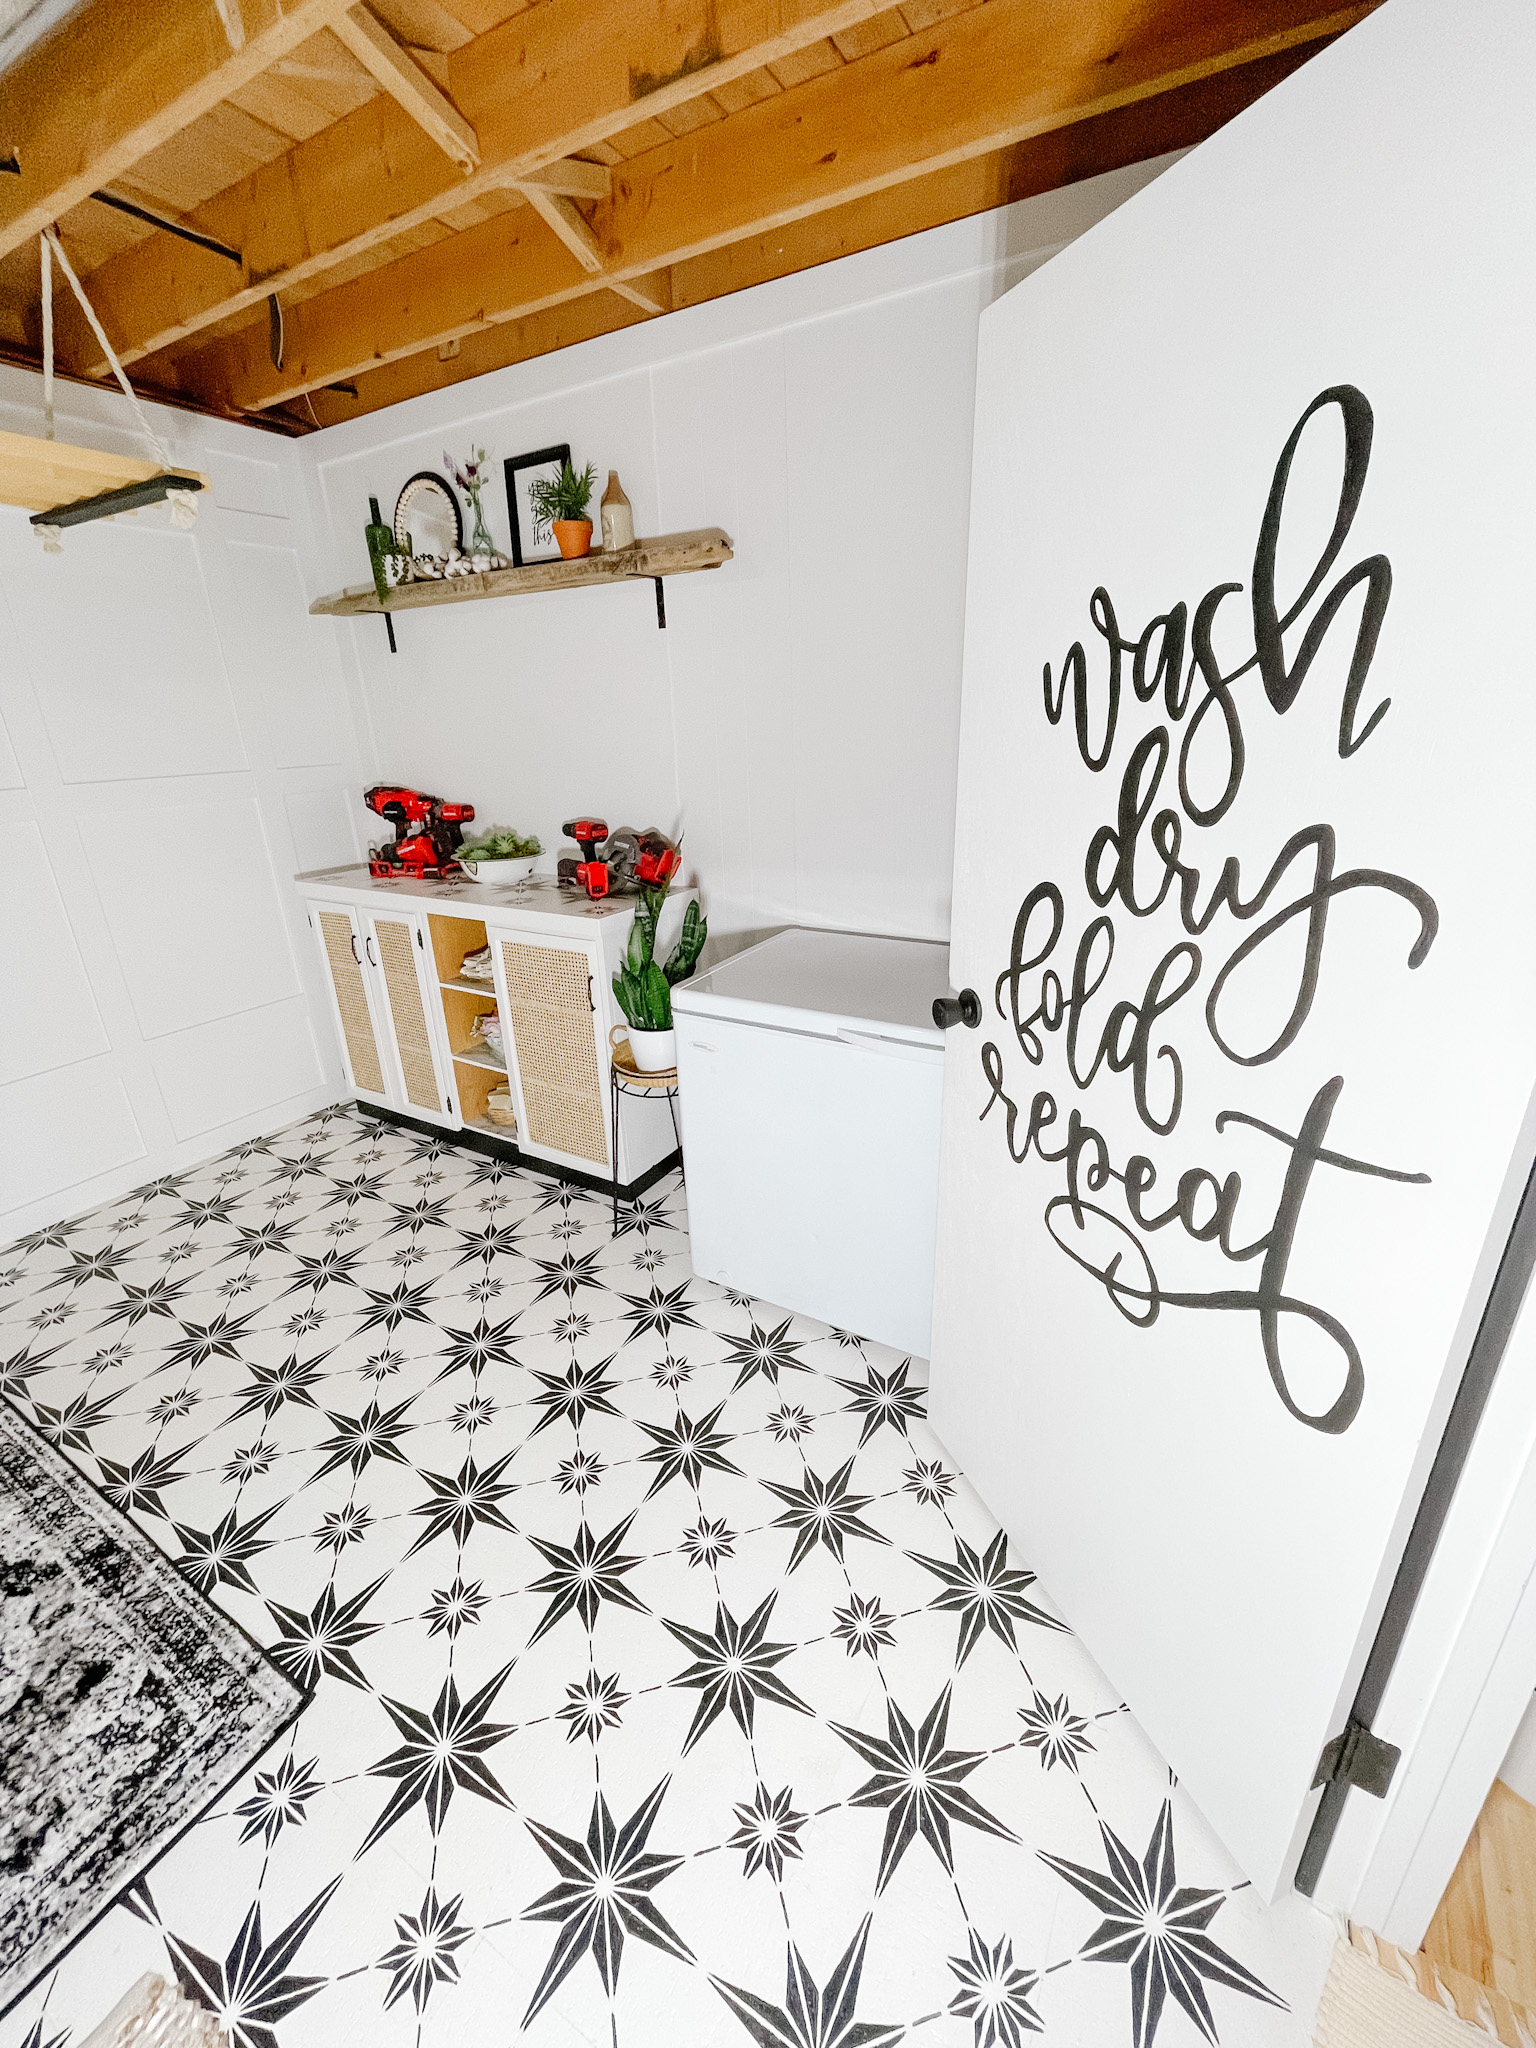
- Used my paint sprayer to spray the doorway wall white.
- Made a homemade projector to paint writing (wash dry fold repeat) on the door. I painted the inside because 99% of the time this door is left open. This is currently my most viewed YouTube video, have you seen it?
The next phase was the pallet wall…
- Cleaned up the unfinished wall and fixed some more electrical.
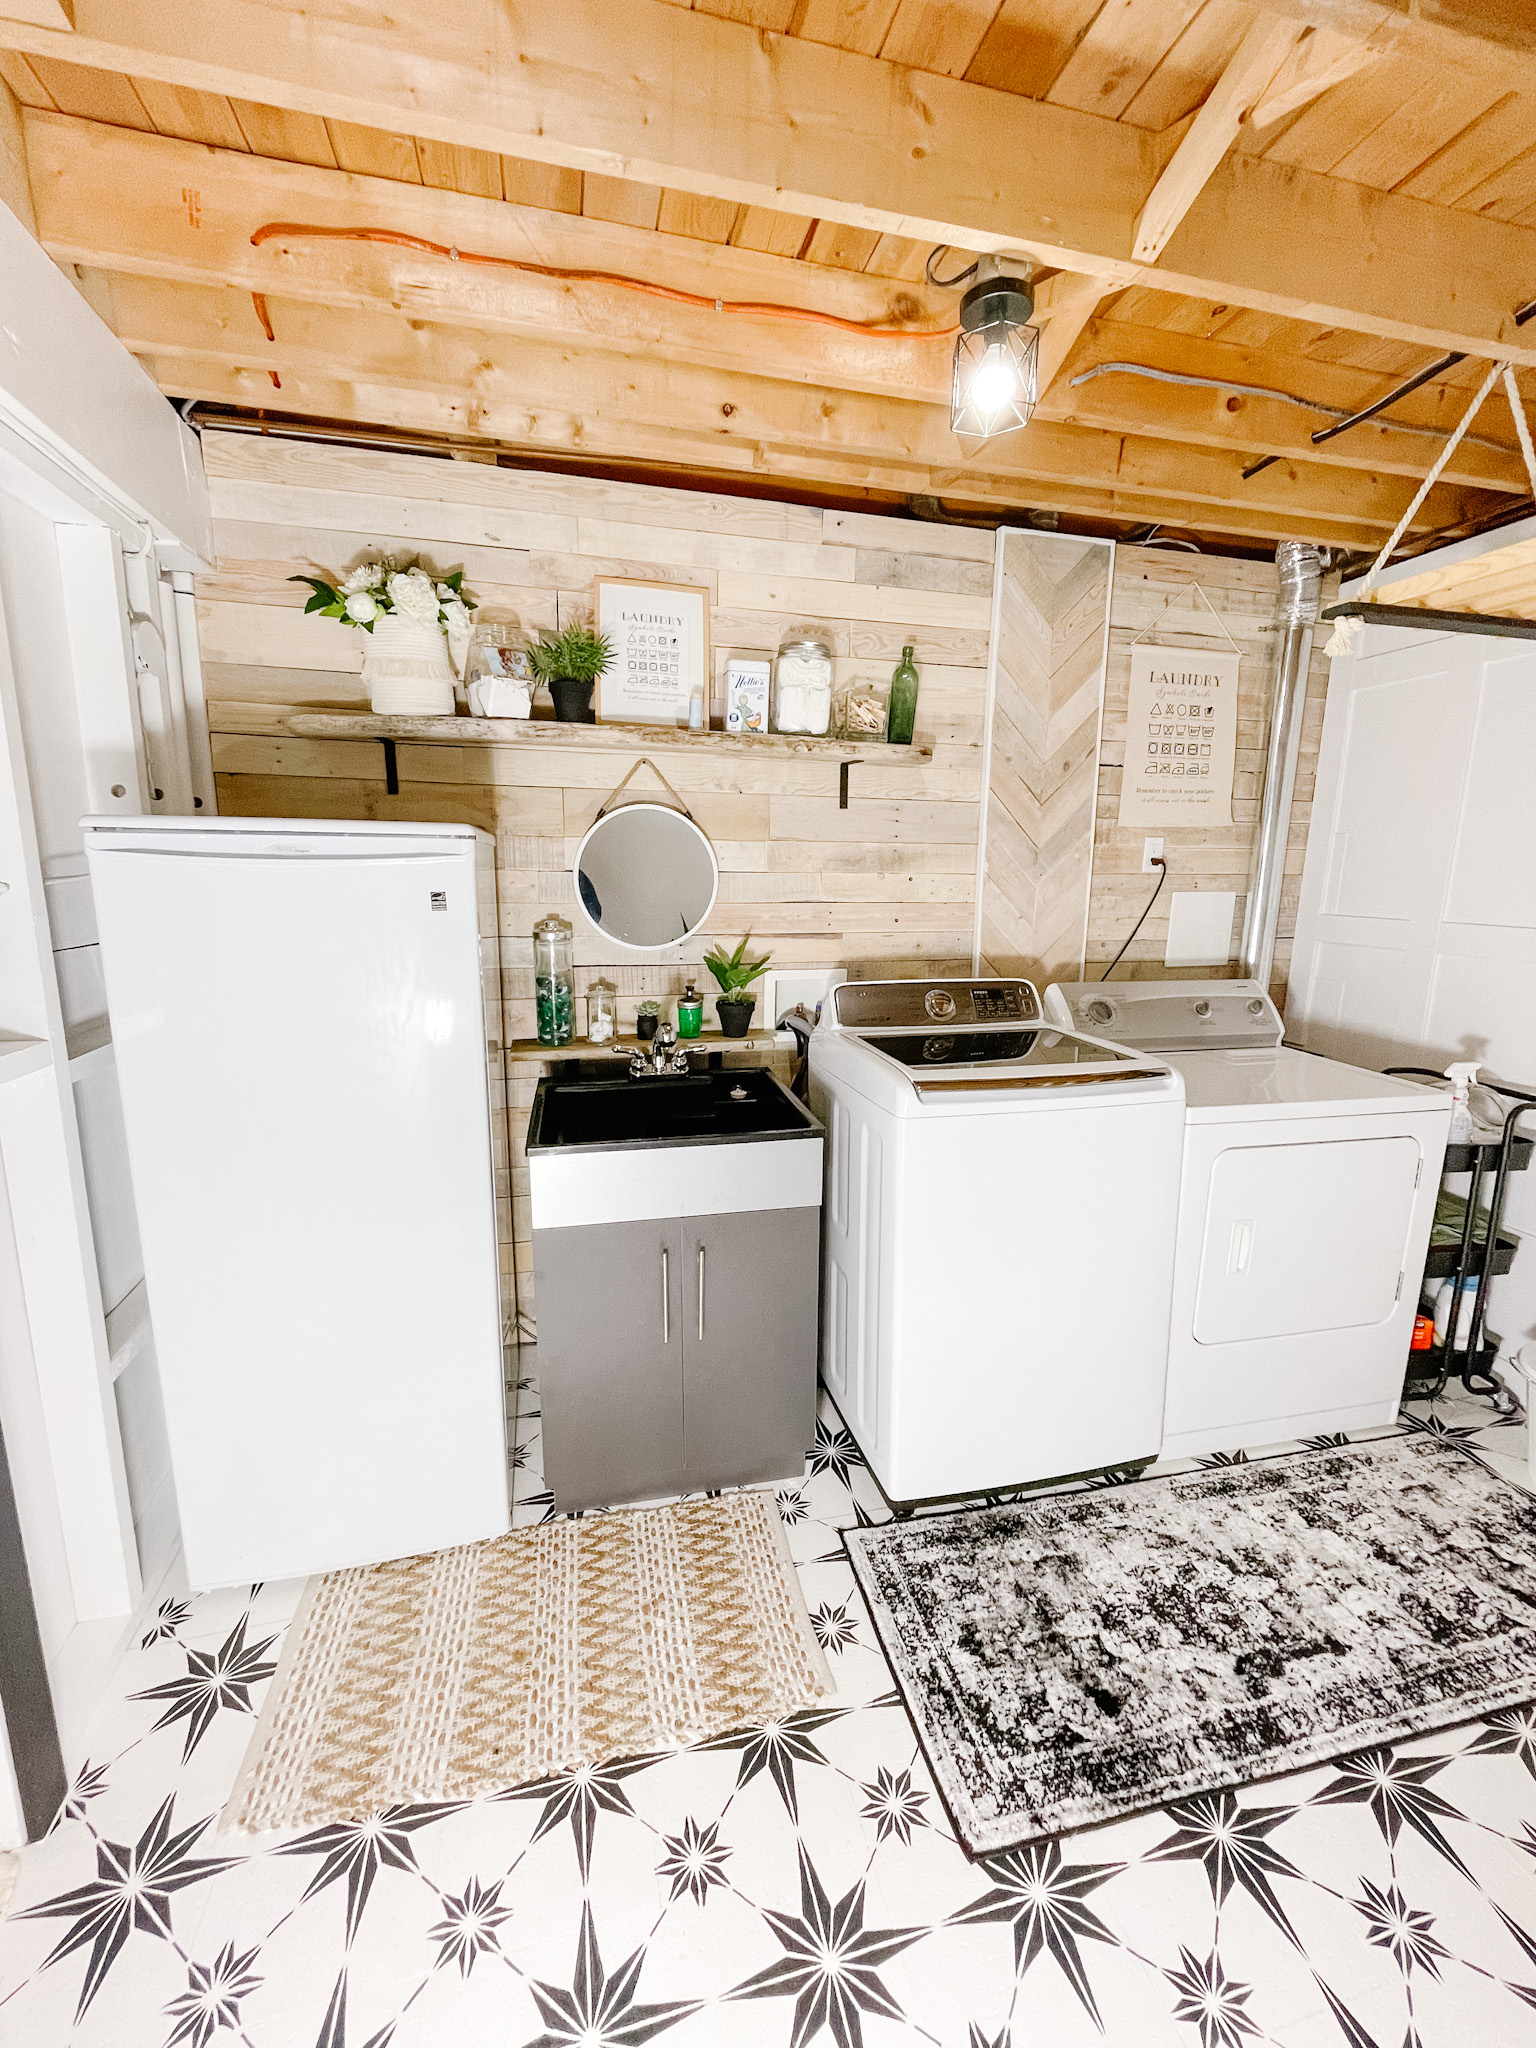
- Cut up 20 pallets, white washed them and installed to make a pallet wall, finished with indoor, water based, satin Varathane.
- Made a herringbone cover for the plumbing that stuck out further than the rest of the wall. It is removable for easy access in future renovations.
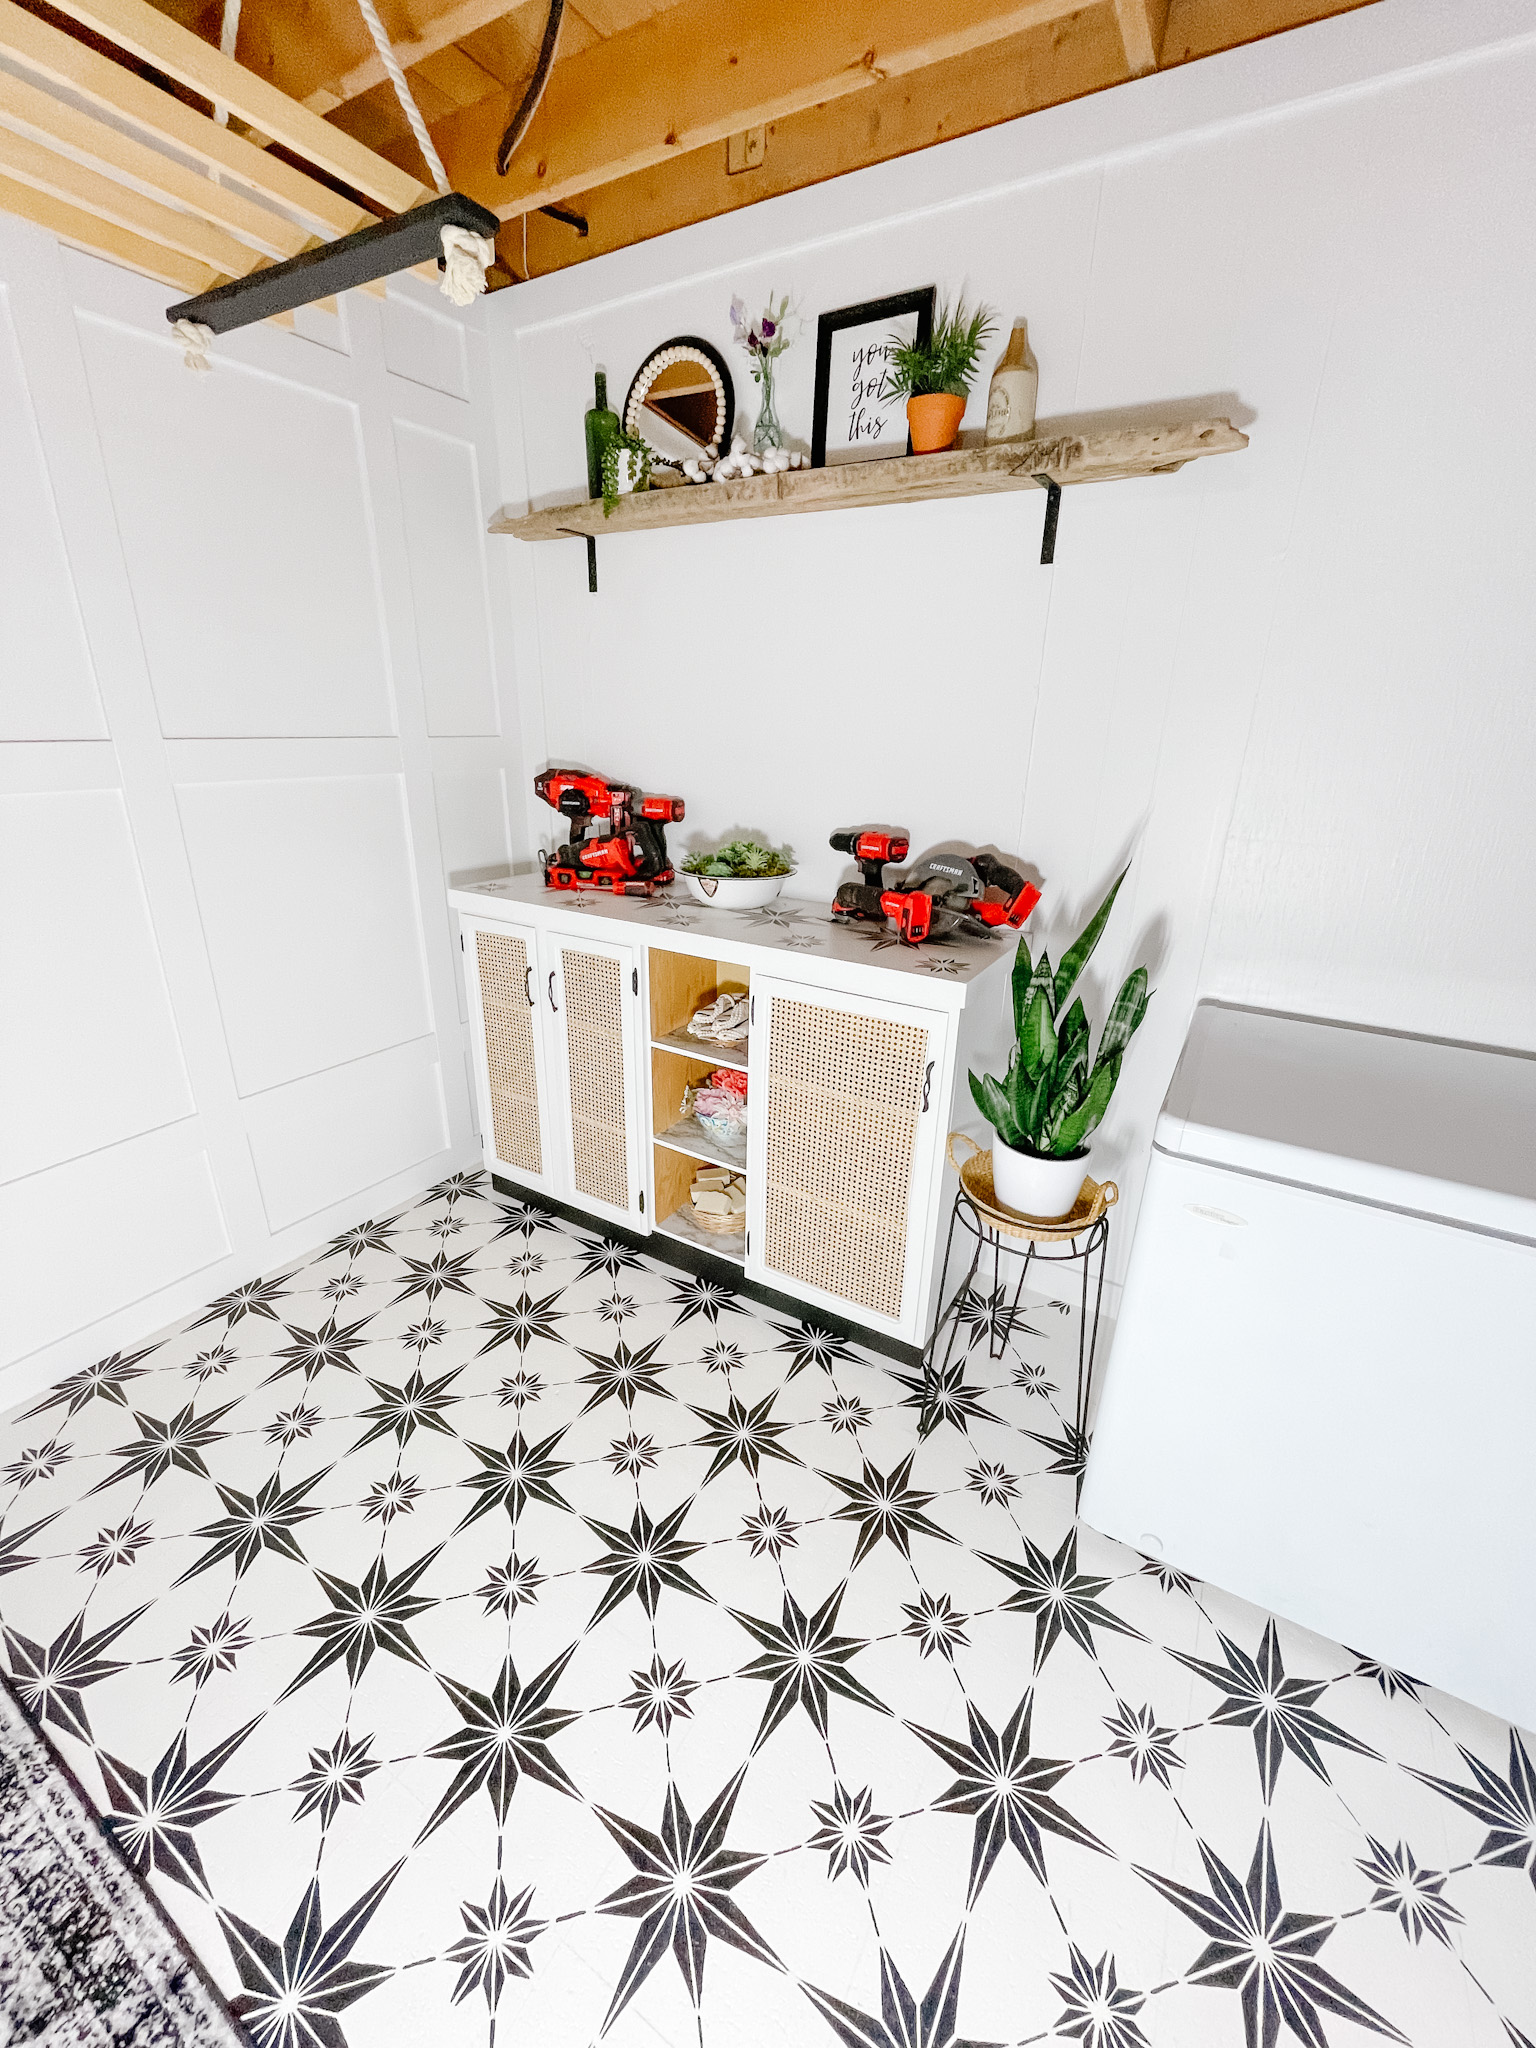
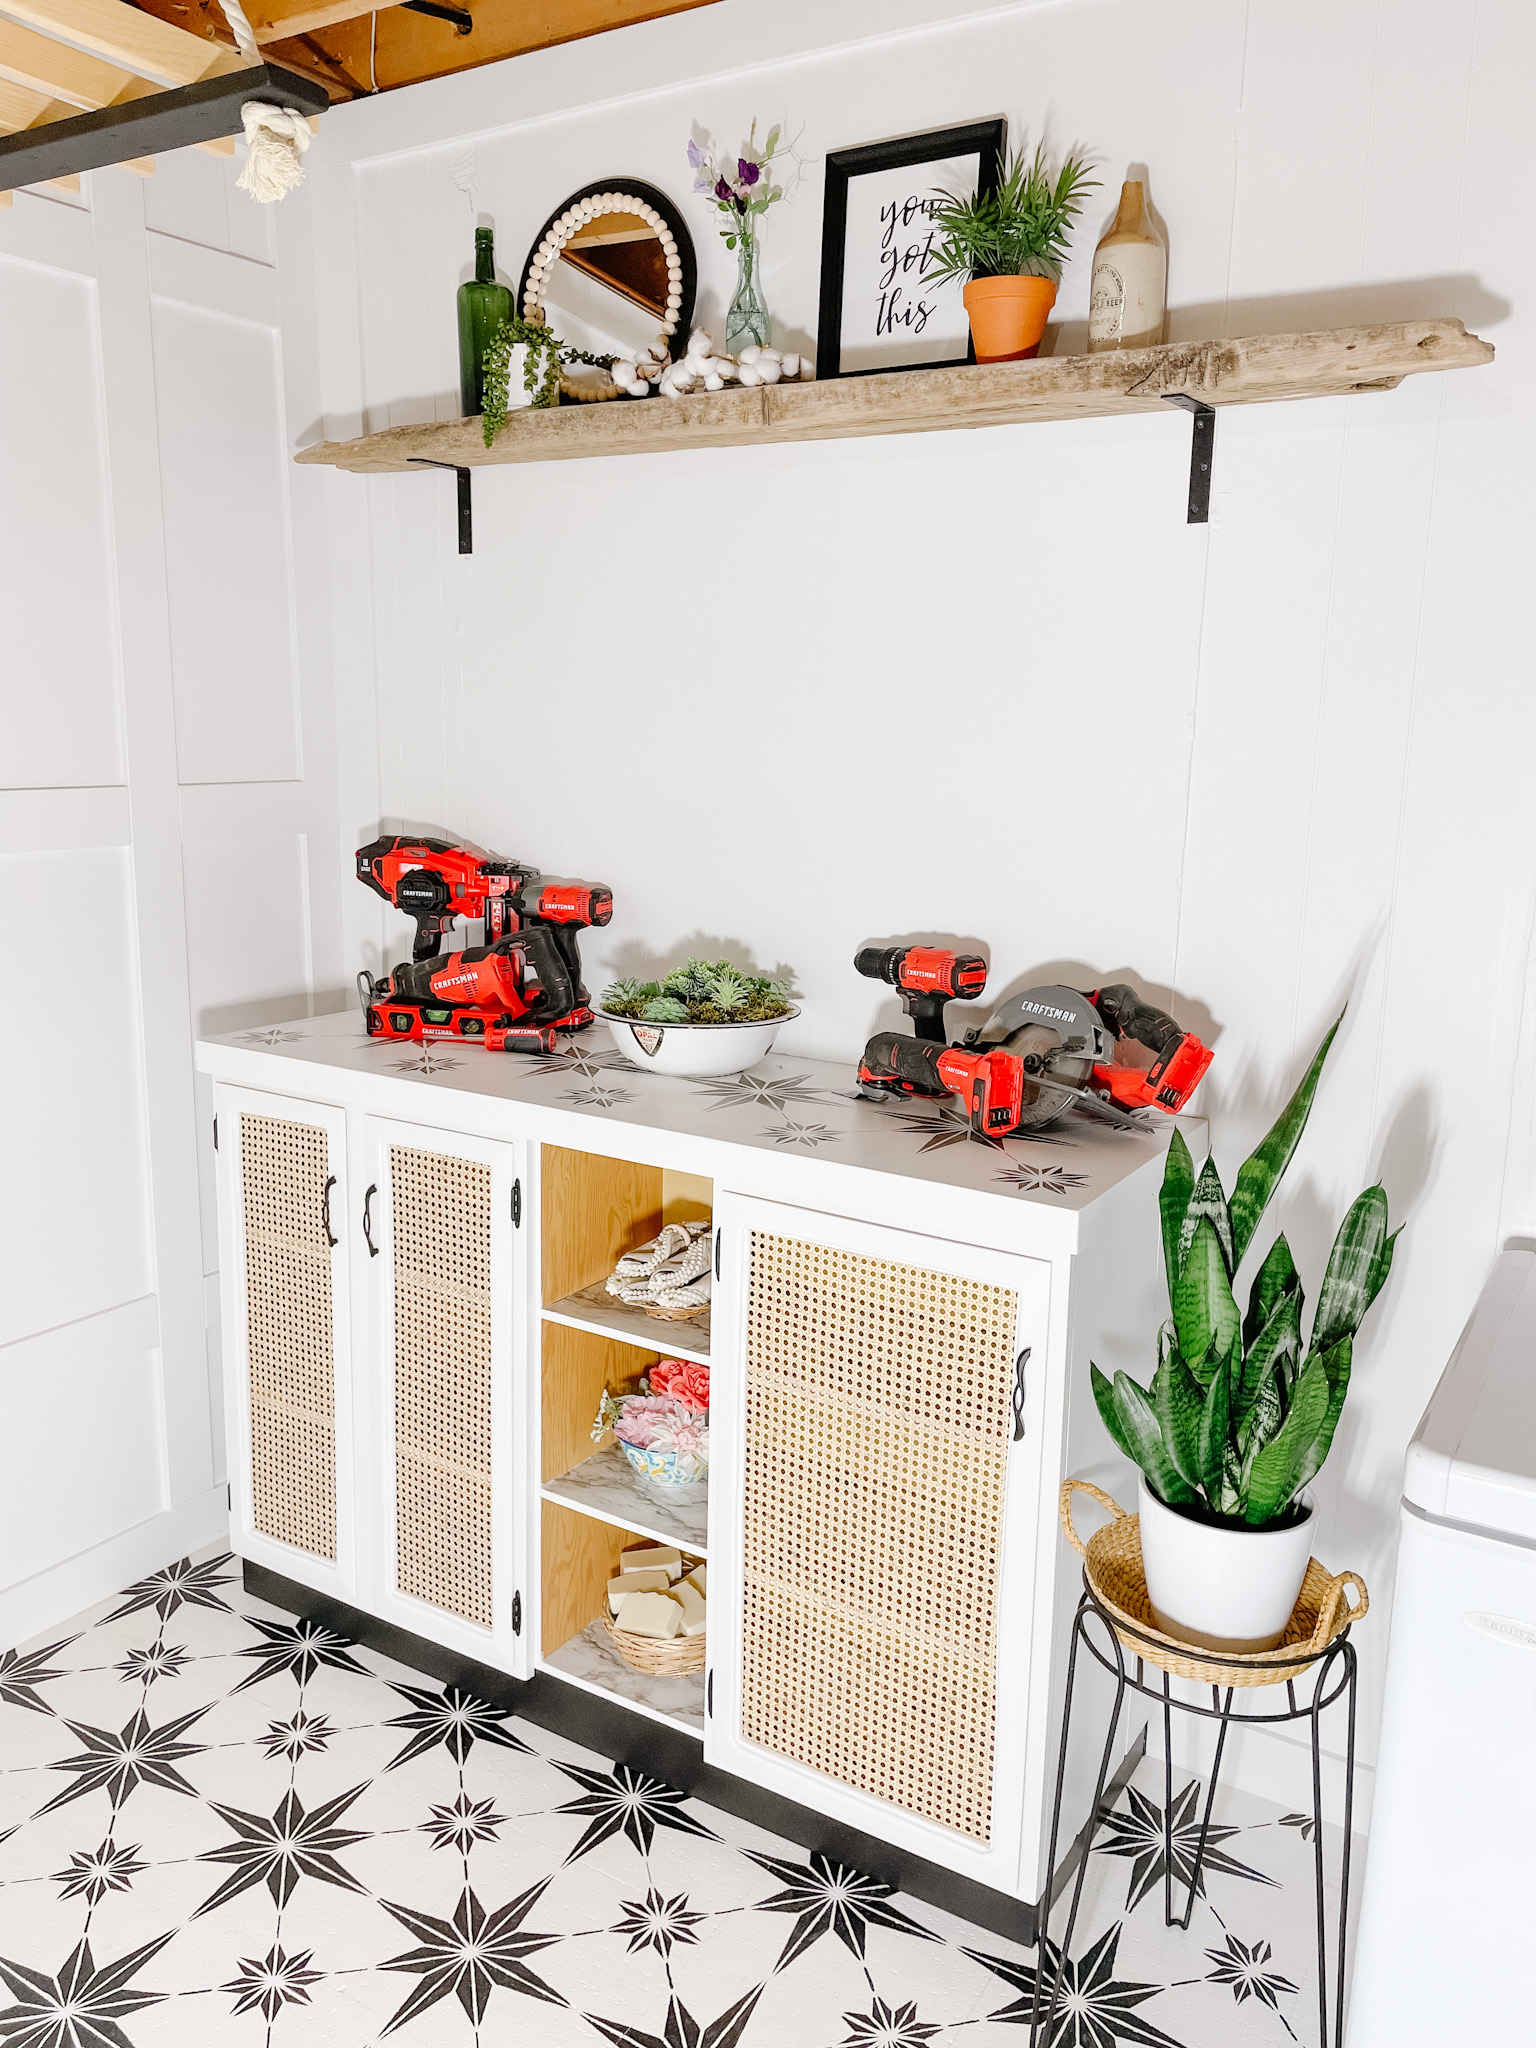
- Installed two driftwood shelves and decorated them. Used thrifted jars to store different things and driftwood that I collected in the spring and had drying in the house.
- Assembled and installed the RuggedTub utility sink, gifted from Technoform Industries.
- Replaced dryer ducting and secured to wall.
The third wall was my favourite …
- This drywall was so patchy and I wanted an easy way to cover it without doing a ton of work. I feel like I accomplished my goal!
- Installed MDF in grid pattern to cover drywall seams. Caulk on all edges of MDF and painted white. I’ve linked the caulking that I use and love in the “Shop this post” section below. Just make sure you use “paintable caulking.”
- After this wall was done I made a drying rack and installed it. This was a super fun project, I love the look of it and even more, it is so practical! I use it all the time and love it. You can find a reel on instagram on how to make this drying rack.
The fourth wall took the longest …
- I did the least amount of work to the wall itself (some filling/caulking/paint/baseboard trim), but the built in cabinet took a while. Mostly because of summer, but also because it takes me longer to finish things that are new to me. It just requires more mental energy, which I often don’t have these days!
- For the cabinet, I used ones we had in a different room in the basement. Took the doors off. Cut the inside out with a jigsaw. Routered the edges. Installed caning. I was able to source caning from a Canadian owned shop, click here to check it out. I really loved this project because I’ve been wanting to incorporate caning into my house so bad, it is just beautiful and I love the wood tonnes. I think it’s a fun way to compliment the other natural wood features in the house. I was so excited to work with Louie George Michael’s shop to make my caning dreams come true! Louie was also really helpful in providing tips for installing it; it was so easy!
- I used an old closet door from upstairs in our house, for the counter and stencilled it to match the floor.
- I painted the hardware with flat black spray paint and lined the shelves with my all time favourite, marble mac tac 🙂
We can’t forget about the floor!
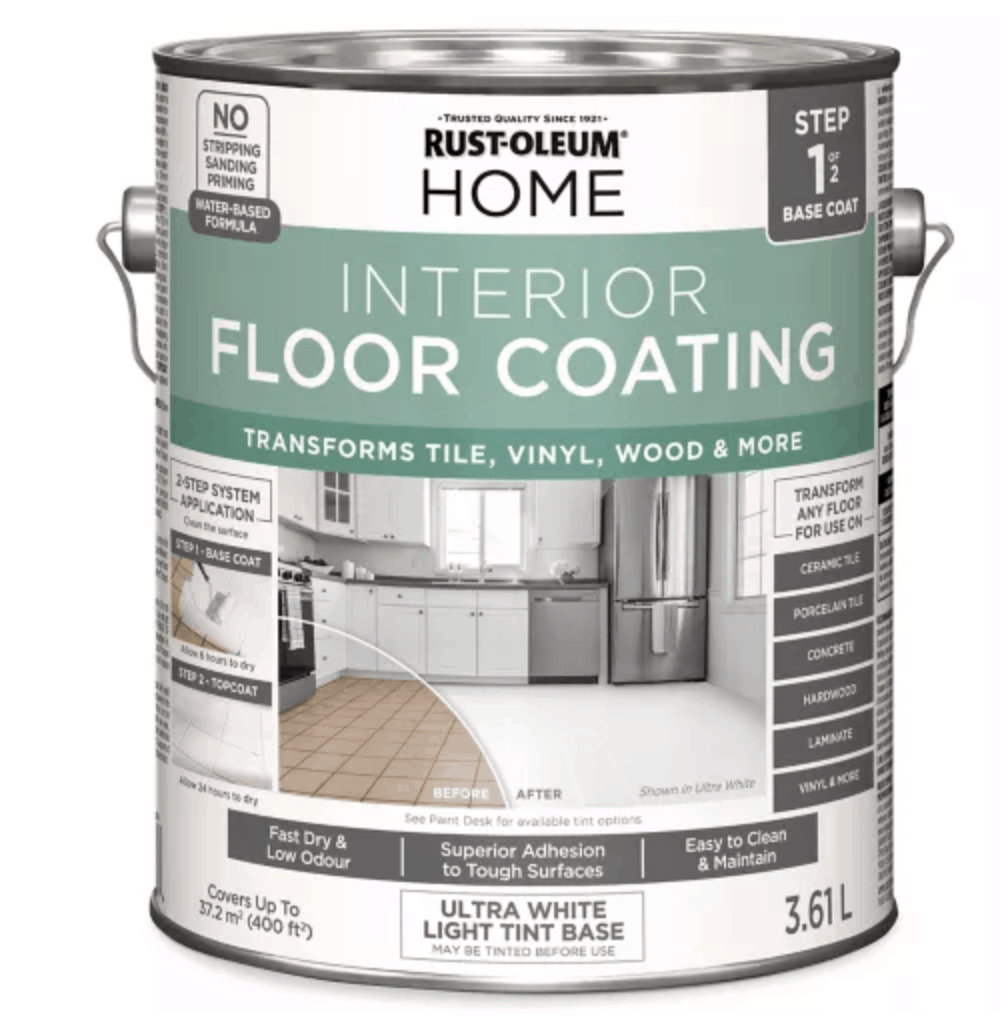
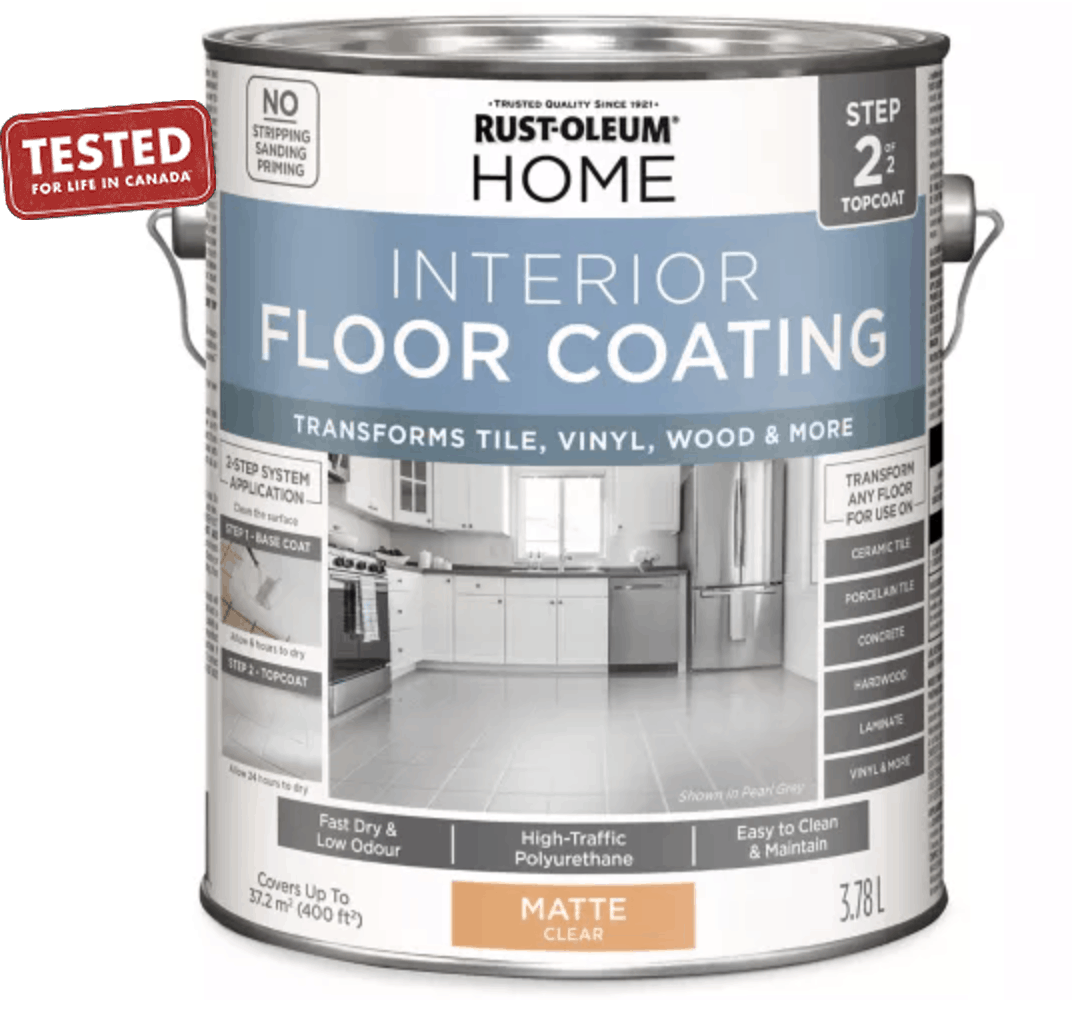
- My goal with the floor was to make somehow turn the vinyl and concrete section into something nice and easy to clean without costing a lot of money, so I painted it! So far I have been really happy with it and I might even just try painting another floor in the house!
- Although I do love it, I learnt a lot along the way – you can find out all about it in the video below or click HERE for the blog post.
- The stencil I used was from Cutting Edge Stencils – they have so many great options!
Any questions! Let me know in the comments!
We would love to see your renovations so please share with us by tagging us on Instagram @sewbrightcreations or email them to [email protected].
Shop this post …
Here are some of the links I was able to source for this renovation project! <<some links are affiliate links where I may earn a small commission at no extra cost to you, if you shop by clicking on my links. Your support is always greatly appreciated!>>
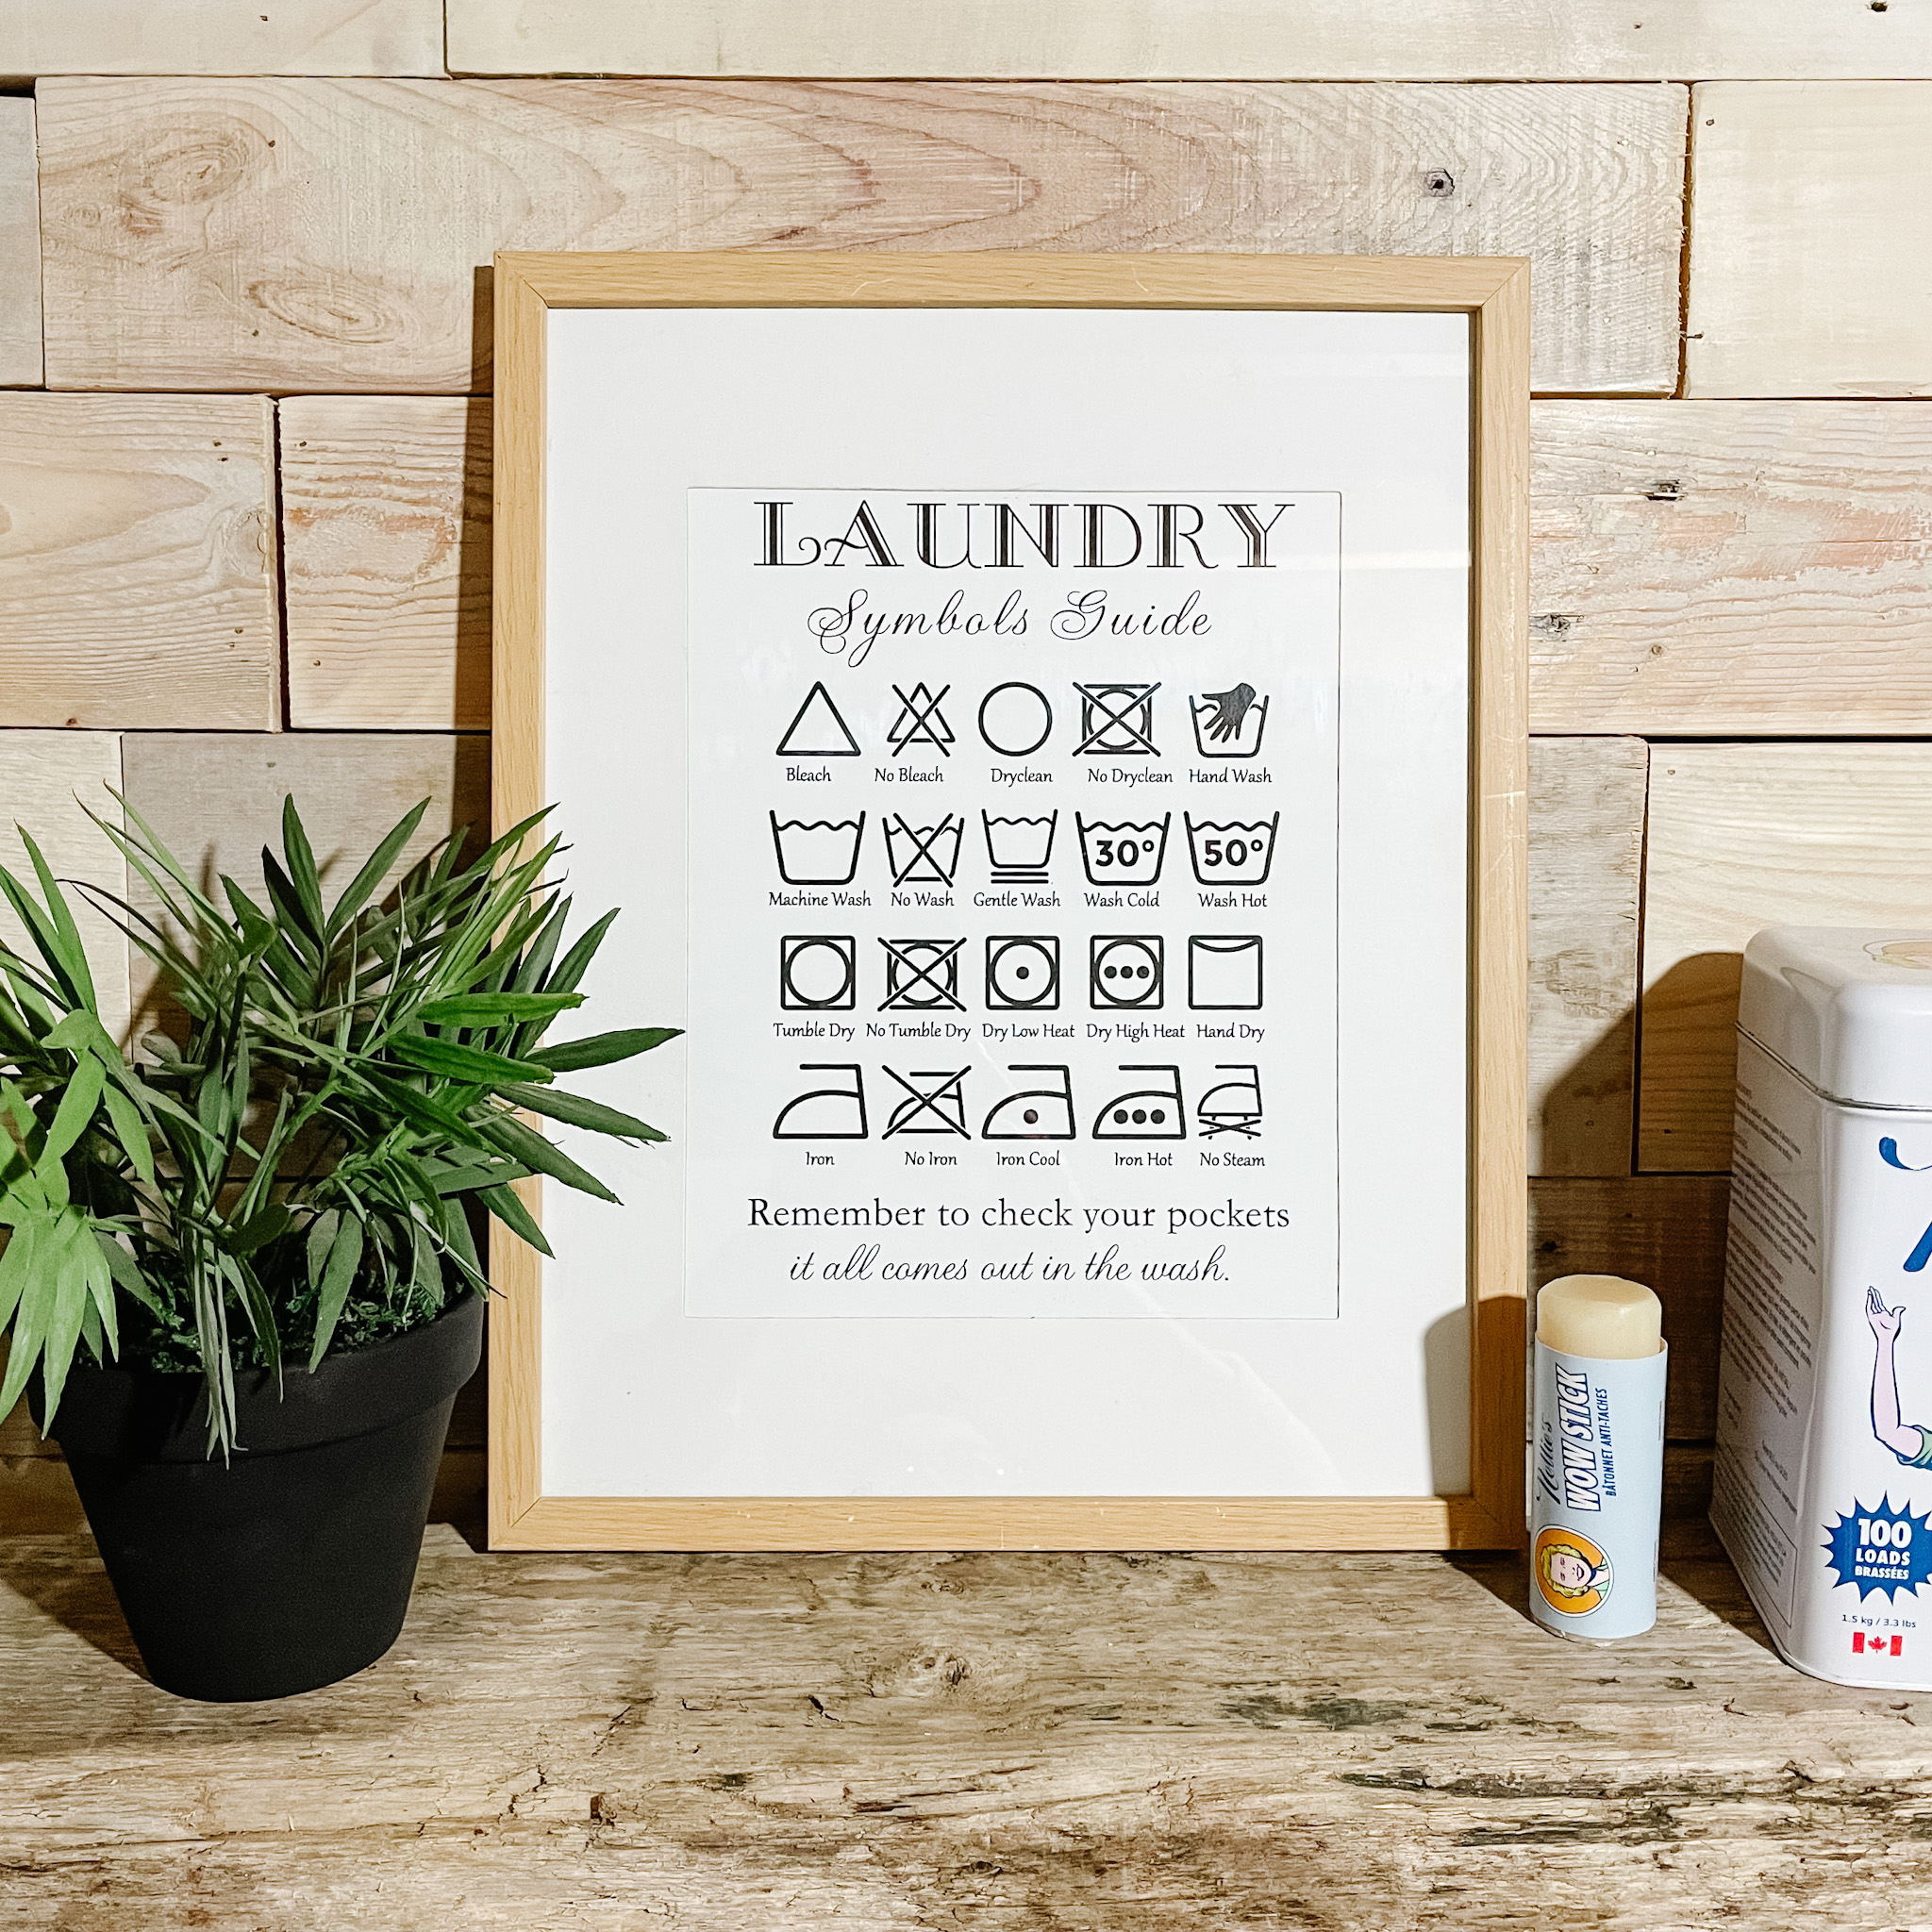
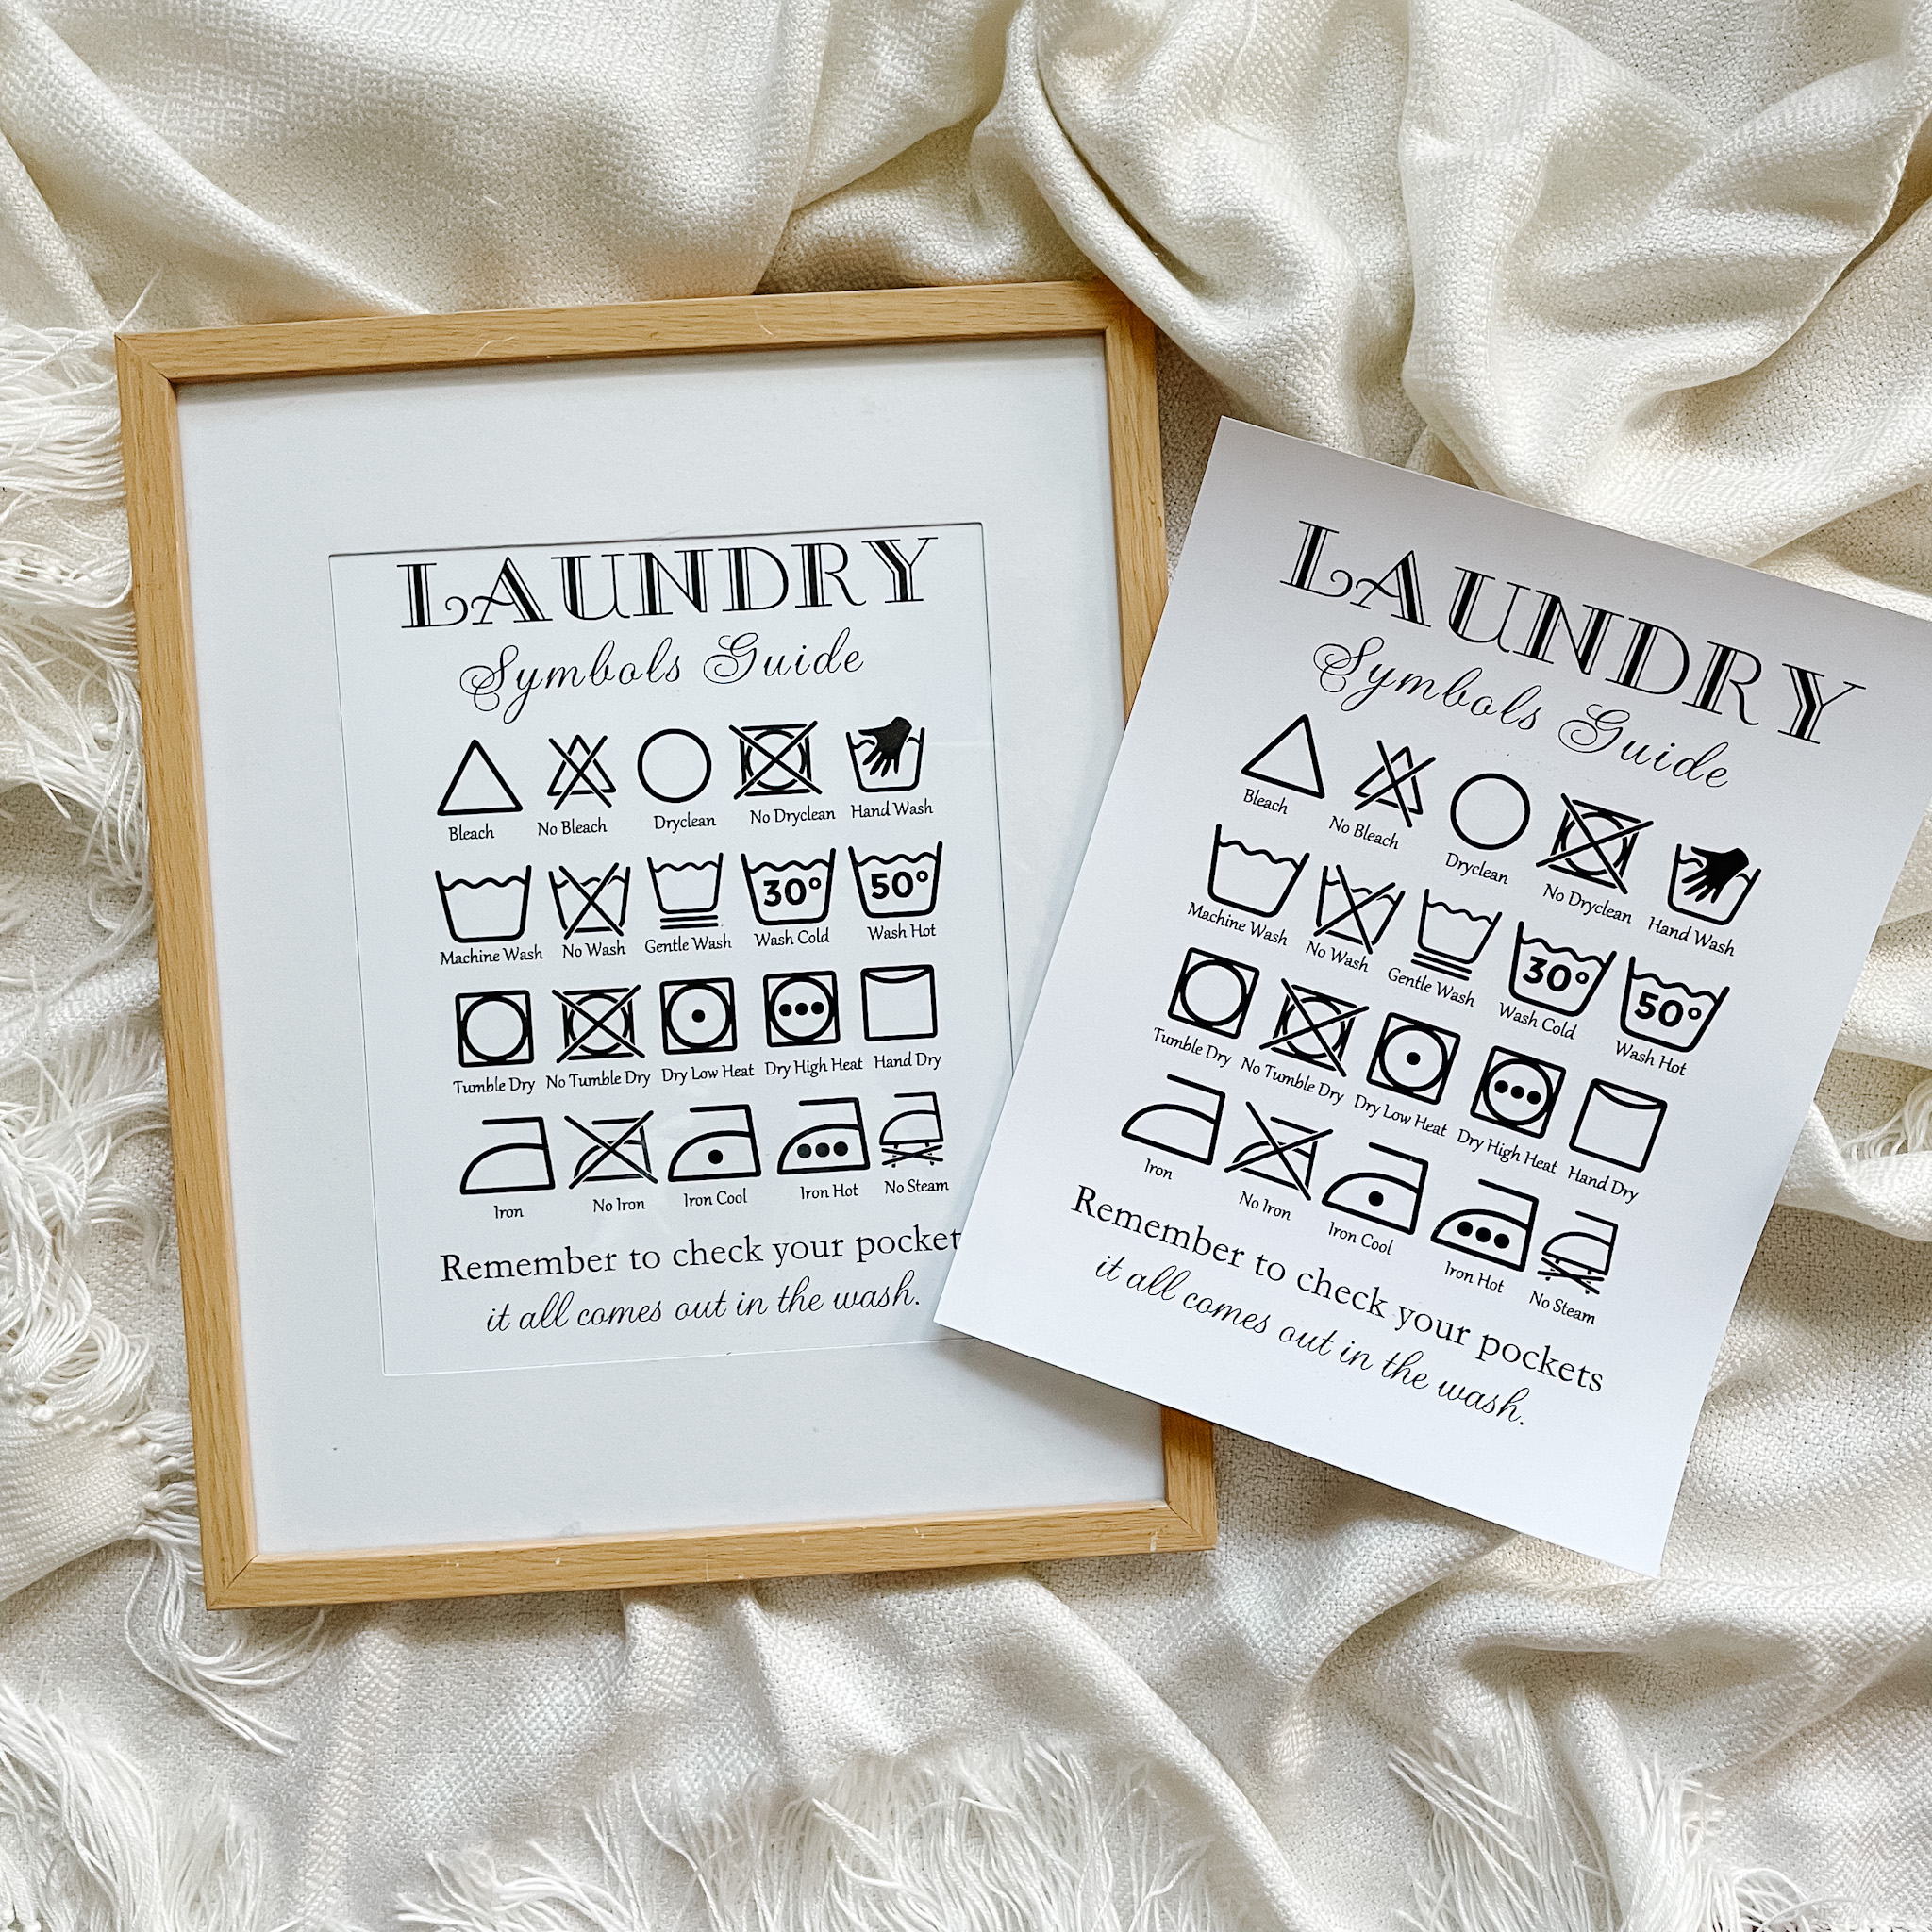
Laundry room sign – printable download
You got this – printable download
Technoform RuggedTub laundry sink
Cutting edge Star Tile Stencil & Stencil Kit


Click HERE for more of my Amazon Favourites!


