
We’ve officially joined the hottest trent of 2020 – tie dye! If you’ve already lived through a tie dye era you’re probably laughing or maybe rolling your eyes, but hey, we’re loving it. Not to mention tie dye 2020 is a little more trendy then that bright in your face tie dye of the 70’s (sorry mom).
We tried both regular tie dye and reverse tie dye and I’m sharing our hottest tips below! If you’d like a step by step guide on how to do it, a quick YouTube search can easily help you out or you could check out my Instagram @sewbrightcreation for a highlight on how we did the reverse tie dye.
1. Protect Yourself
For both types of tie dye you’ll want to be sure to do it outside (or in a fully covered area), wear gloves and an apron/smock or clothes that can get die/bleach on them. I wore my old university lab coat that I use for painting, it’s perfect, although a little tight over my baby bump 🙂

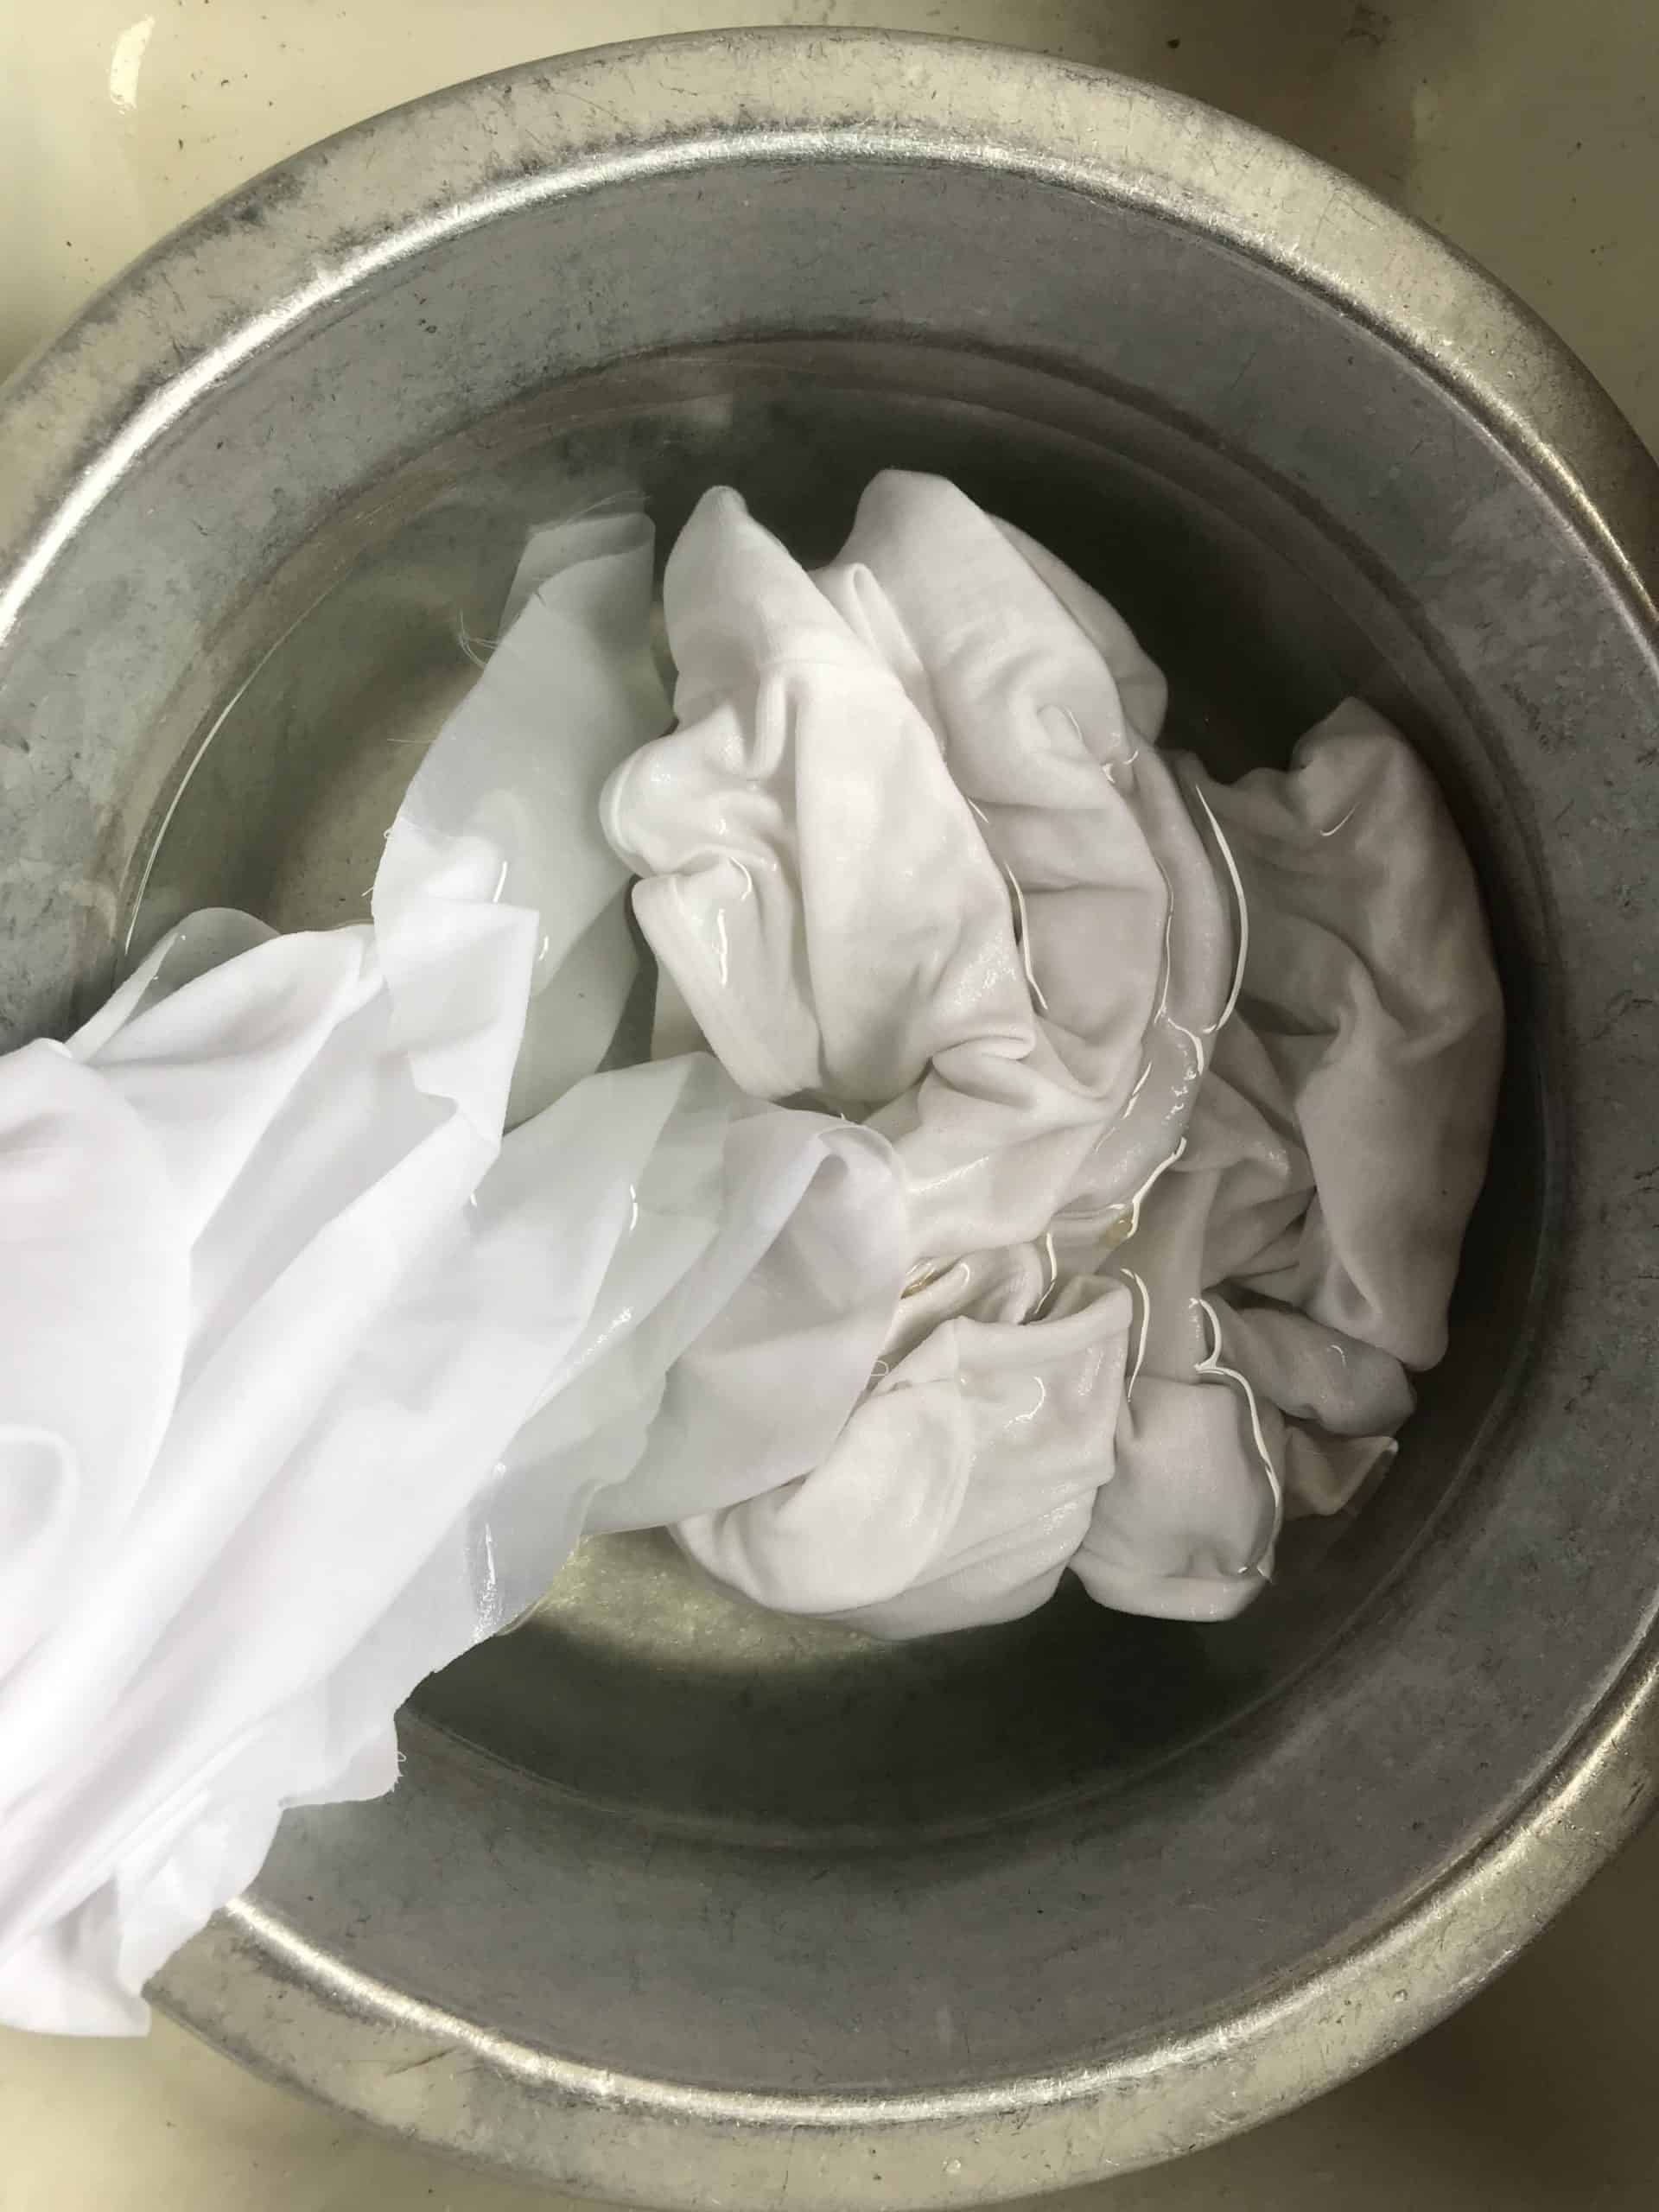
2. Wet Your Garments First
Every video and tutorial I watched had said to wet the garment/fabric first before tie dying. I did this for both the coloured one and the reverse tie dye (bleach). For the coloured ones, I was going for the pastel look and I am happy I wet it first, but for the bleach one, I think next time I would try not wetting first to see if the bleached part goes lighter. If you want more vivid colours I would also suggest trying without wetting first.
To wet garments you can simply just wet them in the sink or a basin or you could run them through a rinse cycle in the washing machine.
3. Use Liquid Die
I used Dylon powered die (linked below are pink and blue, I could not find the same purple I used) because it was what our local fabric store had with the most colour options, however I would suggest using liquid die. I’ve heard great things about Rit Dye, but haven’t tried it myself. Rit dye also has a lot of colour options, one is linked below to get you started.
If you do use powered die like I did, make sure that it is completely dissolved. This is easier said than done as I thought mine was, but it still left some die marks on the fabric. It’s not super noticeable, but I notice it! I used one package per colour and added extra water for a lighter more watercolour look.
4. You Don’t Need a Kit
This goes with #3 above, but you don’t need a tie dye “kit.” You can easily tie dye on your own with die, elastics and some sort of squirt bottles, like old dish soap bottles. I actually happened to have a kit that my mom purchased 15+ years ago when tie dye wasn’t actually cool anymore, but lucky for me and my hoarder instincts, I saved it all these years. Turns out I only ended up using the squirt bottles, because the colours were more vibrant (primary colours) than what I was after. I wanted the pink, purple, blue pastel/cotton candy look. I have linked a similar kit to what I had, in case it helps you get started.
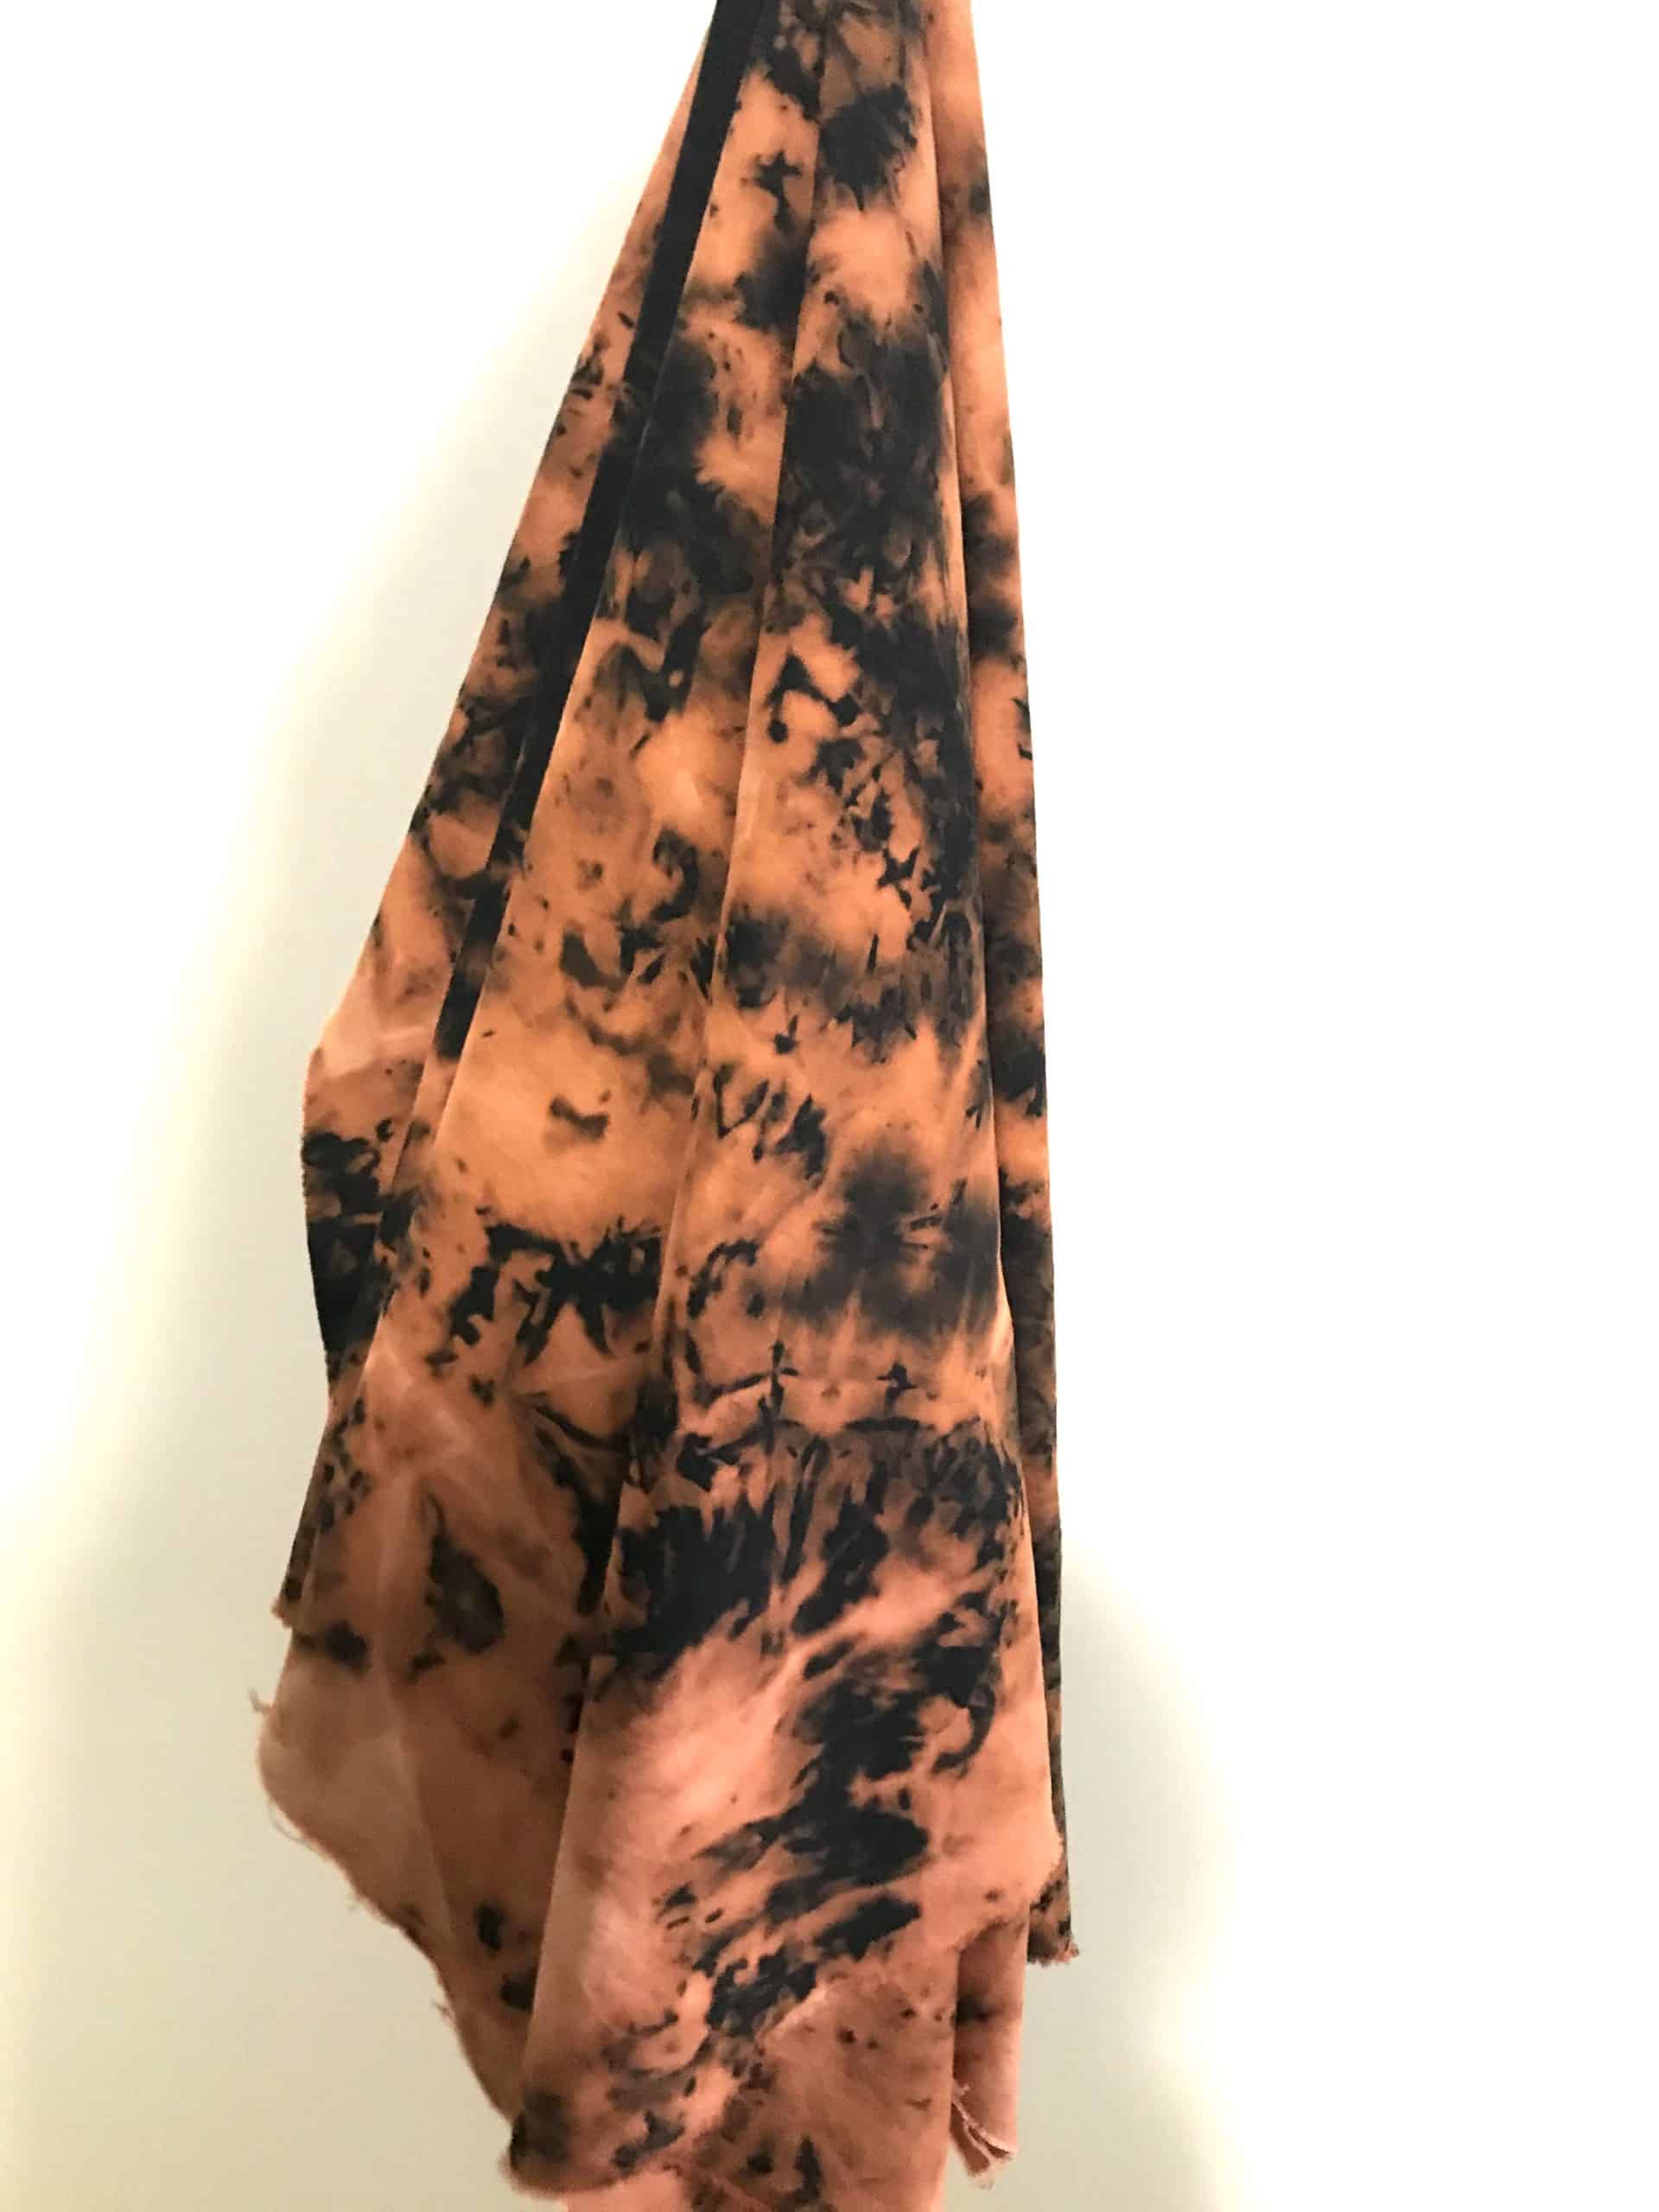
5. Bleach Solution
I used a 1:1 bleach water solution (equal parts bleach and water) because that was all the bleach I had, but I think next time I would use more of a 2:1 or 3:1 bleach to water ratio so it is stronger. I also left mine about an hour and a half, maybe longer (I can’t quite remember), but I think with a stronger solution and starting with dry garments, the bleached part would have come out lighter and less orangish.
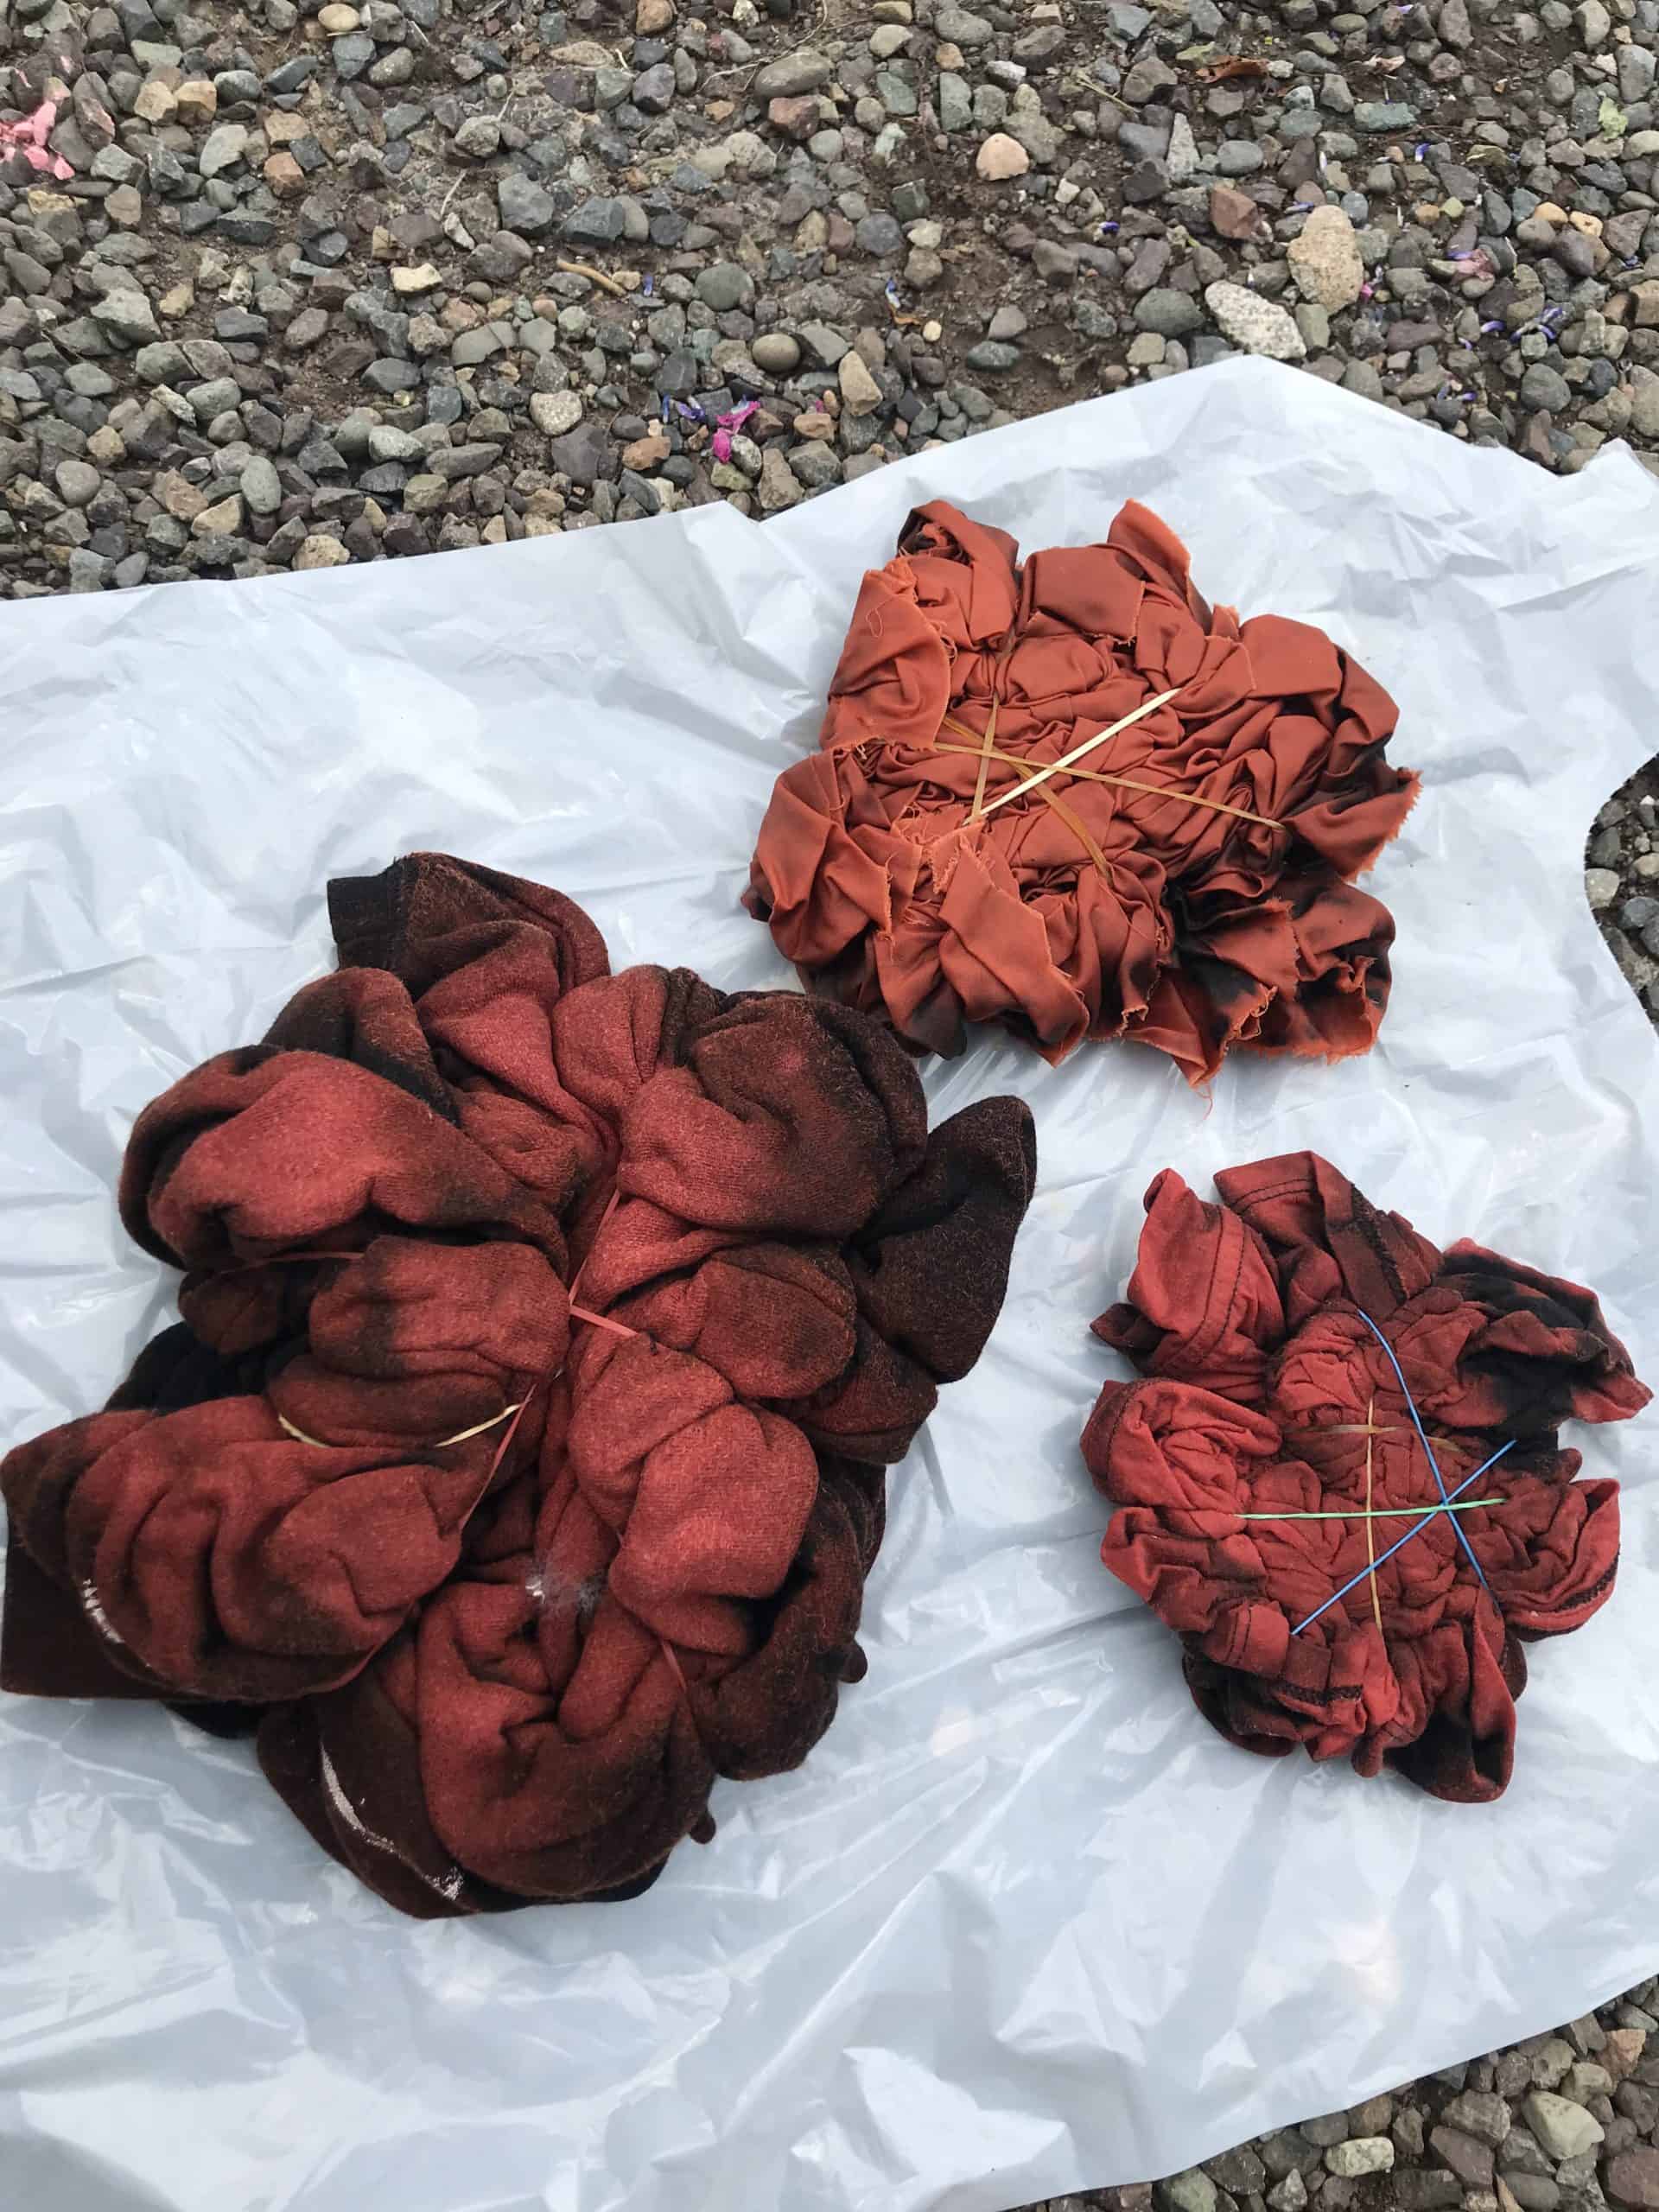
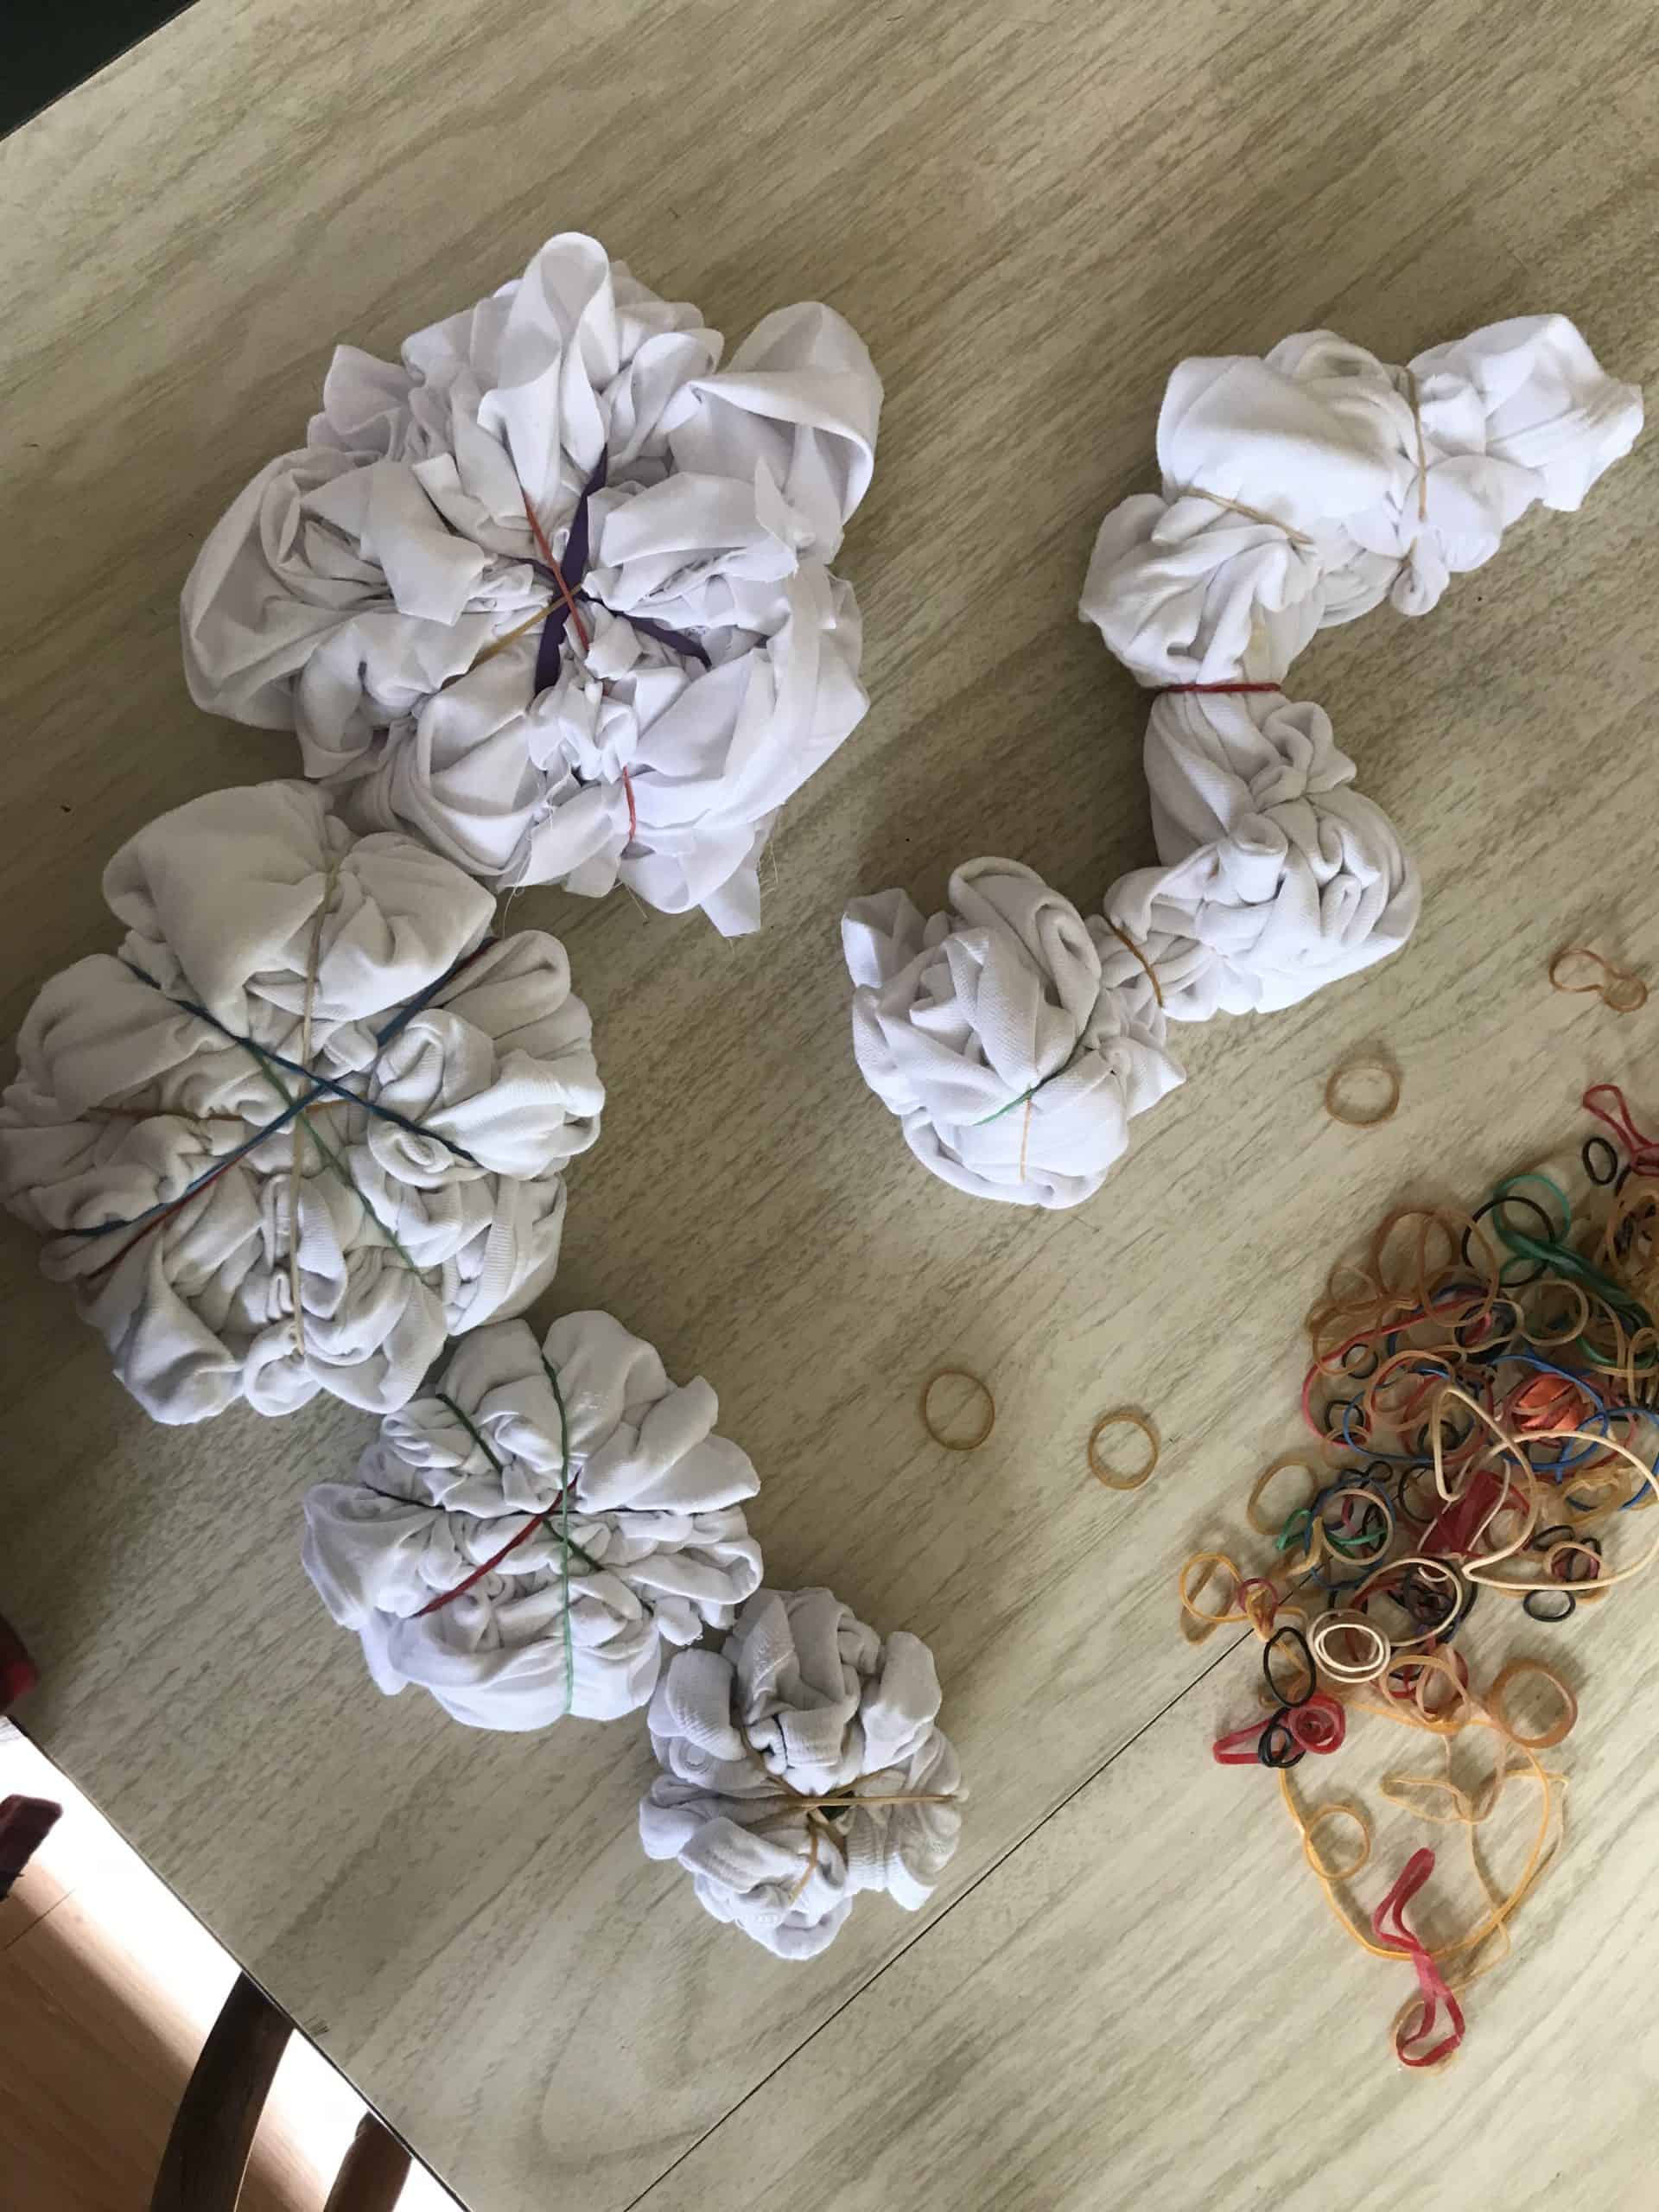
6. Scrunch It Method
Instead of the traditional tie dye pattern we scrunched the garments up starting in the middle and then wrapped elastics around to hold in place. I’m really happy with how this worked out and would definitely recommend it.

7. Washing
I hung my garments and fabric to dry outside, then washed on cold in washing machine and dried in dryer normally. The coloured tie dye did come out a bit lighter, but again, I was going for that pastel look so I’m okay with it!

8. Just Have Fun!
Okay, maybe not much of a tip, but seriously, just have fun with it! Don’t be afraid to wing it and just go with it. I was a bit unsure on getting started, but I think one of the fun things about tie dye is that everyone’s is unique! If you give it a try, feel free to tag me in your photos @sewbrightcreations and use #sewbrightcreations, I would love to see!
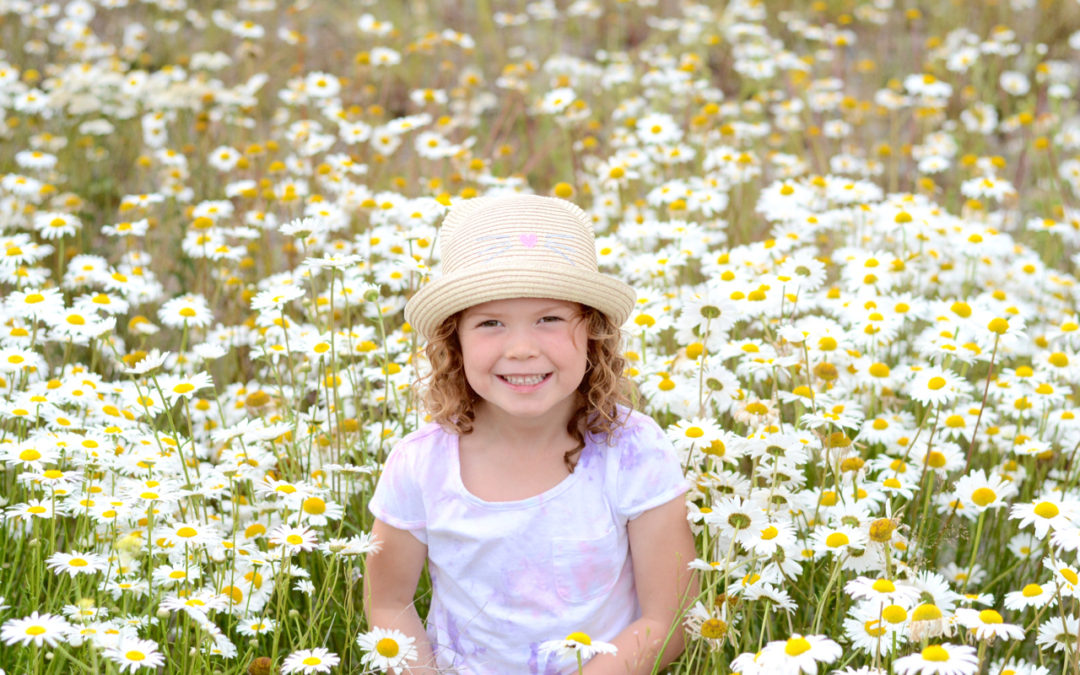
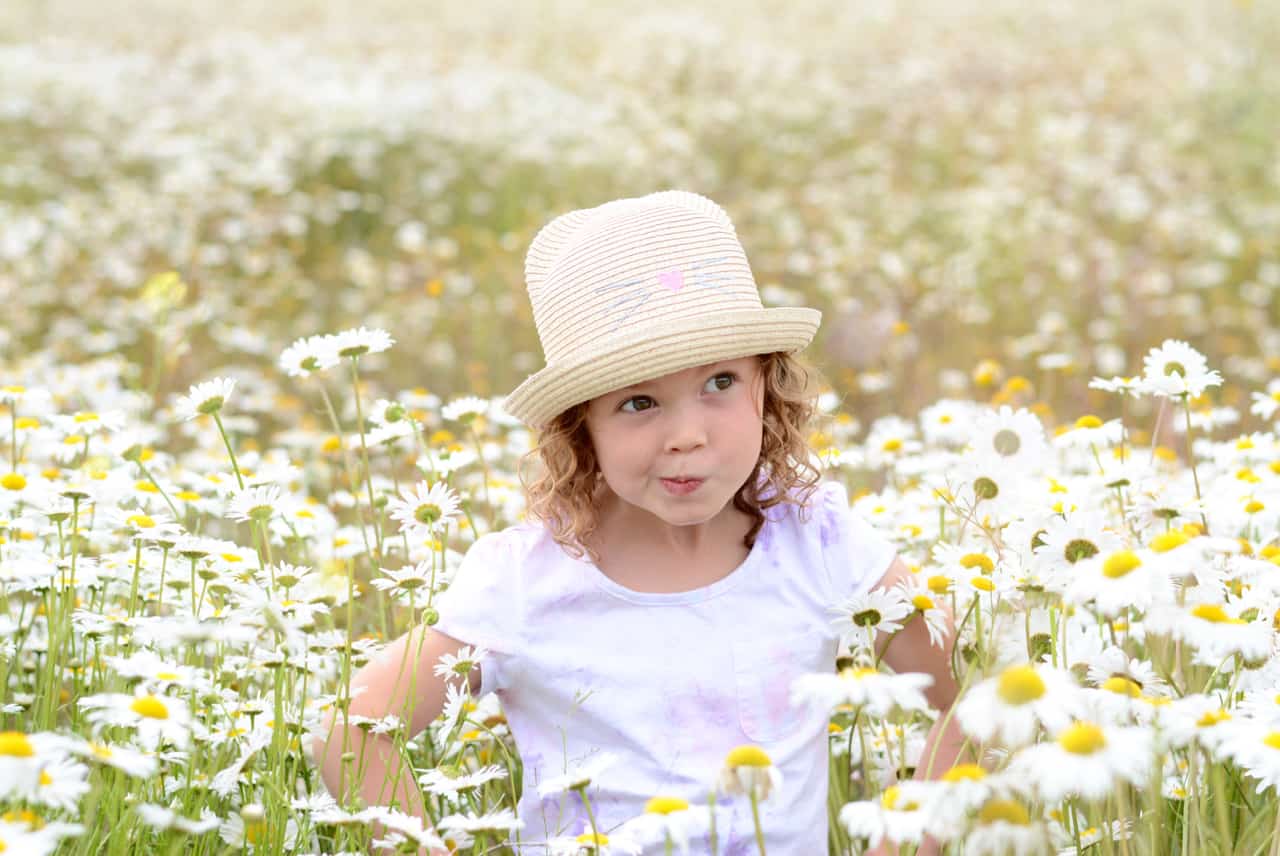
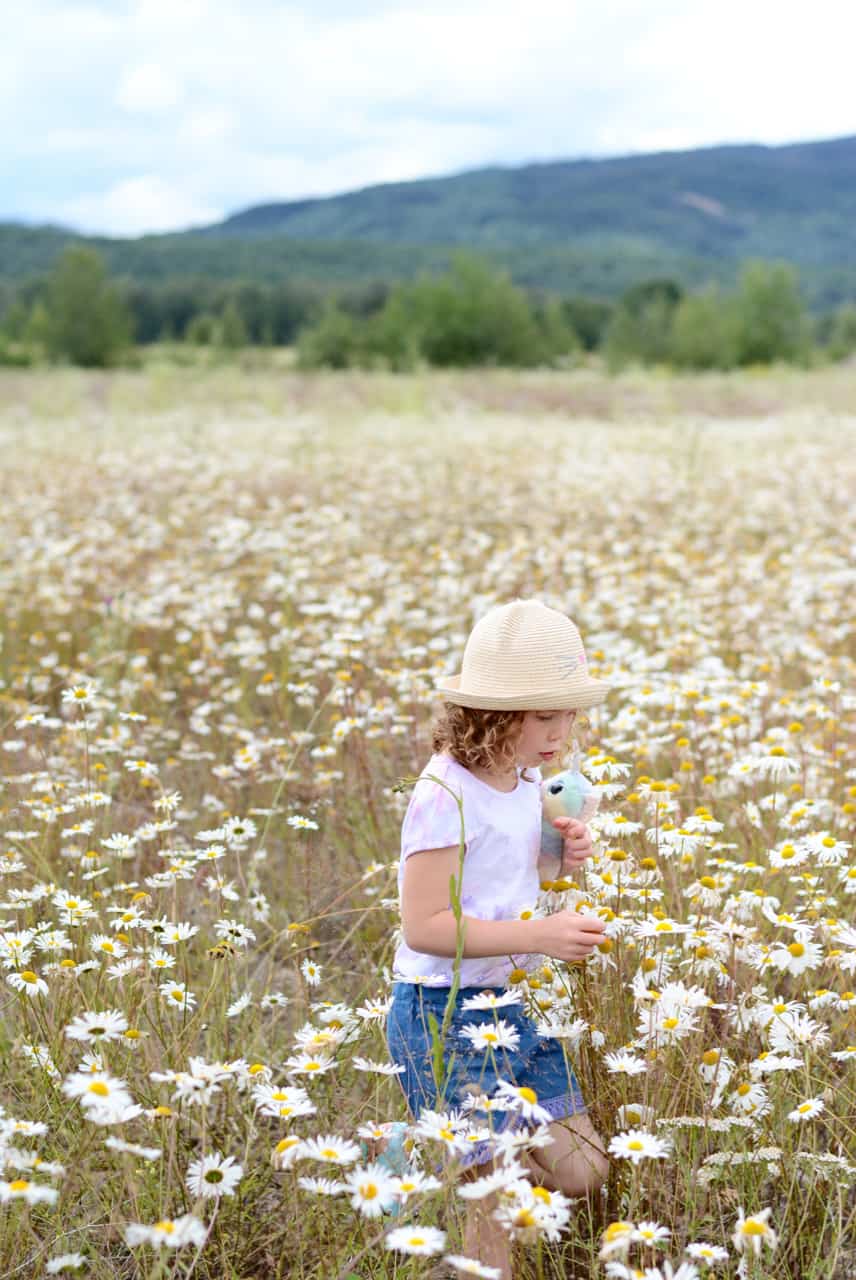
We had fun and I also really enjoyed taking photos of my girl. There’s something about tie dye and daisies that just go together!
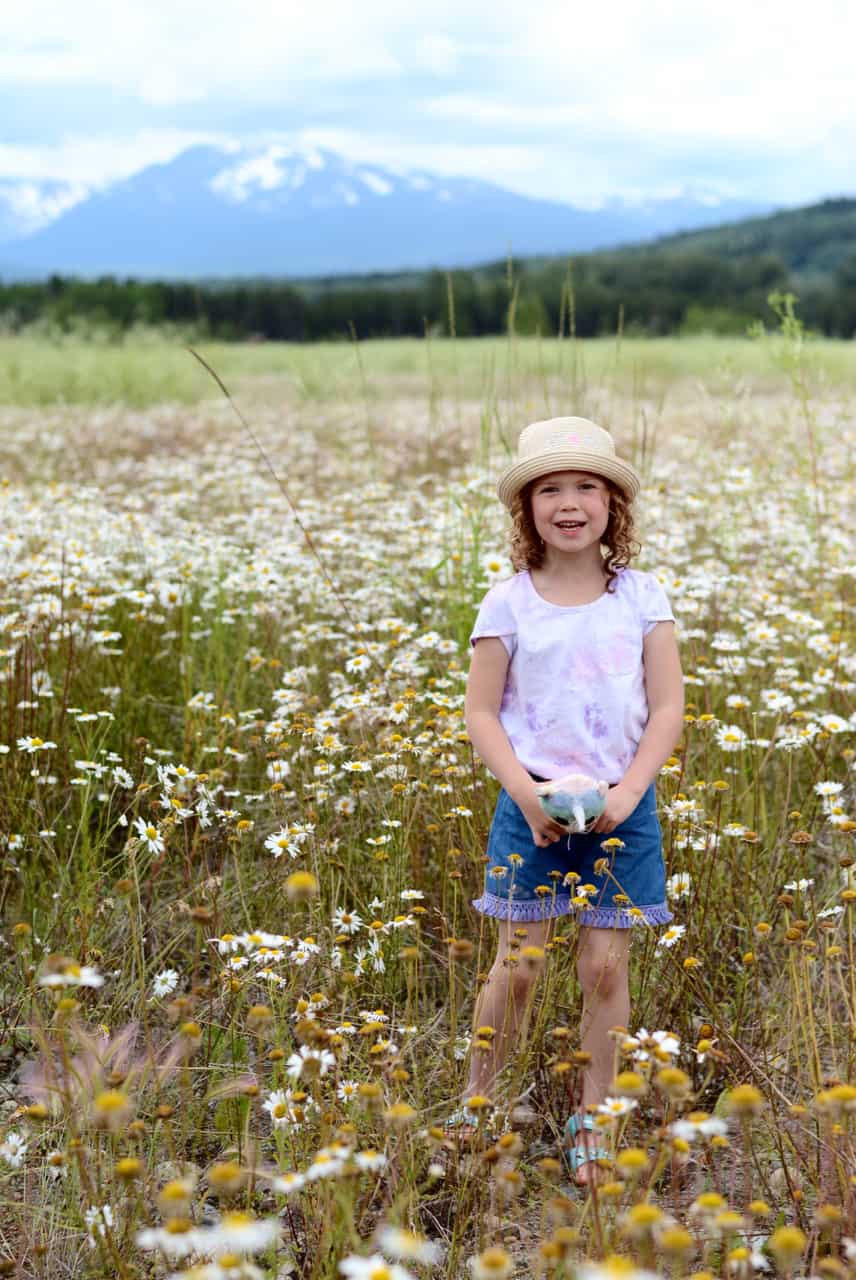
I also made her shorts using a pattern from Made Everyday and fabric was gifted from Fabric Online. com. I’ll have more about making shorts on the blog soon!

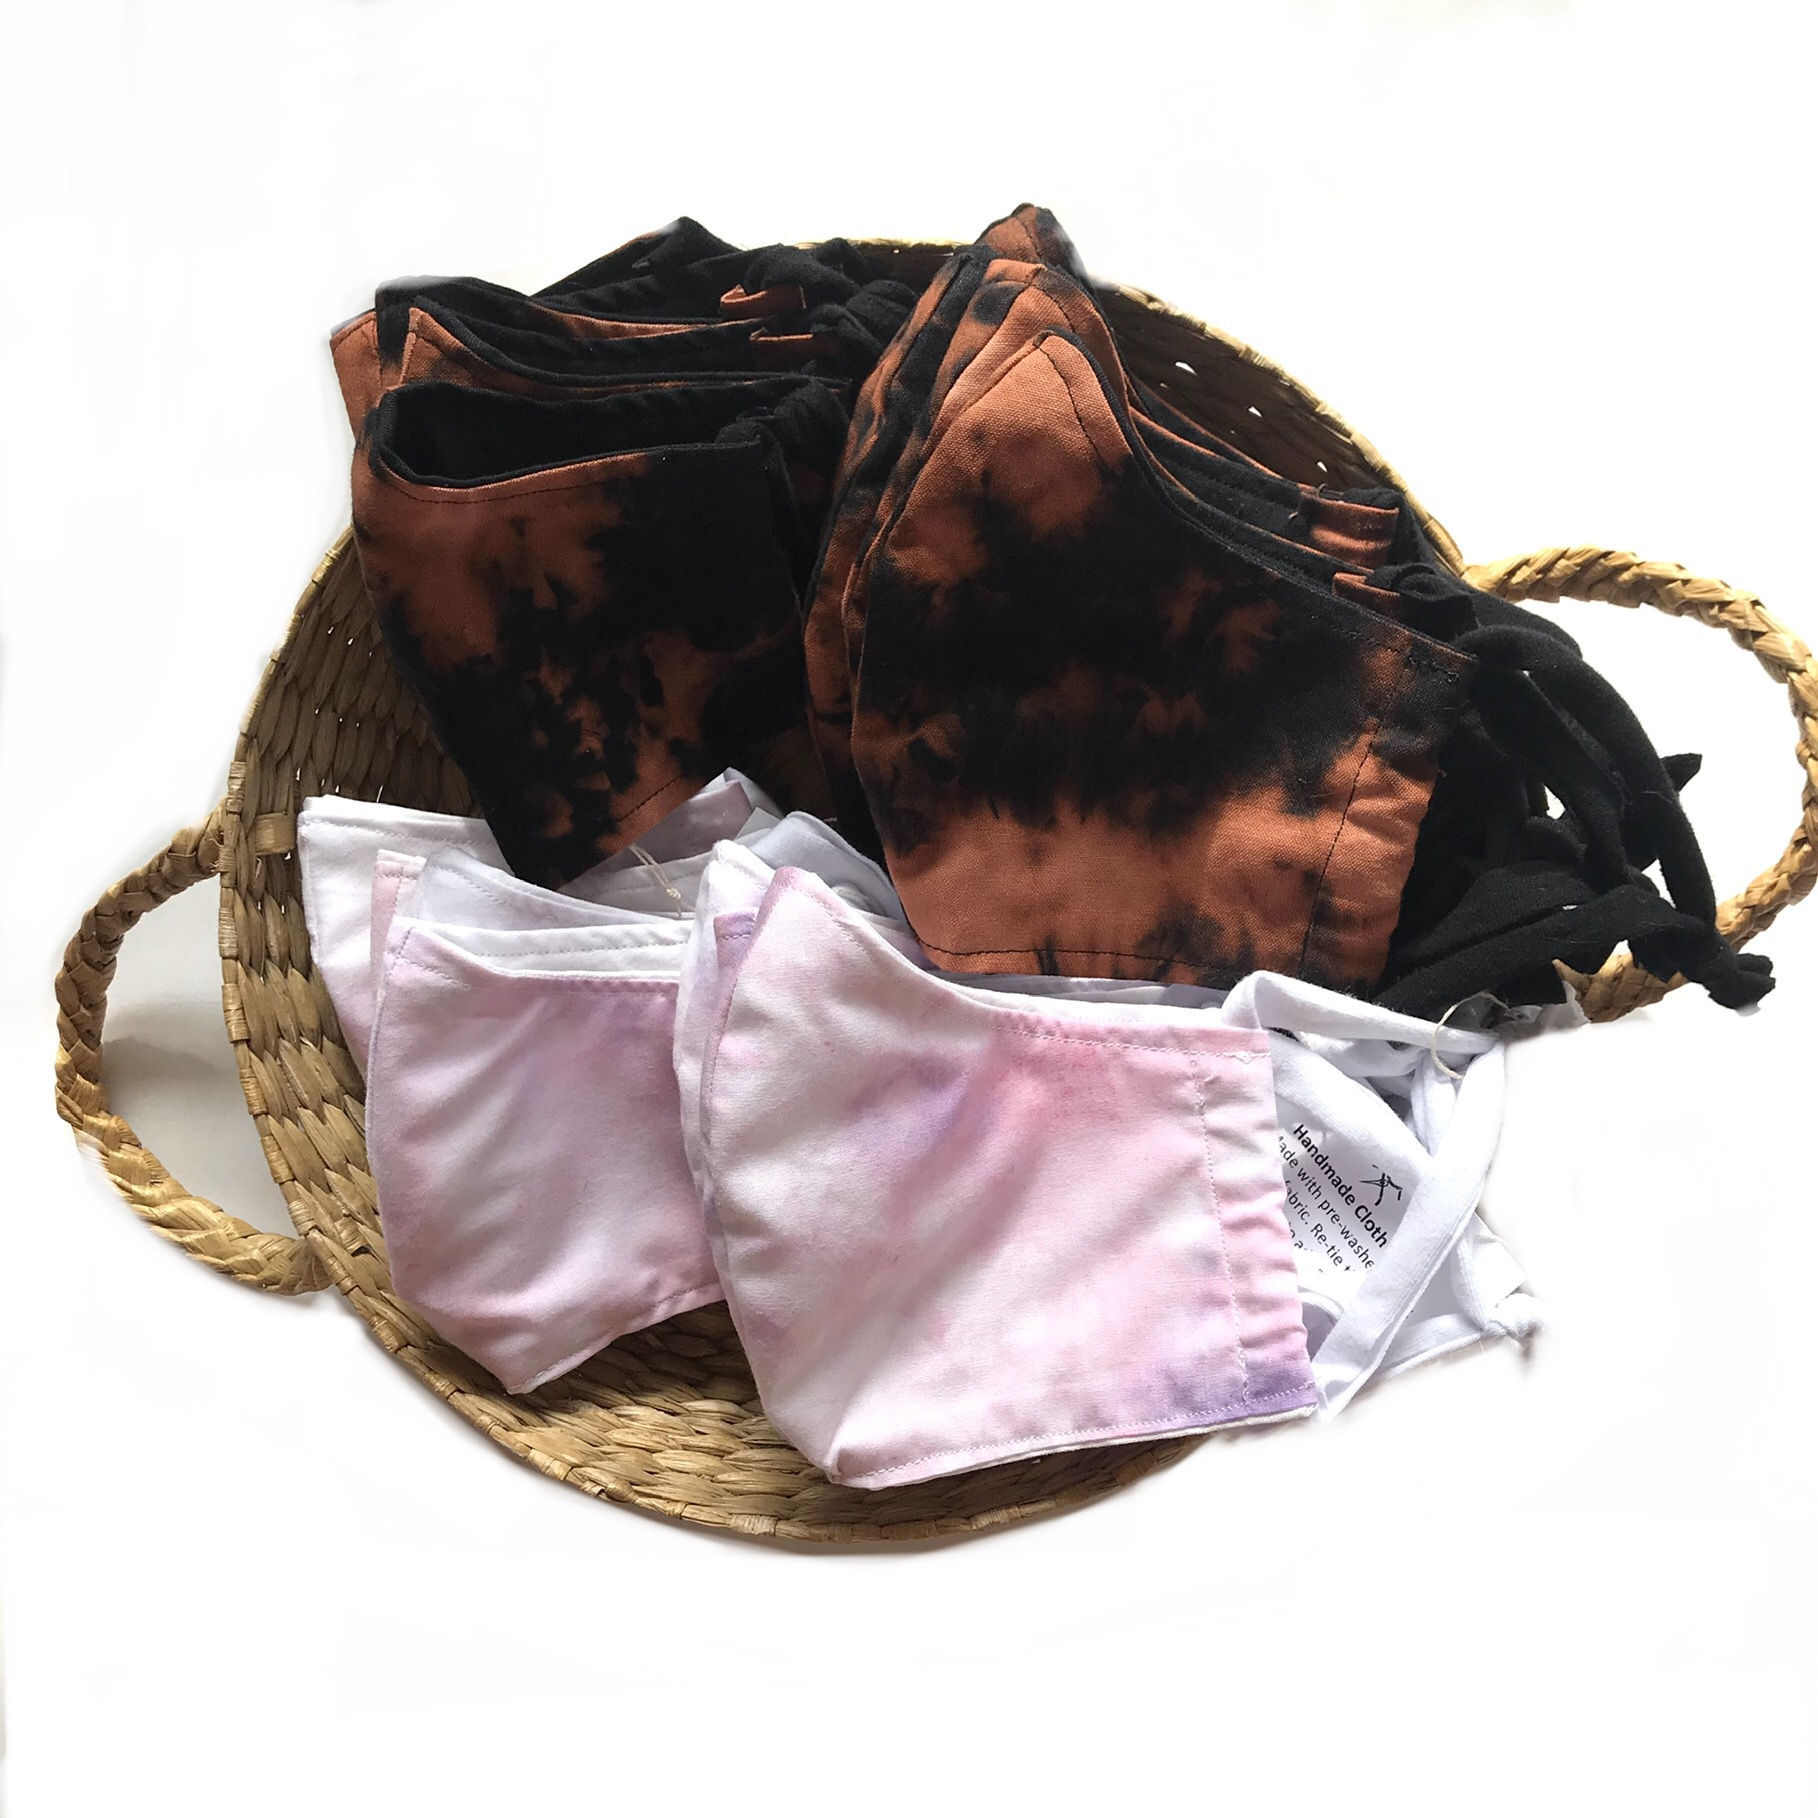
It’s also a lot of fun to tie dye just fabric because then you can make it into whatever you want! I’d like to do bibs and headbands, but you know, growing a tiny human is exhuasting…. although I did manage to get some masks made with it. These are all sold out, but I might make some more, eventually!
Shop this post:


Help a gal out and save this to your Pinterest! Just hover over the top left corner and click on the Pinterest icon!
It helps to share this blog so others can see and it’s much appreciated!
This post is NOT sponsored, but does contain affiliate links. If you click a link, Sew Bright Creations may make a small commission which helps to keep this blog going. Your support is greatly appreciated. The opinions are of Sew Bright Creations’.


